How Often Should You Shower on Tour?

Floating around the web is a BuzzFeed article about how often you really need to shower: How Often You Really Need to Shower (According to Science).-Rachel Wilkerson Miller January 12, 2015 I read this article and thought, “Yes!” I totally agree! In fact, I’ve already written two articles about this very thing: How to Stay Clean (without a proper shower) While On Bicycle Tour, and Touring Clean vs Home Clean. It’s nice to see that the science backs me up.

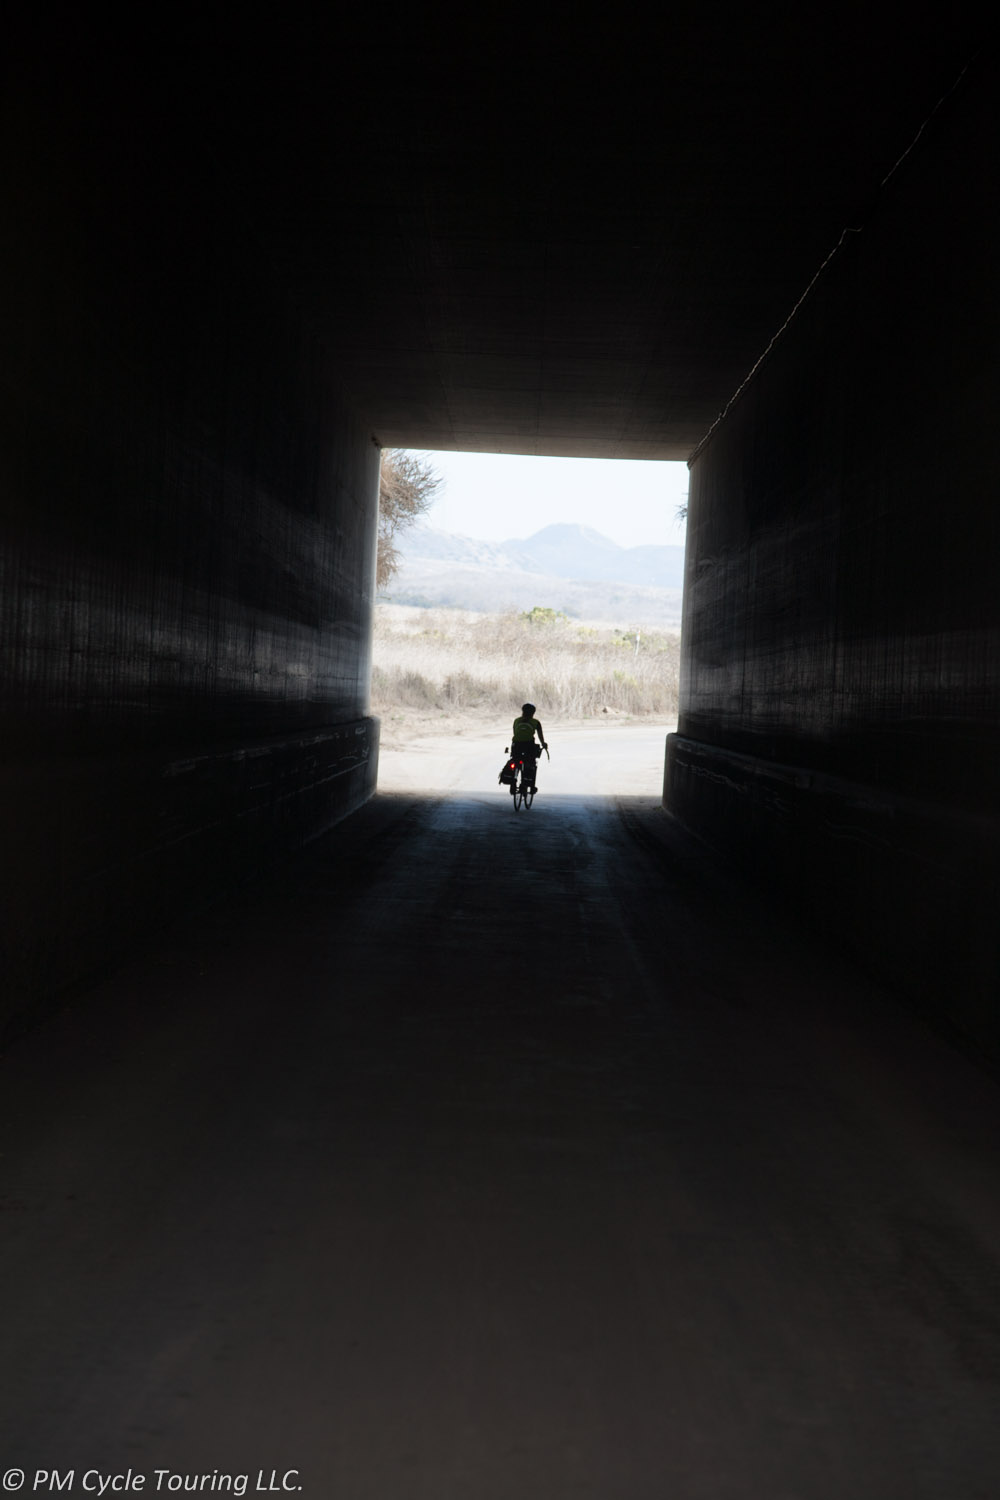
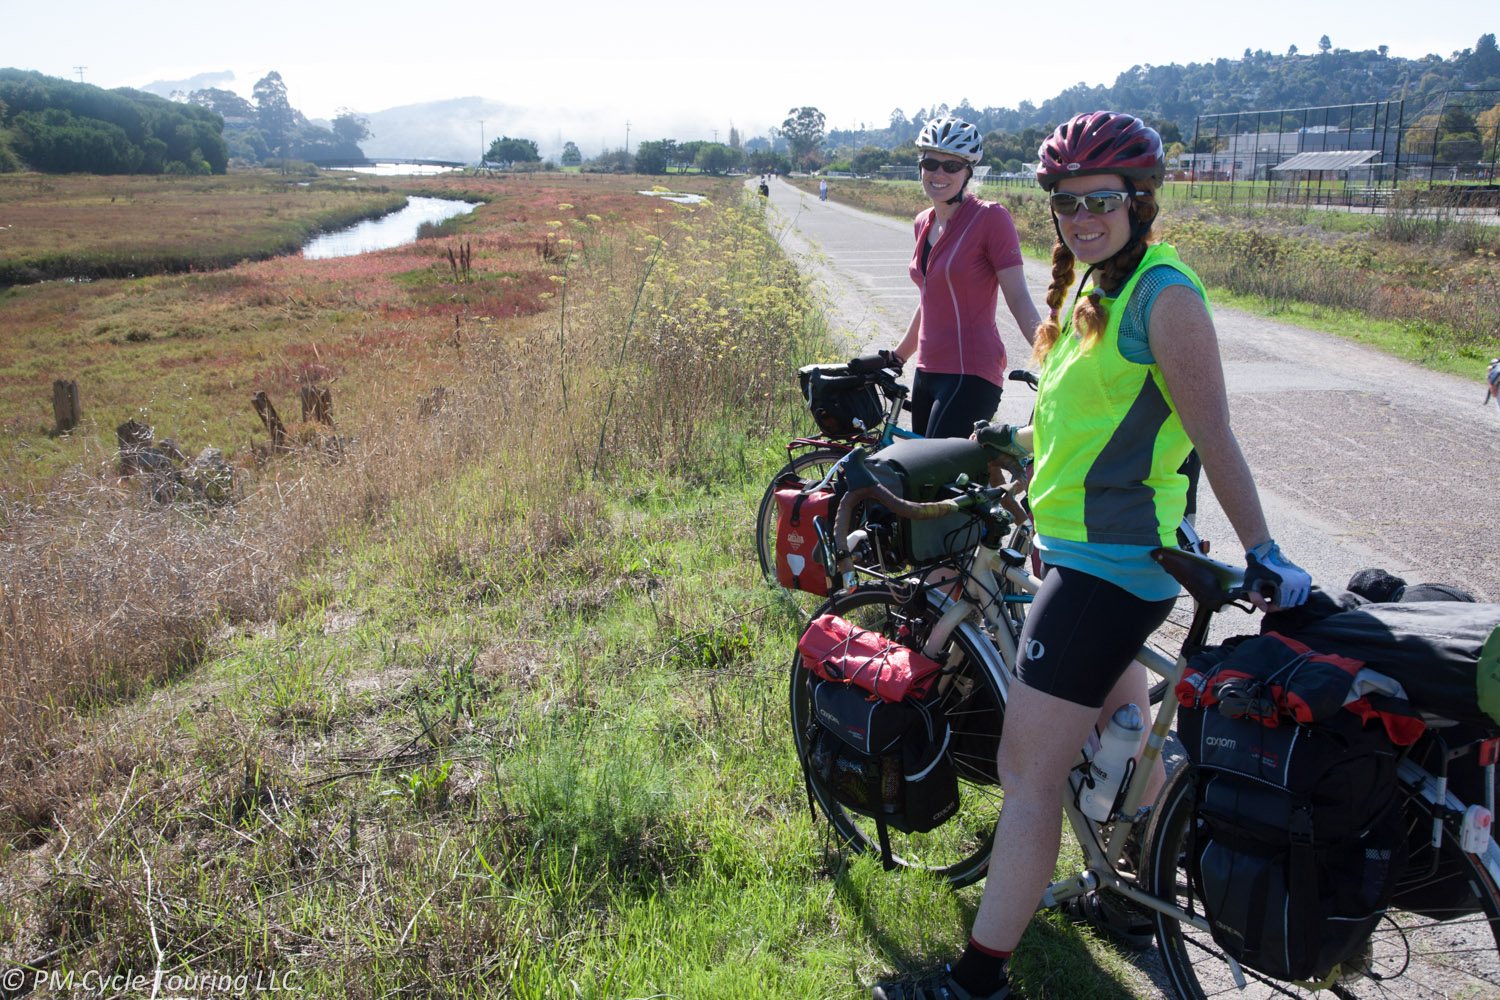
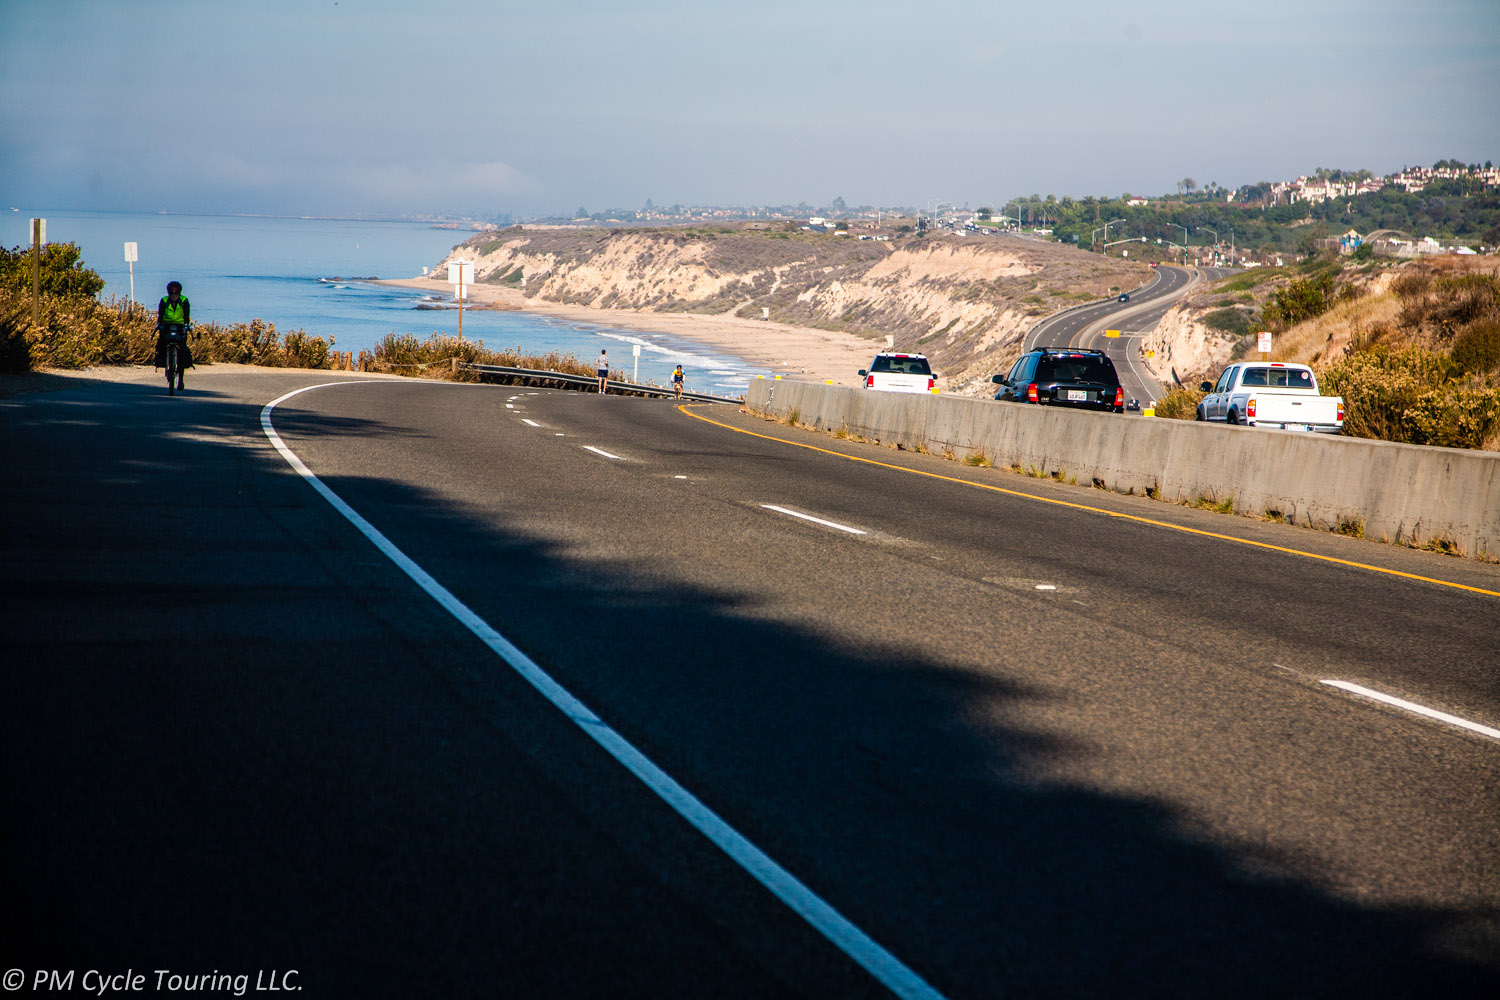
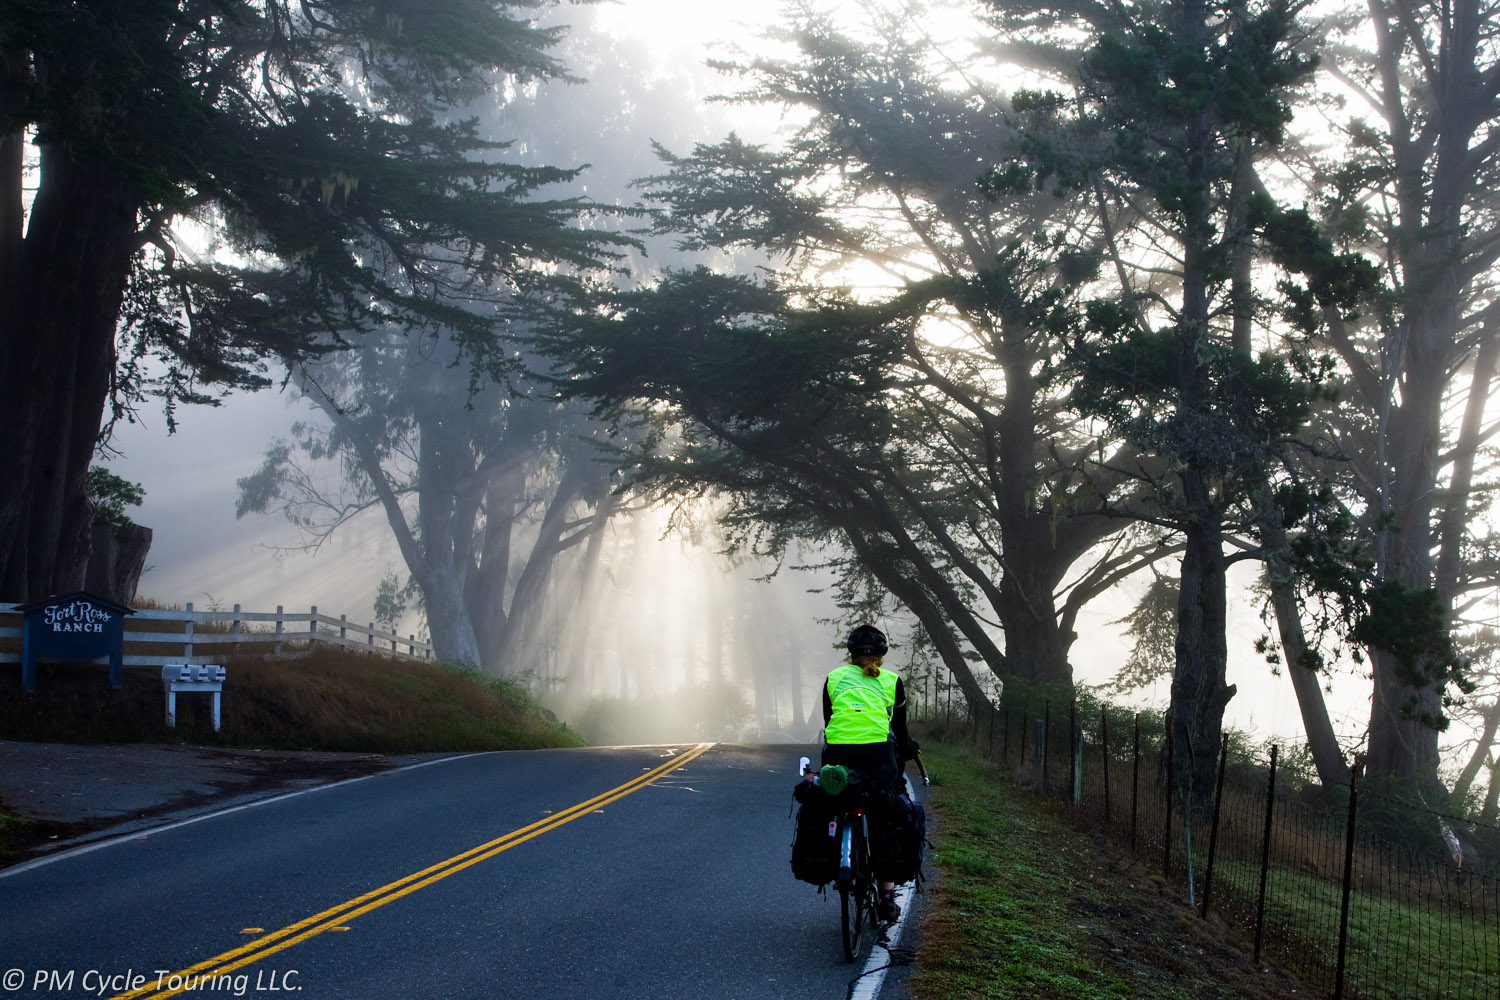
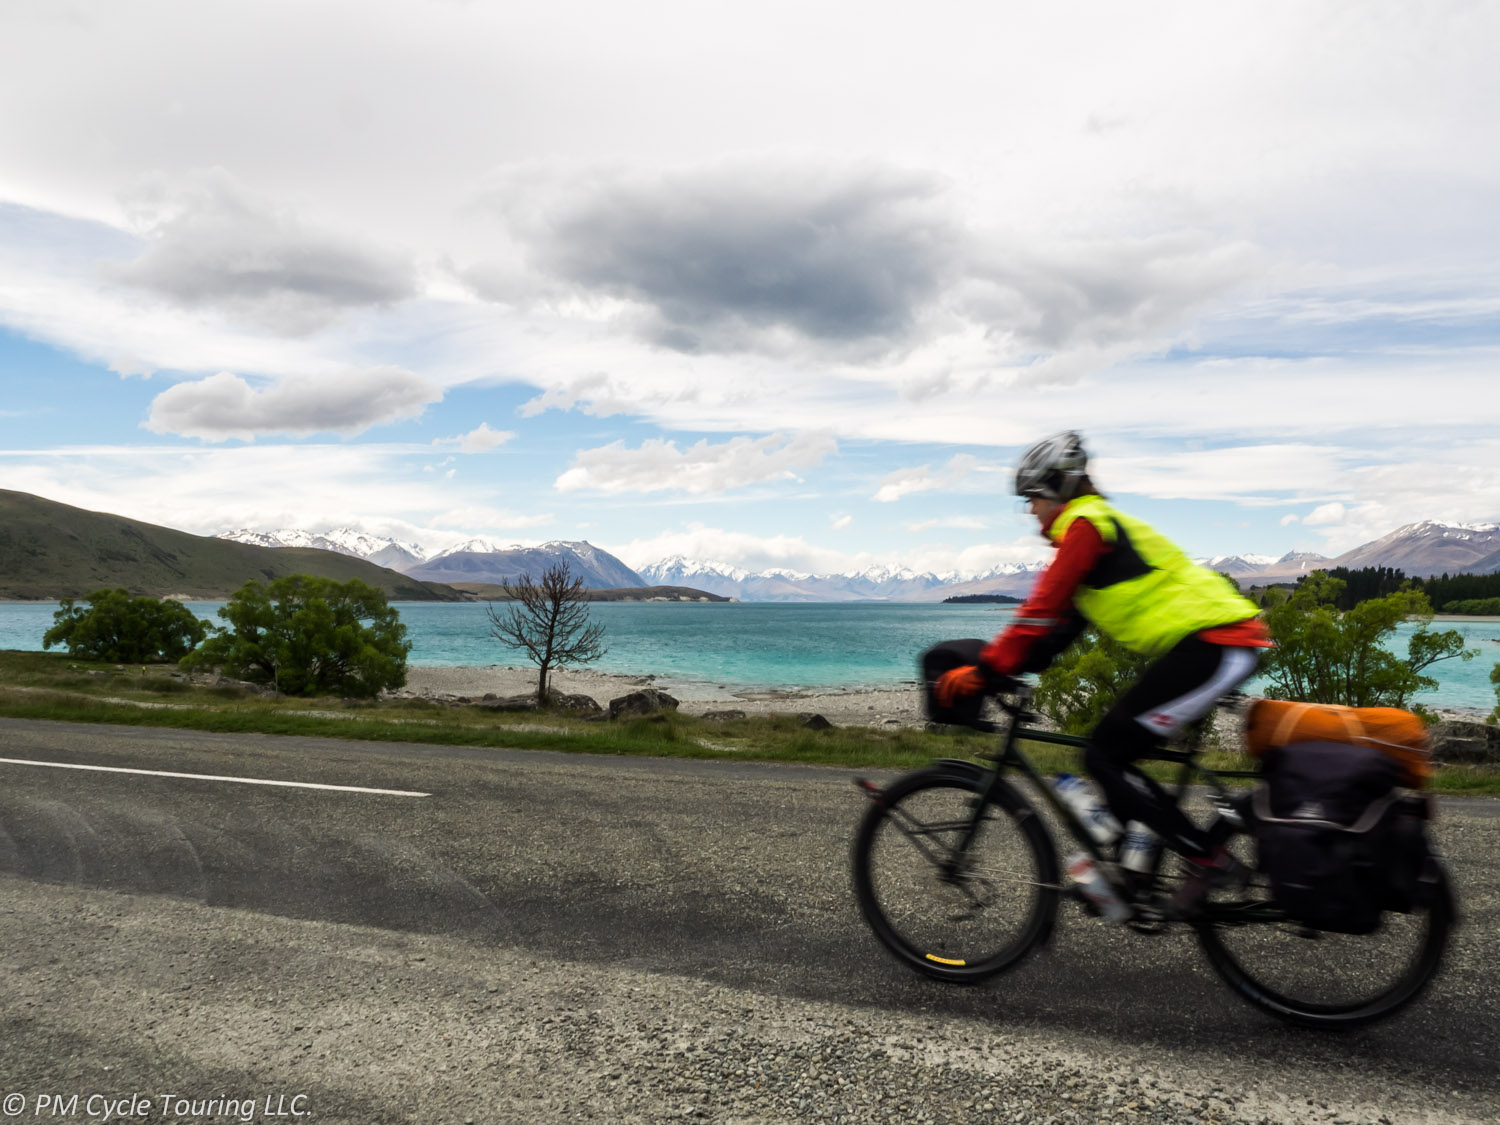
On our most recent bicycle tour my tolerance for going to bed without a shower was increased dramatically. When you’re traveling through isolated regions (ok, so New Zealand isn’t really all that isolated, but there were days where we didn’t have access to a shower, so it counts, I swear!) there are sacrifices you make when it comes to cleanliness. Or are there? According to the article, it isn’t really necessary to shower every day, or even every other day. Showers can dry your skin out (especially paired with harsh soaps) and might remove beneficial bacteria from your skin. It’s much more important to change your undergarments daily. And if you’re really grossed out, you can clean your dirty bits (underarms, groin, bottom, and face, hopefully not quite in that order) with a wash cloth.

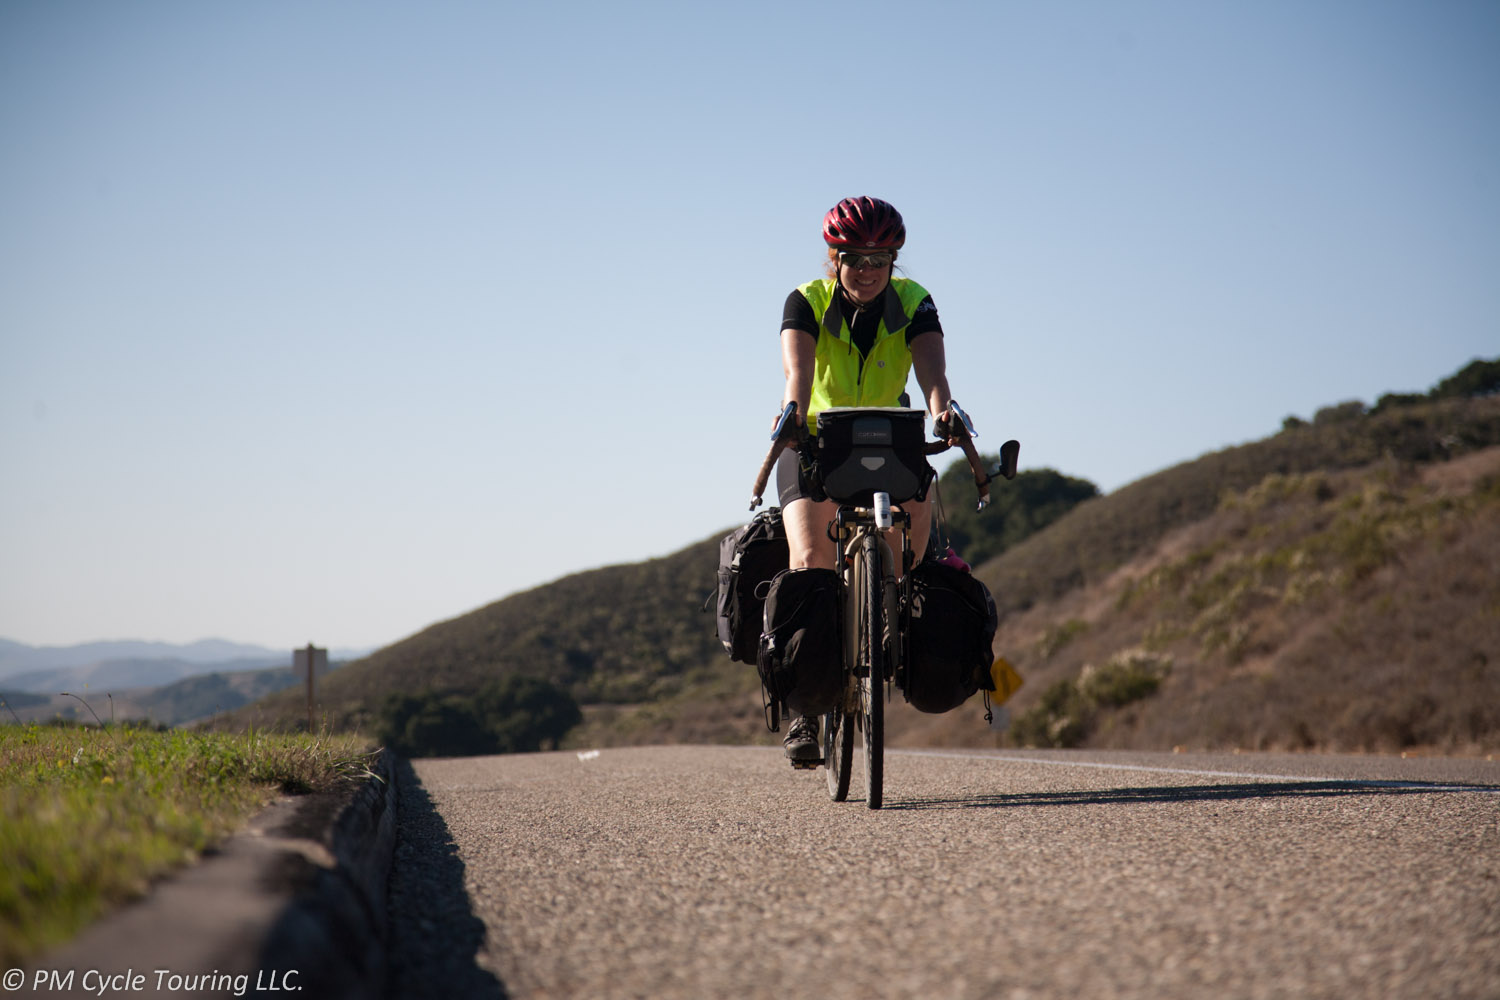
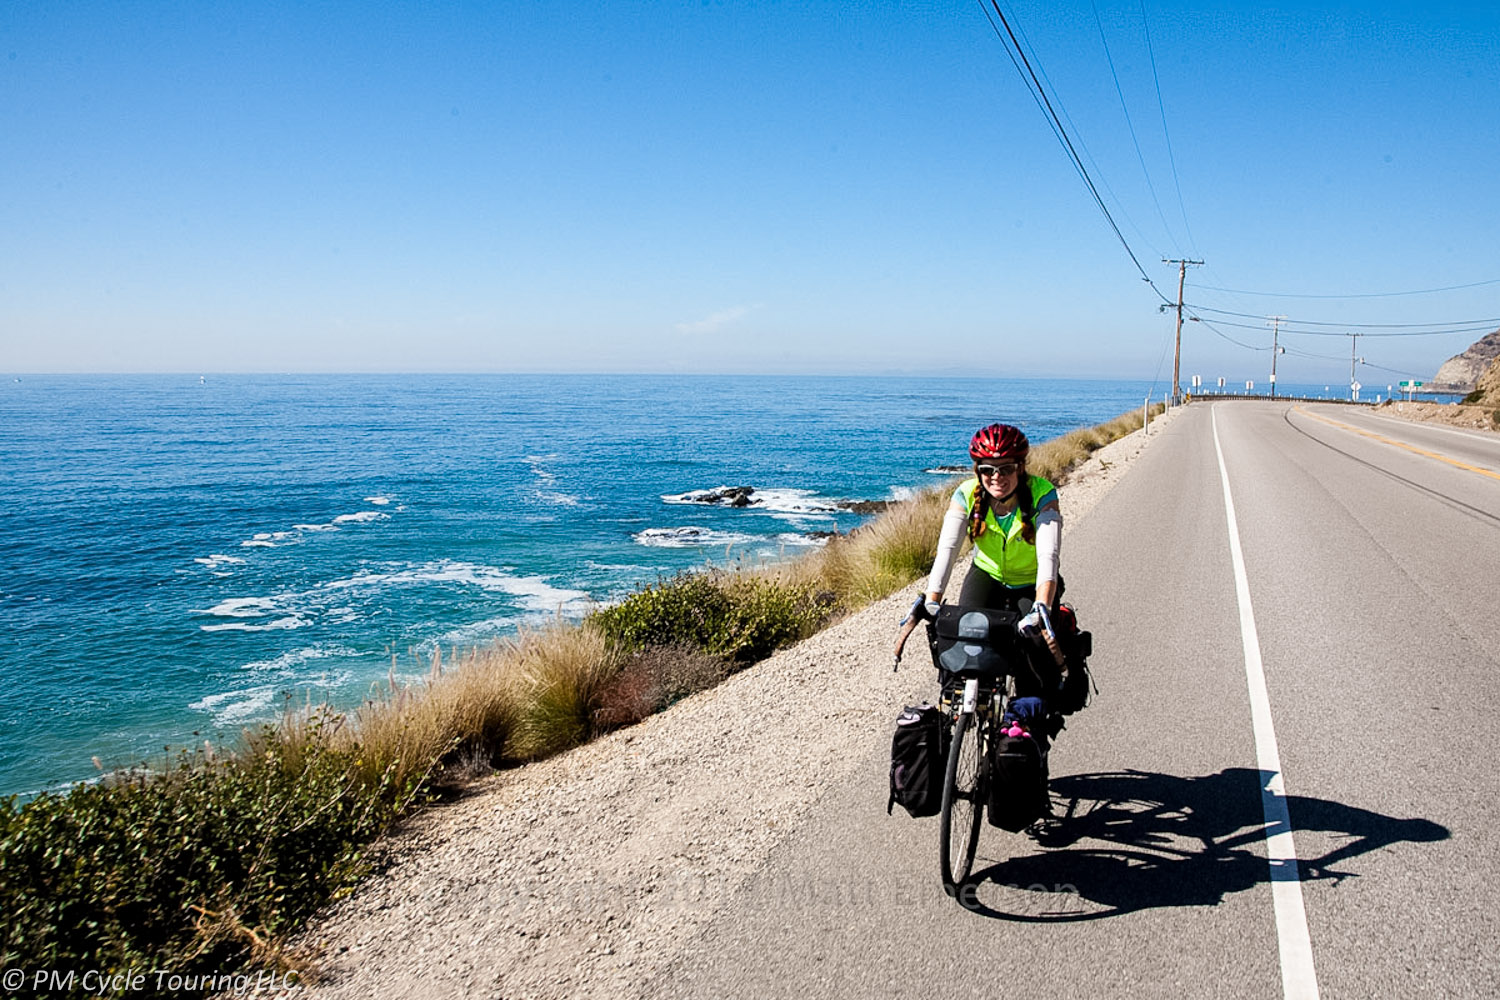
Speaking of changing undergarments daily, does that mean you should bring a week’s worth of bicycle shorts with you on tour so you can have a fresh pair every day? I think not. During our recent New Zealand tour, I tried a new tactic for undergarments and cycling shorts. Previously, I’ve stayed away from wearing anything under my shorts. I have a tendency to chafe (not fun). But, my husband found these great merino wool boxers for me, and they’ve changed the way I cycle. The wool is soft and comfortable, easily cleaned, and doesn’t develop a smell because it’s a natural fiber. They’re easier to wash out than cycling shorts, don’t irritate my nether regions, and don’t take up much space in my clothing bag. I can get away with two pairs of cycling shorts, and three pairs of underwear.

So, bottom line is: in daily life, and in cycling, showering daily isn’t necessary. You can do it, but it won’t kill you if you don’t.

Eat to Ride, Don’t Ride to Eat

A common question that I get asked when I tell people I’ve ridden a bicycle across country is, “How much do you have to eat?” This is a great question. The answer is complicated: it depends. On our first tour, my husband and I definitely didn’t eat as much as we needed to in the beginning. We struggled with flagging energy levels by mid-afternoon.

At the two week mark, we assessed how much we were eating, versus how much energy we were using every day, and determined that we were eating about half as much as we needed. No wonder we were so exhausted! Once we figured it out, and started eating more and more often, things got a ton better.

I know a lot of people who exercise just so they can eat whatever they want. I can totally understand that. And it is really tempting when you’re cycling 7+ hours a day to go straight to the junk food aisle or the fast food restaurant. Cheap, easy calories are very appealing.

But here’s where I would caution you.  You’re not riding to eat. You’re eating to ride. That food is your fuel. Sometimes you put the low-grade, cheap gas into your car because you don’t have a choice. But if you want your car to perform its best, you usually want to give it the good stuff. The same goes with your body. Yes, it’s about calories and energy. But it’s also about nutrition and vitamins and minerals. Taking a multivitamin, although probably not a bad idea, won’t make up for eating a ton of junk on your tour.

Bottom line is, eat as much as you need to. Listen to your body, and find out what that means for you. By all means, enjoy yourself while you’re out there. Maybe even give yourself a reward for a particularly difficult ride. There is nothing wrong with that. Just don’t compromise your health by eating junk all the time. Eat some fruit and vegetables every once in a while. Buy some whole grain bread instead of bleach cheap white bread. Your body will thank you.

Bicycle Helmets for Women

Ok, I don’t know about you, but it drives me crazy when gear manufacturers try to tap into the female market by changing nothing about the product except the color. Like making something in a pink color suddenly makes me want to buy it. No thank you! There are some differences between men and women, and color preference (while maybe a somewhat important consideration) is not the only one. I’ve been thinking about bicycle helmets lately, and one key difference between men and women could have a big impact on whether a helmet is perfect, or unusable.

Hair. Yep that’s right, hair! Bet you didn’t see that one coming, did you? I’ll tell you why hair is such an important consideration when choosing a helmet. My hair is of medium length right now. That means there are about 5 different ways I can style my hair before I put on my helmet. Each hairstyle adds a different amount of bulk to my head. Which in reality means my head could be a different shape each time I ride. In order for a helmet to do its job, it needs to fit snugly. If the helmet has no easy way to adjust the fit, it’s pretty much useless in my book. It needs to fit right, every time.

At the moment, I’m riding with a Lazer Genesis helmet. It has a knob on the back of the helmet that I can turn to tighten (or loosen) as needed. This ensures a good fit every time, regardless of how I decide to do my hair. (Within reason, ladies. Obviously a pony tail right on the top of the head is not a good idea when you’re putting on a helmet.) So, the next time you’re in the market for a new helmet, don’t get drawn in by style. Make sure the helmet has everything you’re looking for. And don’t forget to look for those micro-adjustment knobs. You won’t be sorry.


Disclaimer: This review contains my personal opinions. I have not received any compensation for this review. This review is for informational purposes only.

Maintaining Fitness While on a Long Bicycle Tour

Ok, I know what you’re thinking: Isn’t cycling enough physical activity? Why would you need to maintain fitness while on tour? Well, let’s think about it. Bicycling is a very leg dominant activity. Sure, you need a strong core to hold yourself up. And the calves of bicyclists are notoriously huge. But, generally speaking, the majority of your power for cycling is going to come from your upper legs. A bicycle is a very efficient machine, and over time, you’ll get more efficient at riding. That means you can actually lose some of your fitness over the course of a long tour, if you’re not careful.

So what do you do about it? I have some ideas. I am planning for an upcoming tour, and I want to incorporate some extra-curricular exercises to help maintain my strength and endurance, for when I get off the bicycle. Here’s what I’m thinking: Each day incorporate some or all of these into a post-ride workout. Nothing too strenuous, and followed by some good yoga stretching poses, such as downward dog and pigeon.

  • Core
    • Planks
    • Wall Walks
  • Upper Body
    • Handstands and Handstand Pushups
    • Pushups
  • Lower Body
    • Squats
  • Cardio
    • Running
  • Total Body
    • Burpees

It’s convenient to focus on bicycling while on tour. But let’s not neglect the other aspects of health and well-being. By adding some of these other activities in, we’ll be more ready to tackle any challenge that comes our way. What kinds of exercises do you incorporate into your daily lives? What about when you’re on tour? Let us know in the comments below!

Disclaimer: I am not a doctor, nor an exercise expert. This post is intended for information only and contains my opinions. Please seek medical advice before beginning an exercise regimen.

Ultralight Bicycle Touring – Part Two

In my previous article I discussed some ideas for reducing your weight and embarking on the ultralight bicycle touring lifestyle. This time I am going to talk about some specific pieces of equipment that weren’t mentioned in the last article. As always our current personal tour packing list is available for you to reference.

Dry Sacks: These are terrific for keeping your clothes dry and organized. You will probably even see the compression version of these with straps for really cranking down the size. However you need to be aware of the weight penalty of these compression straps; I found that each bag weighed 100grams more than a lightweight, roll-tight dry sack. Additionally, with the compression sacks you may be inclined to take more clothing and thus more weight. For ultra-light it may be beneficial to actually have less room, which will force you to take less clothes. With Pam and me carrying 4 sacks, getting rid of the compression dry sacks saved almost a pound of weight!

Sleeping Bags: When shopping for a sleeping bag keep weight in mind, as weight can vary from 1 to 7 pounds. The lightest weight bags will be more expensive, but remember that you have to pay for the food to fill the calorie requirement of pushing the weight of the bag around the world. Thus, it may pay for itself to get a lighter weight bag. Once you get the bag make sure you care for it properly and it should last you for many years.

Camp Stoves: This is one area that you don’t necessarily have to spend an arm and a leg for some improvements. If you search the internet for a soda can alcohol stove you will find the cheapest lightest stove that you can use. If the soda can stove is a little too adventurous for your taste take a look the gas stoves which screw directly on to the top of a canister or don’t have much structure to them. Some examples are this generic stove top or if you prefer a name brand the MSR Whisperlite is a popular option. Carrying around a giant Coleman stove is just silly with all the options available these days.

Tent: Very similar to sleeping bags, the cheapest will not be the lightest. For less than $200 you can get the Kelty Grand Mesa 2 Backpacking 2 Person Tent which weighs in at ~5lbs. If you can spend a bit more we use the Big Agnes Copper Spur UL 2 Person Tent (2014) which weighs in at ~3lbs but has 2 doors and vestibules which is very nice for partners. Be mindful that a light weight tent will be more fragile that a heavy tent, but we have had no problems using the same tent for multiple tours.

By reducing the weight on our bicycles we have more energy during the day and put less stress on our bodies. If you are at all like us you probably aren’t doing your training rides fully loaded. In fact, before our most recent tour we didn’t even do a fully loaded ride until right before we left. When you strap 40lbs of gear on your bicycle and try going up those hills it may come as a rude awakening how much effort it takes to keep going. At some point you may decide that ultralight is the way to go. If you have any tips or questions, leave them in the comments below.

Ultralight Bicycle Touring – Part One

Touring is blissfully simple: you hop on your bicycle and pedal from where you are to some new place. Life doesn’t get more straightforward. However, I often see people struggling with way too much gear on their bikes. In fact, for my first tour I suffered myself. I inappropriately carried heavy books, a pasta strainer, an extra Camelback, and a few more things which I had to send back home.

Since that first tour I have become a believer in ultralight bicycle touring. With modern technology and modern industry there are now extremely lightweight products that perform with enough durability for use on even the longest of tours. On our last 2,500 mile tour of the Southern Tier my wife and I managed to pack 41lbs of gear between the two of us including the weight of the panniers (click here for our packing list). When planning to shed weight there are a few high return areas: unneeded equipment, sleeping bags, camp stove, and tent, as well as substituting single-use items with multiple-use items.

Unneeded Equipment: First and foremost lay out all of your items and ask yourself if you need each one. The chances are good that there are several things you think will be useful but after consideration you may change your mind. Remember that you will have to carry these items for hundreds (or thousands) of miles. A few common offenders are:

  • Hammers for tent stakes
    • Trust me. There will almost always be a rock or tree branch that you can use to drive your stakes into the ground. If nothing is available at the campsite you can always tie a string from the tent to a bicycle. If you’re in a campground, a fellow camper will probably let you borrow his.
  • Excessive amounts of clothing
    • Not only does excess clothing add weight to your total, it adds bulk to the packs. You can easily get by with 2-3 pairs of shorts and shirts for an extended tour. Rinse in the sink or shower as needed, and hang in a mesh bag off the panniers while riding to dry. There’s a fine line to walk in this area. See our packing list for specifics on what we like to bring.
  • Lanterns or extra-large flashlights
    • A simple head lamp placed next to a clear plastic water bottle creates an excellent camp light. The head lamp will be light weight and usually satisfies any laws for riding at night. If you are counting grams lithium batteries will be lighter and perform better in cold temperatures.

Multiple Uses: Analyze your equipment that you may be able to get two (or three) uses out of. For example our stove has a plastic insert to prevent the non-stick coating from getting scratched. That insert makes for a handy bowl to eat out of: no need to carry an extra one. Our cycling rain jackets work as camp jackets and wind breakers. Much of our clothing can be used either on or off the bike.

Finally, remember that fancy/expensive is not always the lightest weight nor the most functional. In the next article I will dive in to some specific pieces of equipment that I have found substantial weight savings, including dry sacks, sleeping bags, and tents. If you have any ultra-light bicycle touring tips or tricks let me know in the comments below.

Why Scheduling Rest Days is a Good Idea

I recently ran a 7.5 hour race with some friends. OK, so I didn’t so much run as hike. The course was at a mountain ski resort, and took us up and down some pretty steep ski runs. I’m in decent shape, and the hike itself wasn’t super challenging. The duration was what almost did me in. My body is not used to moving constantly for that length of time. I was definitely feeling it the next day. And the next. And, I’m ashamed to say, the next. Three days later, and I finally feel close to normal.

This experience got me thinking about some of my past tours. Tour number one was really rough. We had anticipated being able to cover many more miles in the first days than we were actually able to. However, since we were unprepared, and our bodies weren’t used to that much physical stress, we found ourselves needing breaks. We took twice or even three times as many days off as we planned, which put us way behind schedule. Since we had a hard deadline to finish, the last fourteen days of the tour came with zero breaks. Fourteen straight days of riding almost did me in. After, I felt very similar to the 7.5 hour hike, and spent several days recovering. To me, it’s not fun to have difficulty walking first thing in the morning. And I’m sure it’s not really good for your muscles and connective tissue, either.

Bottom line is, your body needs rest. You build your most strength during rest days. That’s not to say you should sit around on your butt on your day off. Nope! Go on a hike, walk around, explore. Even take a short, unloaded ride. Plan the next few days of riding. Get plenty of sleep. Make sure you’re ready to get back on the bike and give it your best effort.

Everyone is different, and every tour is different. On our most recent tour, we typically rode 6 days and rested one. That seemed to work pretty well. I’m sure other people can ride more days (or less) before needing a break. Do what works for you. Just don’t plan your trip, anticipating 70-100 mile days with no rest days factored in. You’ll make it very difficult to accomplish the goals you’ve set for yourself. What kind of riding schedule do you like to keep? Let us know in the comments below!

ACA Pacific Coast Section 5 Maps 56-59

If you live in Southern California, or you have family in the area, and are looking for a great 4 day practice ride, I might suggest Goleta to Los Angeles. There are a few advantages to this ride: ease of transport to the start line, beautiful ocean riding, and access to convenient state campgrounds.

First off, take the Pacific Surfliner train to Goleta. Amtrak is a great option for bicycle tourists. It’s easy to purchase a ticket and reserve a spot for your bicycle (advanced reservations for bicycles are required). When the train gets to the station look for the conductor waving you towards him, you will either wheel your bike directly on to the train or lift the bicycle up to the conductor in a cargo car near the rear of the train. Panniers can stay on the bike if it is not too heavy to lift.

Upon arrival at Goleta use ACA Section 4 Maps 55 and 54; make your way north to Refugio State Beach. You might be tempted to stop at El Capitan State Beach, but trust me, the hiker/biker sites at Refugio are worth the extra few miles; you will be staying as close to the beach as you can get.

For Day 2, retrace your route from Day 1, and continue on through Santa Barbara to Carpinteria State Beach. This makes for a very short, approximately 35 mile day 2. Enjoy the ride, especially on the bike path through UC Santa Barbara. As you ride through campus, you will notice all the bike racks for the students, and if between classes the hundreds of people biking around. It truly is amazing.

Day 3, leave Carpinteria State Beach, and head south through Ventura and Oxnard, around Mugu Point and follow the ocean to Malibu. Leo Carrillo State Beach has a very nice, isolated hiker/biker site behind the dumping station, hidden in the trees. You can walk to the beach or just enjoy the sunlight filtering through the trees.

For your final day, make your way into Santa Monica. The ride through the transition from Malibu into Santa Monica is the most harrowing part of the ride. Keep your eyes open for doors opening on the right, and cars wishing to pass on the left. It’s just a few miles, and then you have the dedicated bike path to look forward to. Although you have to share the path with runners, walkers, roller bladers and other cyclists, it is still a pleasant ride past the pier.

From Santa Monica, there’s a few options. Ride into LA, find a metro station, and head back to Union Station. From there you can return to your starting point via MetroLink or Amtrak. If you ride the Balloona Creek bike path upstream (away from the ocean), you can pick up the Expo Line at the end of the bike path.

And there you have it. A nice, four day bicycle tour, through some of the best that Southern California has to offer. Can anyone else suggest a short tour? Leave your ideas in the comments!

Pain While Touring

So, you’ve bought your bike, and it’s been professionally fitted. Great! You’ll never have any pain, it’s a perfect fit, forever, right? Wrong! Chances are, at some point as you put miles on your bike, you’ll experience some pain. I’ll give you an example. Before my first long distance tour, I put about 500 miles on my bike, and it felt great. However, after just 250 miles of the tour, my knees were killing me and there was a pain in my shoulder that wouldn’t go away. What gives?

Well, turns out that as you ride, especially loaded, your body changes. If you do all of your training unloaded and then load up to go, there will be an adjustment period while your body gets used to the extra weight and you may pedal, sit, or grip different than your training.

Proper seat height is crucial to saving your knees over long distance rides. I’ve met some riders who are afraid of changing the fit of their bikes from what the professional fitter set it at. Unless that fitter is following you on your rides, he won’t be able to get the perfect fit for you, and it may need to be adjusted as time goes on. Initially he may be able to get the fit mostly there, but you’ll still may need to dial it in to get it just right.

I’m not a doctor or a professional, so take my advice for what it’s worth. I am a person who is not afraid of making the small adjustments necessary throughout my tours to minimize aches and pains. Here’s something that I find key: small changes can make a big difference. On that first tour, my seat height needed a few millimeters of adjustment to give my knees relief. My shoulders were helped by a smaller stem and a slight change in handlebar angle. I’m constantly tweaking my bike to fit better. I have found that if I pay attention to my body, and make an adjustment early on, I can prevent an injury before it happens. I can then ride longer and further, and enjoy my rides much more.

If you’re not sure how to make adjustments to your bike, find a local bike shop and talk to the mechanic. Hopefully he’ll show you where the adjustments are and how to do it. It’s much better to ask the questions before you leave instead of trying to figure it out on the road.

I cannot stress it enough: if you’re in pain while riding, make an adjustment. For example, mark where your seat currently is then change the seat height a few millimeters. Then ride 10 miles. If it didn’t make a difference, move it back, and adjust the seat forward or back. Ride another 10 miles. And so forth. (Another adjustment that you can make is where the clip is on your shoe. I had to change that one time, and it helped.) Don’t fear change. It just might make all the difference

Bicycle touring without a spare tube

One interesting component of running a website is seeing how people get to your site and take a look at what they are searching for. Low and behold there are quite a few people out there wondering about how to bicycle tour without a spare tube. I have been thinking about this for some time and wanted to share my advice / opinions on this topic.

While touring you must assume that you are going to get flat tires. That being said that does not necessarily imply that you must carry a spare tube. While we are touring we have stopped using the glue and patch kits to fix holes in our tubes. Instead we are using the sticker kits available from Park. In our experience these little stickers work just as well if not better than the glue variety and they can be applied and pumped full of air without delay. If I were to not carry a spare tube I would make sure I have plenty of sticker type patches.

Location, Location, Location. If you are touring in a populated area, nearby friends or family, near public transportation, then you may be able to get away without carrying a spare tube. If something were to happen that a simple patch can’t repair at least you would have options for getting back home.

When considering what could possibly happen that a patch won’t fix let me share with you our experiences. One time while we were going to pump up the tube we just patched the entire Presta valve simply fell off of the tube. The point where the metal bonded to the rubber just gave up, no amount of patching can save you there.

Another time we were changing Pam’s tire in a muddy area and some mud got in the rim, preventing the hook from seating properly. We didn’t notice and pumped the tire up. Right around 65 psi the tire started slipping off the rim and before I could release pressure the tube stretched out the hole and burst with a sound like a gun shot. Of course it was a slime tube and it was 7 in the morning in a crowded campground. I was left standing in a fog of green slime as every single camper nearby looked out their tent to give me the evil eye for waking them up. No patching that hole.

For our first tour we took along two spare tubes. Down the Pacific Coast we managed to have just one flat tire! Next tour was the Southern Tier, going west to east. We started again with two spare tubes, but after two weeks we were up to two patches on each tube and had two failures. At that point we started carrying four spare tubes and all of them had patches by the end of the tour. The Southern Tier took its toll on us with a total of 15 flat tires between the two of us.

So while it is possible to tour without a spare tube I suggest that you bring at least one. You never know what you are going to manage to run over on the road, if your tube is going to fall apart, or how long it will be until the next car drives by. Have you a done long tour without a spare tube? Any suggestions for those that want to try it? Leave a comment below.