Now that we have a few tours under our belt, and our last tour was in a place where the temperatures were a bit cooler (New Zealand), our packing list needed to be updated. Here’s what we’re taking with us for our upcoming ACA Sierra Cascades tour. Total weight is everything but the bikes and racks.
| Category | Name | Pieces | Discussion | Grams | Pounds |
| Total | 27 kg | 59.5 | |||
| Camping | 4471 | 9.85 | |||
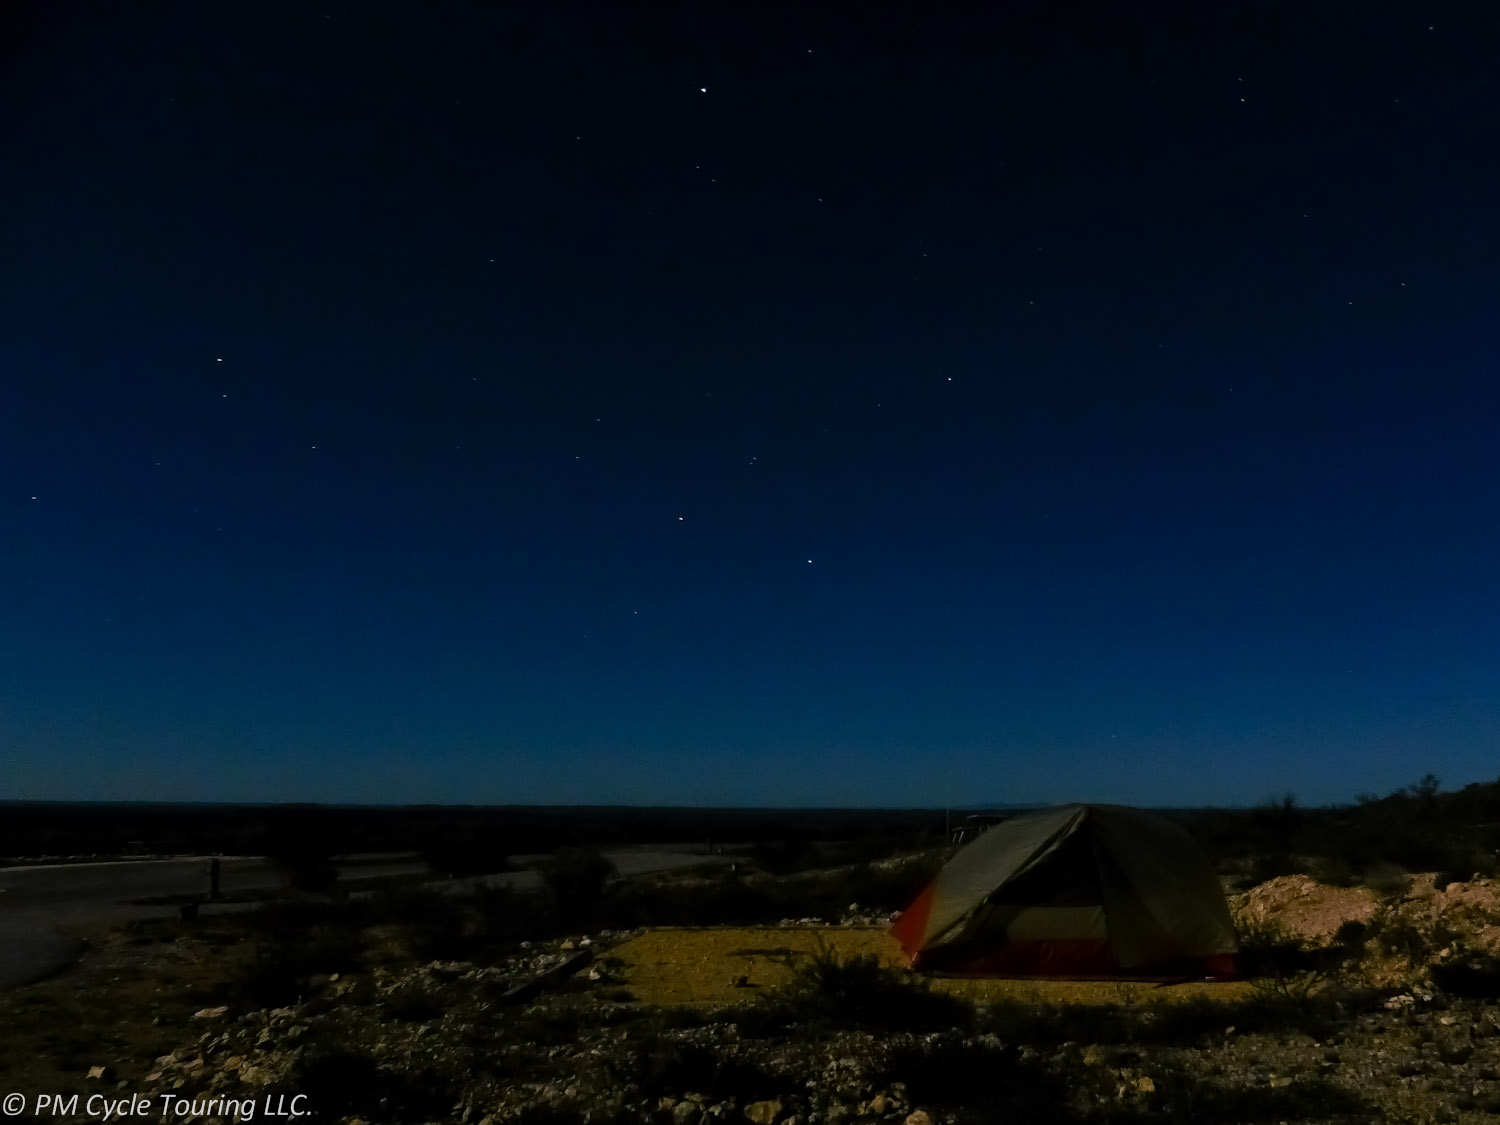
| Tent | Big Anges Copper Spur UL2 tent | Tent | Nice tent, fits two normal sized people snuggly, two doors, two vestibules. | 450 | |
| Rain fly | Rain fly | Could have went with UL3 for another 500 grams, but don’t see need? | 510 | ||
| Overall Bag | Overall Bag | Left behind stake bag 11g | 25 | ||
| Ground Cover | Ground Cover | 175 | |||
| GC Bag | GC Bag | 11 | |||
| 8 Stakes | 8 Stakes | 89 | |||
| Emg Splint | Emg Splint | 10 | |||
| Poles | Poles | 440 | |||
| Pole Bag | Pole Bag | 13 | |||
| Sleeping Bag | ZPacks 20F 900 Fill Down w/ Draft Tube | Sleeping Bag | Evaluating durability, so light it is unbelievable. Regular girth is snug on me and I am skinny. | 600 | |
| ZPacks 0F | Sleeping Bag | Smaller bag, but lower temperature rating. | 595 | ||
| w/Draft Tube | |||||
| Stuff Sacks for Bags | Sea to Summit UL Dry Sack 8L | Roll up dry sack | 56 | ||
| Sea to Summit UL Dry Sack 8L | Roll up dry sack | Found that the version of these bags with compression straps weren’t really needed because we had plenty of space and the straps added 100 grams. | 30 | ||
| Sleeping Bag Liner | Cocoon Silk Mummy Liner | Liner | Keeps sleeping bags cleaner, works as lightweight cover on hot nights, adds warmth if needed on cold nights | 115 | |
| Cocoon Silk Mummy Liner | Liner | 115 | |||
| Sleeping Pad | Exped SynMat Duo | Pad for two | Lightweight & insulated; schnozzle bag makes inflating a breeze. Two independent inflation points so you can both sleep comfortably. | 797 | |
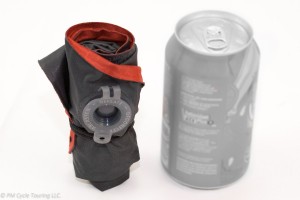
| Pump | Exped | Schnozzle Pump Bag | Store the sleeping pad and pillows inside the bag. The bag can inflate both sides of the sleeping pad in about 3 bags of air. | 58 | |
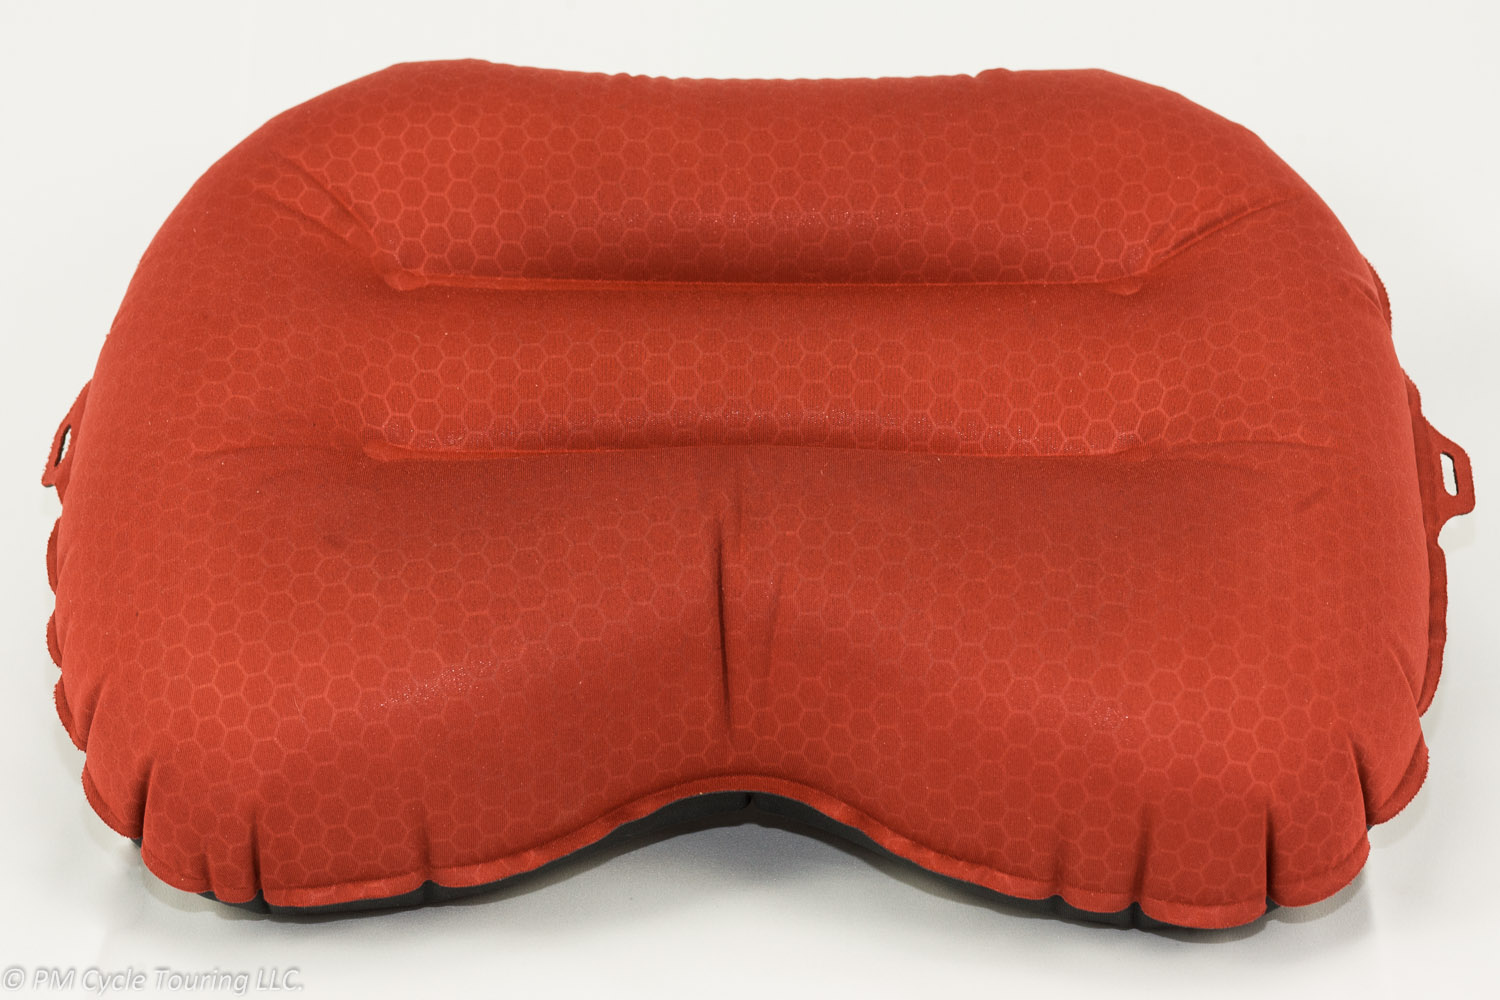
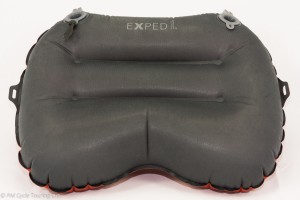
| Pillows | Exped M Air Pillow | M Air Pillow | 72 | ||
| M Air Pillow | M Air Pillow | 72 | |||
| Headlamp | Black Diamond | Headlamp | weight includes 4 Lithium AAA batteries. Much brighter than previous headlamps. | 100 | |
| Headlamp | 100 | ||||
| Bug Netting | Ben’s Invisinet | mosquito protection | 19 | ||
| Bug Netting | Ben’s Invisinet | mosquito protection | 19 | ||
| Eating | 3074 | 6.77 | |||
| Stove | Soto Windmaster | stove + bag | 73 | ||
| Stove | Trangia Alcohol burner | 110 | |||
| Stove | Trangia Gas burner | + bag | 194 | ||
| Pots & Pans | Trangia | Pots, pans, and handle | 858 | ||
| Orange Bag | Trangia | 27 | |||
| Bowls | Sea to Summit Delta Bowl | Bowl | 87 | ||
| 2 Spoons & Forks | REI Plastic | 37 | |||
| Measuring Spoon | MSR Fold-able | Useful for measuring/scooping | 30 | ||
| Stirring Spoon | GSR | Long handle. | 17 | ||
| Can Opener | John Wayne Style | +carabiner for storage | 129 | ||
| Dish washing Towel | Small Camp Towel | 22 | |||
| Dish Drying Towel | REI travel towel | Fluffy drying towel | 57 | ||
| Kitchen Sink | Sea to Summit 5L | Sink | Makes dishwashing/peoplewashing easier when facilities are lacking | 135 | |
| Bag | 35 | ||||
| Dish washing Sponge | Scotch-Brite Stay Clean Scrubbers | Sponge | Great easy to clean sponge | 7 | |
| Fuel | Primus 230g | Gas Can | 375 | ||
| Bear Can | Bearikade Weekender | store all of our food in here don’t have to worry about critters, nor bears on future rides. | 881 | ||
| Hygiene | 1109 | 2.4 | |||
| Shovel | Montbell Scoop | if nature calls, while in nature | 39 | ||
| Toilet Paper | Tiny Travel Roll | 30 | |||
| Towel | Travel Towel | Grey | 113 | ||
| Travel Towel | Green | 142 | |||
| Turban | Green | Helps dry long hair. | 73 | ||
| Wilderness Wash | Citronella | Body Wash | 110 | ||
| No Smell | Other Wash | 110 | |||
| Shower Shoes | Airwalk (Pam) | Flip Flops | 138 | ||
| Cushe (Matt) | Flip Flops | 192 | |||
| Toothbrush | Crest Spin Brush | Toothbrush | Luxury choice to have battery operated toothbrush. Weight includes batteries. | 100 | |
| Extra Head | 0 | ||||
| Toiletry Bag | Eagle Creek | Lightweight | 42 | ||
| Fingernail Clippers | Generic | 20 | |||
| Survival | 1086 | 2.4 | |||
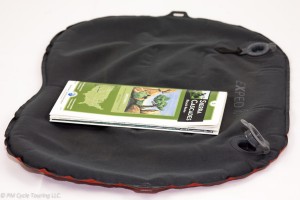
| Space Blanket / Tarp / Picinic Blanket | Space | Tarp/EMG Blanket | terrific all around tarp, used on side of roads, picnic benchs. Can act as emergency blanket if needed. Very versitale | 345 | |
| Water Storage | Nalgene | 96oz Cantene | going through arid areas, up to 90 miles between services, empty they weigh almost nothing | 80 | |
| Nalgene | 96oz Cantene | 80 | |||
| Bug Lotion | 3M | Ultrathon Lotion | Excellent bug repellent, does contain DEET | 70 | |
| Pepper Spray | Fox Labs 2oz Spray | Bottle | Best pepper spray on the market. | 145 | |
| 2oz | Bottle | 145 | |||
| Filter | Hydrapak Filter Bottle | Collapsable filter bottle. | 56 | ||
| Purification Tablets | Iodine tablets for emergencies. | 0 | |||
| First aid kit | Assorted | 135 | |||
| Emergency Tape | Tenacious Tape | Terrific repair tape, have used on rain pants and toiletry bag holds very well | 30 | ||
| Bike Stuff | 5515 | 12.2 | |||
| Panniers | Axiom LaSalle 45 | Rear Pannier | Have lasted two tours, work well | 855 | |
| Rain Cover | 75 | ||||
| Axiom LaSalle 45 | Rear Pannier | 855 | |||
| Rain Cover | 75 | ||||
| Randonnee Aero 60 | Rear Pannier | New/waterproof | 885 | ||
| Randonnee Aero 60 | Rear Pannier | 885 | |||
| Axiom Cartier | Front Pannier | 775 | |||
| Axiom Cartier | Front Pannier | 775 | |||
| Repair Stuff | Fiber Fix Spoke | Kevlar Spoke | Just in case can replace a spoke | 16 | |
| Fiber Fix Spoke | Kevlar Spoke | 16 | |||
| Bike Care | Tri Flow | Lubricant | 68 | ||
| RavX Retractable Cable | Lock | Extremely lightweight deterrent | 50 | ||
| ACA Maps | 185 | ||||
| Luxury | 575 | 1.27 | |||
| USB Cord | 17 | ||||
| Battery Backup | Anker | Bar | 242 | ||
| USB Cords | Startech | 6″ USB A to Mini B | These weigh in a few grams less then other cables | 12 | |
| 1′ USB A to Micro B | Yes I am obsessing over every gram | 17 | |||
| 1′ USB A to Micro B | Yes I am obsessing over every gram | 17 | |||
| Misc Micro B | 17 | ||||
| Misc Micro B | 13 | ||||
| Headlight for Bike | Diablo Exposure | Light | 1000 lumen’s 🙂 | 109 | |
| Helmet Mount | 10 | ||||
| USB Cord | proprietary 🙁 | 25 | |||
| Reusable Shopping Bag | Chico Bag | Bag | included carabiner to clip to pannier, folds in to small pouch on its self to store small | 41 | |
| Clothes Line | REI | Easier than string | 55 | ||
| Matt’s Clothing | 5132 | 11.3 | |||
| Rain Jacket | Showers Pass Event | Event Jacket | w/hood | 472 | |
| Rain Pants | Sierra Designs | Pants | Cheap rain pants also used in cold weather to keep wind off legs | 377 | |
| Bike Shorts | AeroDesign | 210 | |||
| Bike Shorts | AeroDesign | 210 | |||
| Cycling Base Layer | Showers Pass | Top | 176 | ||
| Bike Shirt | Ibex | Neo Long Sleeve Wool | 260 | ||
| Ibex | Indie Short Sleeve Wool | 190 | |||
| Giro | 179 | ||||
| Cycling Base Layer | Assos | Long Sleeve | 215 | ||
| Cycling Tights | Castelli | Windproof pants | 198 | ||
| Down Jacket | Patagonia | 361 | |||
| Leg Warmers | D | 117 | |||
| Leg Warmers | Pearl Izumi | 130 | |||
| Arm Warmers | Cutter | 65 | |||
| Sun Sleeves | Novara | great for keeping sun off the arms | 45 | ||
| Cycling Vest | Garneau | High Visibility | 126 | ||
| Cycling Shoes | Pearl Izumi | MTB shoes | 805 | ||
| Shoe Covers | GoreTex | 176 | |||
| Cycling Gloves | Pearl Izumi | Full Finger | for most days | 68 | |
| Showers Pass | Insulated Full Finger | for cold days | 142 | ||
| Camp Pants | REI | 360 | |||
| Camp Shirt | Smartwool | Long sleeve | wool is great for not smelling, breathes well | 161 | |
| Camp Underwear | Exofficio | 2 pairs | 172 | ||
| Stuff Sack | Sea to Summit Event Bags | Roll up dry sack | not compression type bags with straps, they are 100+ grams heavier | 50 | |
| Down Vest | Marmot | Zeus | 268 | ||
| thermal underwear | Icebreaker | wool | 147 | ||
| Balaclava | Pearl Izumi | Full Face protection | 51 | ||
| Beanie | Zpacks | 30 | |||
| Bathing Suit | 190 | ||||
| Socks | Castelli | 2 Pairs | 54 | ||
| Showers Pass | 1 Pair | 67 | |||
| Swiftwick | 1 Pair | 49 | |||
| Pam Clothing | 6067 | 13.4 | |||
| Underwear | Exofficio | Travel underwear. Durable, washes and dries easily. To be worn off the bike. 3 pairs. | 78 | ||
| Camp Bra | Victoria’s Secret | 94 | |||
| Camp Shirt | Ibex wool | Long Sleeve | 143 | ||
| Camp Pants | REI | Long pants, convertible to shorts | 352 | ||
| Boy Shorts | Stoic | Wool Underwear | 83 | ||
| Base Layer | Under Armor | Bottom | 187 | ||
| Camp Socks | Wigwam | Wool | 75 | ||
| Down Jacket | Big Agnes | 324 | |||
| Down Vest | Isis | 309 | |||
| Bathing Suit | generic | 129 | |||
| Cycling base layer | Showers Pass | Top | 154 | ||
| Heavy cycling shirt | Assos Cycling | Cycling heavy layer-top | 206 | ||
| Sports Bra | Victoria’s Secret | Front enclosure makes for easy removal at the end of a tiring day | 145 | ||
| Sports Bra | Victoria’s Secret | Different style | 156 | ||
| Jersey | Ibex | Wool S/S jersey | 164 | ||
| Jersey | Garneau | S/S jersey | 116 | ||
| Bike Shorts | AeroDesign | 217 | |||
| Bike Shorts | AeroDesign | 212 | |||
| Bike Shorts | AeroDesign | 200 | |||
| Socks | Smartwool | 30 | |||
| Socks | Smartwool | 33 | |||
| Socks | Ibex | 28 | |||
| Socks | Swiftwick | 38 | |||
| Cycling Wind Pants | Sugoi | Heavy, but necessary for me, I like them better than leg warmers. | 449 | ||
| Bike shoes | Shimano | MTB shoes | 745 | ||
| Balaclava | Pearl Izumi | Full Face coverage | 50 | ||
| Earwarmer | phd | 27 | |||
| Riding Beanie | Showers Pass | Also use as camp beanie | 69 | ||
| Glove Liner | Showers Pass | 30 | |||
| Outer Glove | Showers Pass | 118 | |||
| Arm Warmers | Cutter | 66 | |||
| SunSleeves | Novara | 42 | |||
| Rain Jacket | Showers Pass | Elite 2.0 | 458 | ||
| Rain Pants | Showers Pass | Refuge | 346 | ||
| Shoe Covers | Gore Tex | 194 | |||
We’ve worked really hard to get these numbers as low as we can. I’m sure there’s still some places where we could shave off ounces, but we’re both pretty comfortable that we’re not carrying any extra unnecessary weight this time around.