Dream Bike: Gates Belt Drive or Conventional Chain

A relatively new concern when selecting your dream touring bike is the drivetrain. If you have decided on an internal gear hub it used to be a very simple choice: all bicycles had chains. However, over the last decade a new competitor has entered the arena: the Gates Belt Drive system. After taking an in-depth look at this new system I wanted to share my results and opinions.

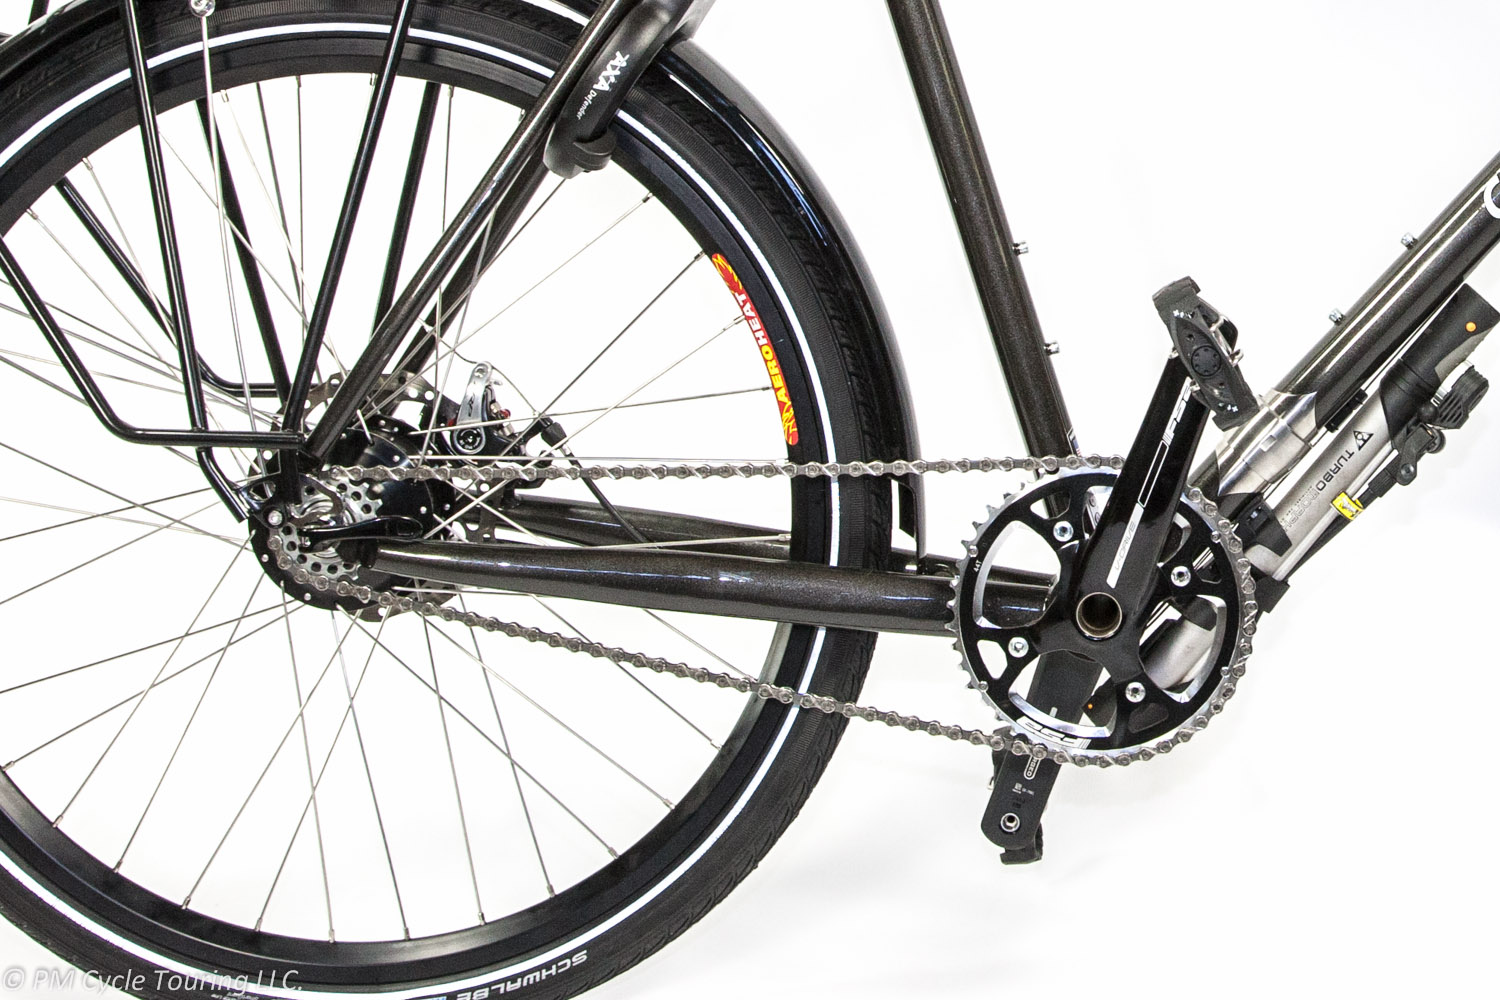
Conventional Chain: This is the tried and true system. A metal chain connects the front cog to the rear cog on the rear wheel driving the bicycle forward. The downsides of a chain are that it requires lubrication, is difficult to keep clean, and can rust. The upsides are the durability, low risk of failures, and availability of replacements.

Gates Carbon Belt Drive: The newcomer to the bicycle industry, this is a carbon fiber belt connecting two special sprockets. At first glance there are some powerful incentives to this system. It is lightweight (~120grams lighter than a chain) and requires no lubrication or maintenance. In fact, if I were getting a commuter bicycle for around town I would really be interested in trying a belt drive. Touring around the world is a different scenario and I found problems with the carbon belt system.

On a tour in remote areas of the world my first concern is the availability of repair parts. If you damage the sprockets or belt there is virtually no possibility that a local bike shop will have repair parts. With that in mind you might starting wondering what it will take to damage a belt.

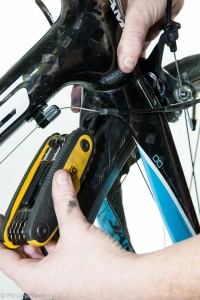
If you look at the manual for the Belt Drive (available here) there are several different actions which are listed as improper handling of a belt that may cause damage: crimping, twisting, back bending, inverting, zip tying, using as a wrench, mounting with a lever, or mounting by spinning the cranks. If any of those happen to your belt it is considered damaged and needs to be replaced (Page 5-7). While this may not be of much concern to the average rider, what if you wanted to carry a spare? Can you store the spare in your panniers in a fashion that does not violate any of the above? Basically, if any force is applied to the belt other than driving a bicycle it may be damaged.

Further in the manual, on page 34 it describes other scenarios that may damage the belt and require replacement: “… if a stone, a root, or a piece of clothing has been caught in the belt and pulled between the belt and the sprocket.” At this point it is advised that you always replace the belt. So let me think on this a minute. Do I want the drivetrain of my bicycle to require replacement because my pant leg got caught between the sprocket and the belt? Or if a rock drops on to the belt and rides through the sprocket? For a touring bike, no, and I don’t want to be stranded somewhere in the world waiting for a new belt to be shipped to me.

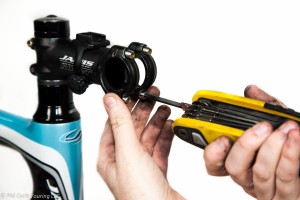
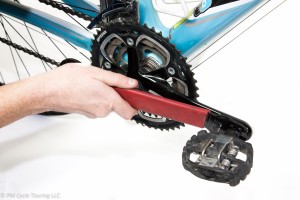
Another concern of mine is that the belt is tensioned much tighter than a bicycle chain. I have seen numbers in the range of 85-100 pounds of force being quoted for the tension. That tension is always there placing stress on the bearings of the drivetrain. Additionally, checking that tension is covered on page 15-19 which requires one of two special tools, or that you apply 20 to 45 Newtons of force (~10lbs) and measure that the belt deflects approximately 10mm. Once again I feel that this may be fine for a normal around town bicycle, but on a tour I would prefer not to be dealing with this.

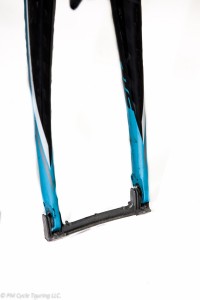
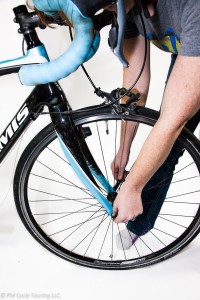
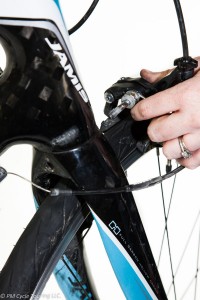
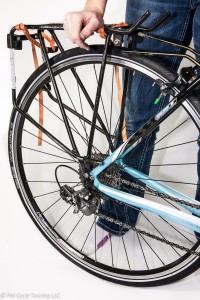
And the last straw for me is that the belt requires a break in the frame. Because the belt is one solid piece the rear triangle must be capable of being separated to allow the belt to be installed and removed. Placing a break in the rear triangle of the frame seems like a less than desirable option on a bicycle that you want to take to the end of the world and back.

With all of this in mind I settled on the conventional chain with my Rohloff. It just fits the requirements that I am looking for in a bike and has a proven track record. I look forward to further advances in technology and one day being free of lubricating the chain, but for now touring on a carbon fiber belt doesn’t seem like the most reliable option.

Deciding on my dream touring bike

After pinching pennies and saving for years, and setting aside a tax refund I finally had saved enough to order my dream touring bike. You may think this very exciting; however, this meant that I actually had to decide on what bike that would be. Unlike the Raleigh Sojourn which I just picked up from a bicycle shop, I needed to educate myself and make some important decisions.

Before I could even think about anything else I needed to really nail down what I was looking for this bicycle to do. I am not going to have the luxury of purchasing another bike like this for a long time so I need durability. I wanted to travel around the world with no boundaries so I need versatility: it needs to be at home on dirt and gravel as well as on the pavement. It must be comfortable to ride and should be made in America to support my local frame builders and needs to be able to packed up for easy travel. With all of these criteria in mind I began looking at each piece of the bike.

Frame Material: This ends up being incredibly easy; if looking for comfort, repair-ability, and durability only one material really meets these criteria. Steel. A bike framed out of steel rides well, can be welded by any stick welder in the world, and should last forever.

Drivetrain: Currently there are two viable options: a derailleur system or and internal geared hub. The derailleur setup technically meets every criteria I laid out, however I am sick and tired of tweaking the shifting of these systems and cleaning the dirt and grime off them. Not to mention my wife’s experience with a stick snapping her rear derailleur right off and me having to tow her 2 miles on a dirt road back to civilization.

Internal gear hubs (IGH) move all the gears inside the rear hub. There is really only one option for touring with an IGH because of the large gearing required for a touring bike and that is the Rohloff Speedhub. With 14 gears covering a 526% gear range, it is the equivalent of a 27 speed derailleur. Additionally, you can change gears while stopped, no real cleaning is required since the gears are inside the hub, and if the shifting cables break you can set the gear manually. It will not auto return to the lowest or highest gear like a derailleur. The downsides are that no one will likely be able to repair it in remote areas of the world, and it weighs slightly (~150grams) more than a full derailleur system.

The last piece of the IGH puzzle is deciding if you want to use a chain or a Gates Carbon Belt Drive. While the carbon belt drive offers a grease free option and is lighter weight than a chain, I decided there were several significant negatives. You can read more about this comparison in its own article. My final choice was to use a chain for my long distance touring bike. While I will still have to grease the chain, I will always be able to find a replacement chain and my frame will be one solid piece of steel.

Wheel Size: 700c or 26” is the simplest way to sum up this question and I will try to make this short and sweet. 700c wheels tend to feel smoother and have less rolling resistance. 26” wheels accelerate quicker, are less likely to have toe-overlap and are available world-wide. Because I didn’t need speed, and wanted to go worldwide I choose 26” tires. However I do think that there will likely be a time in the future where 700c wheels are the dominate tire size since it seems to be the direction manufactures in the US and Europe are going.

Manufacturer: There are several touring specific manufactures in the US, however only Co-motion happened to have a dealer nearby me that stocked bicycles for me to test ride. This let me actually try out the Rohloff and feel the geometry of the bike, and after riding it I knew that this company knew what they were doing. Since they hand build each bike in Oregon if you need a custom frame change it is only $300 extra.

Conclusion: After all the research and time I spent looking I finally, nervously, decided that the Co-Motion Pangea Rohloff was the bike for me. I will document my experience ordering the bicycle, and give a review of it further down the road. If I missed any considerations, or you want to share your dream bike, leave a comment below!

Unpacking and putting together a boxed touring bike

For our first tour we flew from Los Angeles to Seattle and had our bicycles boxed up. We had never really thought about how to put the bicycles back together once we got there. I suppose we just assumed it would be super easy. Thankfully our host had a bicycle stand and some tools to help us get them back together, but it was close to being an unpleasant experience. In response to that here is our guide to taking a bicycle from boxed to ready to ride.

Review this before you leave for your tour and reference if needed during your tour:

  1. Get your boxed bike and an open area to begin putting it together.
  2. After removing your bicycle assess how dis-assembled it is. If you had a shop pack it up some equipment may still be attached compared to our walk through, or it may be further dis-assembled.
    Bicycle after removal from box, still contains packing material.
  3. Remove any excess packing material
    Hand with scissors cutting zip tie holding packing material on the bicycle.
  4. Attaching the rear derailleur
    1. Shifting to the highest gear on the rear shifter should give you extra slack in the cable.
    2. The chain does not need to be on the f ront cogs, it may be easier with it off allowing free movement of the derailleur.
    3. There will be one large screw on the rear derailleur which screws into the frame. Additionally there will be a smaller screw which is perpendicular to the large screw (A in the picture). Make sure this screw ends up resting on the notch of the derailleur hanger (B in the picture). If you aren’t paying attention you may tighten the big screw and bend the smaller screw, so make sure you keep an eye on this while tightening the rear derailleur!
      Hand holding rear derailleur near bicycle frame before attaching it.
    4. Once the rear derailleur is attached you can position the chain properly on the front and back cogs.
      Rear triangle of the bicycle with rear derailleur attached and chain on.
  5. Positioning the stem
    1. Prior to packing your bike you should use a metallic sharpie to mark the angle / position of your stem/handlebars
    2. Rotate your fork so that it is facing the proper direction.
    3. We find it best to have the fork or front wheel on the ground while working with the stem/fork, if you loosen the wrong part the entire fork may fall out if the bike is on a rack or has the fork unsupported.
    4. If needed loosen the stem and position it so it is pointing in the proper direction, straight away from the bike. Tighten if needed so the stem is firmly attached to fork.
    5. Loosen the handlebar mount portion of the stem.
      Hands unscrewing the front part of the stem prior to attaching the handlebars.
    6. Insert the handlebars and align the marks you made before you left to get the handlebars centered and at the proper angle.
      Rear triangle of the bicycle with rear derailleur attached and chain on.
    7. Tighten all screws firmly.
  6. Attaching the front wheel
    1. If packed with a plastic spacer, simply remove the spacer. This may require applying gentle pressure to pull the fork a little apart.
      Front fork with plastic spacer to prevent bending during transit.
    2. Attach the front wheel as you normally would. You should be familiar with this because you will be needing to change flat tires while on the road.
      Installing the front wheel on to the fork.
  7. Attaching the front caliper brakes
    1. Locate the front brakes and the mounting hole in the front fork.
      Positioning the front brake calipers before attaching to the fork.
    2. Slide the bolt through the mounting hole and thread the tightening piece from the other side. Use an Allen wrench to tighten, snug but not over tight.
      Tightening the front brake calipers to the fork.
  8. Finishing Assembly
    1. Check all cables to ensure they are in the proper mounting holes. As needed re-guide or re-position cables to their appropriate positions.
    2. For the rear derailleur
      1. Ensure the cable routed properly along or through the frame from the handle bars to the derailleur.
      2. Thread the cable through the derailleur, but don’t tighten it just yet.
        Hand threading cable through rear derailleur on a bicycle
    3. Attach your racks to the appropriate mounting points and ensure all screws are tight, including screws that remained installed during transit. You are about to embark on a tour and you don’t want your bike falling apart because you failed to check a screw tight.
      Girl hold bicycle with rear rack attached to back.
    4. Using a pedal wrench attach the pedals. One pedal is threaded “normal” (tighten by turning clockwise) the other pedal is threaded “backwards” (turn counterclockwise to tighten).
      Pedal wrench attaching pedal to crank.


  9. Adjust the rear derailleur
    1. While this is a necessary part of putting your bike together we have included a separate guide. Look for a future post explaining how to do this!
  10.  Stand back and admire your completed bike. Now get out there and ride!
    2014-03-07 2038 PMCT-6

If you have any questions feel free to leave them in the comments, or if you noticed that I missed something tell me. I hope this helps people get a feel for taking a bicycle from boxed to ready to ride.

Pros and Cons of Carbon Fiber Touring

For long distance touring you might think that heavy, steel framed bikes are the only way to go. Not so! I recently completed a 2500 mile bicycle tour on a carbon fiber “light touring” bicycle. I want to share why I chose a carbon fiber bike and my experience riding 2500 miles of the Southern Tier. Let’s take a look at some of the pros and cons:

Pros.

  • Speed. I could go so much faster!
  • Exertion. I was not as tired at the end of the day.
  • Weight. I was forced to choose lighter gear

Cons.

  • Limited on how much I could carry.
  • Worried about durability
  • Repairabliliy

Weight Limit. Let’s address the cons first. My Jamis Xenith Endura Sport Femme was rated to carry ~40 pounds of gear. Most of the gear I had from previous tours was heavy so I was concerned about putting too much weight on the bike. To address this concern, I purchased new, lighter, more compact gear.

Durability. Additionally I was worried about the durability of carbon fiber. I rode 2500 miles over various road surfaces. This including about 1,000 miles of rough Texas chipseal! If any surface was going to vibrate my bike to pieces it would have been the rough Texas roads, which are some of the roughest surfaces in the United States! I even did a little bit of off-roading, riding on dirt, mud, and gravel.

Repairablility. I was pretty nervous that something would happen to my bicycle along the way. If any damage were to happen to the frame, it would involve a new bike instead of a simple weld like with steel-framed bikes. However, I had no issues in over 2500 miles of loaded touring and the bike is still going strong.

Speed. Now for the pros. My bike weighed in around 17 pounds and my gear weighed 25, my total weight came in just over the unloaded weight of my steel-framed Raleigh Sojourn. By reducing my overall weight, I was able to travel much faster and my average speed went through the roof!

Enjoyable. At the end of the day I wasn’t nearly as tired because I wasn’t pushing as much weight. While I had less space to pack gear, this is also a benefit, because you can’t over pack if you don’t have room. If you sum all of this up I found that with my carbon fiber touring bike, self-supported touring was much more enjoyable. My days felt lighter and easier allowing me to enjoy the views and travel much more.

Some bike manufacturers are experimenting with creating carbon bicycles which are definitely suitable for touring: the rims can take wider tires, the gearing is better suited for climbing hills, the rack mounts are already there. When you’re planning your next tour, don’t discount the carbon. You could find your next favorite touring bike, just watch out for the price tag!


How I fell in love with my touring bike and what to look for in yours

Halfway through my last tour, I realized something: I love my touring bike. I thought this was something I would never achieve. In fact, I had resigned myself to the fact that I would enjoy touring, but not necessarily my bicycle. But, it happened. I found a bicycle that I enjoy riding for days on end. I don’t get tired of riding this bicycle!

How can you make sure that you will love your touring bicycle? Here’s a few things that I considered when purchasing my latest bike.

Fit: My first touring bicycle was not designed for me. A quick look at me and the bike shop ordered what they thought was the right size. It was ok for short rides but 500 miles down the road I was experiencing real pain, on and off the bike. I was able to make some adjustments to it, which helped, but it never did fit me well. A professional can measure you to give you a starting point for a bicycle; this will typically give you a better starting point than someone glancing at you.

One big problem I faced was not riding the bike for several long days in a row to know if it fit well for touring. I should have practiced with a short multiple-day tour to ensure I had proper fit. Additionally riding a loaded bike is different than unloaded, and puts different stress on your body. You should practice with weight, and make the necessary adjustments before you even begin your tour. Even millimeters of adjustments can make big differences in your comfort. Try to get it right before you leave and mark the proper heights/angles on the bike.

Function: I was lucky enough to find a carbon fiber, lightweight, touring bicycle. This was everything that I wanted in a bicycle, both for touring and for riding around. Un-weighted, I can keep up with much faster riders. Weighted, I can go for long distances. Being both lightweight and able to carry gear was important to me. If you are looking to go to remote and distant places on the world you will be looking at 26” wheels with wide tires, steel-tubed, rugged bike. If you are looking to riding around on well paved roads you may find more enjoyment from a lighter weight touring bike. Get an idea for where you want to go.

Form: My bike is beautiful. To me, it looks pretty. This makes me happy. I like to look good while I’m riding, and my touring bike definitely helps me feel that way. So while this may be of less importance to some I feel that is important to me.

Bicycle manufacturers are producing more and more off the shelf touring bikes all the time. If possible, take a bunch out for a test ride. Find a shop that has a sample, and try it out for yourself. If they don’t carry the right size for you try to find a bike with similar geometry/dimensions. Take it for test ride before you order and get it set up the way you want it.

Here’s a few models that we’ve tried (or wish to try). There’s many many more out there:

  • Raleigh Sojourn
  • Surly Long Haul Trucker
  • Kona Sutra
  • Jamis Endura Sport Femme
  • Co-motion Pangaea

Your perfect bike is out there, waiting for you. For now, just get out there and ride!