So starting September 12th we are going to be hitting the road and touring the Adventure Cycling Sierra Cascades Route! If you want to follow along with us visit our website at http://pm.ona.bike!
-Matt
So starting September 12th we are going to be hitting the road and touring the Adventure Cycling Sierra Cascades Route! If you want to follow along with us visit our website at http://pm.ona.bike!
-Matt
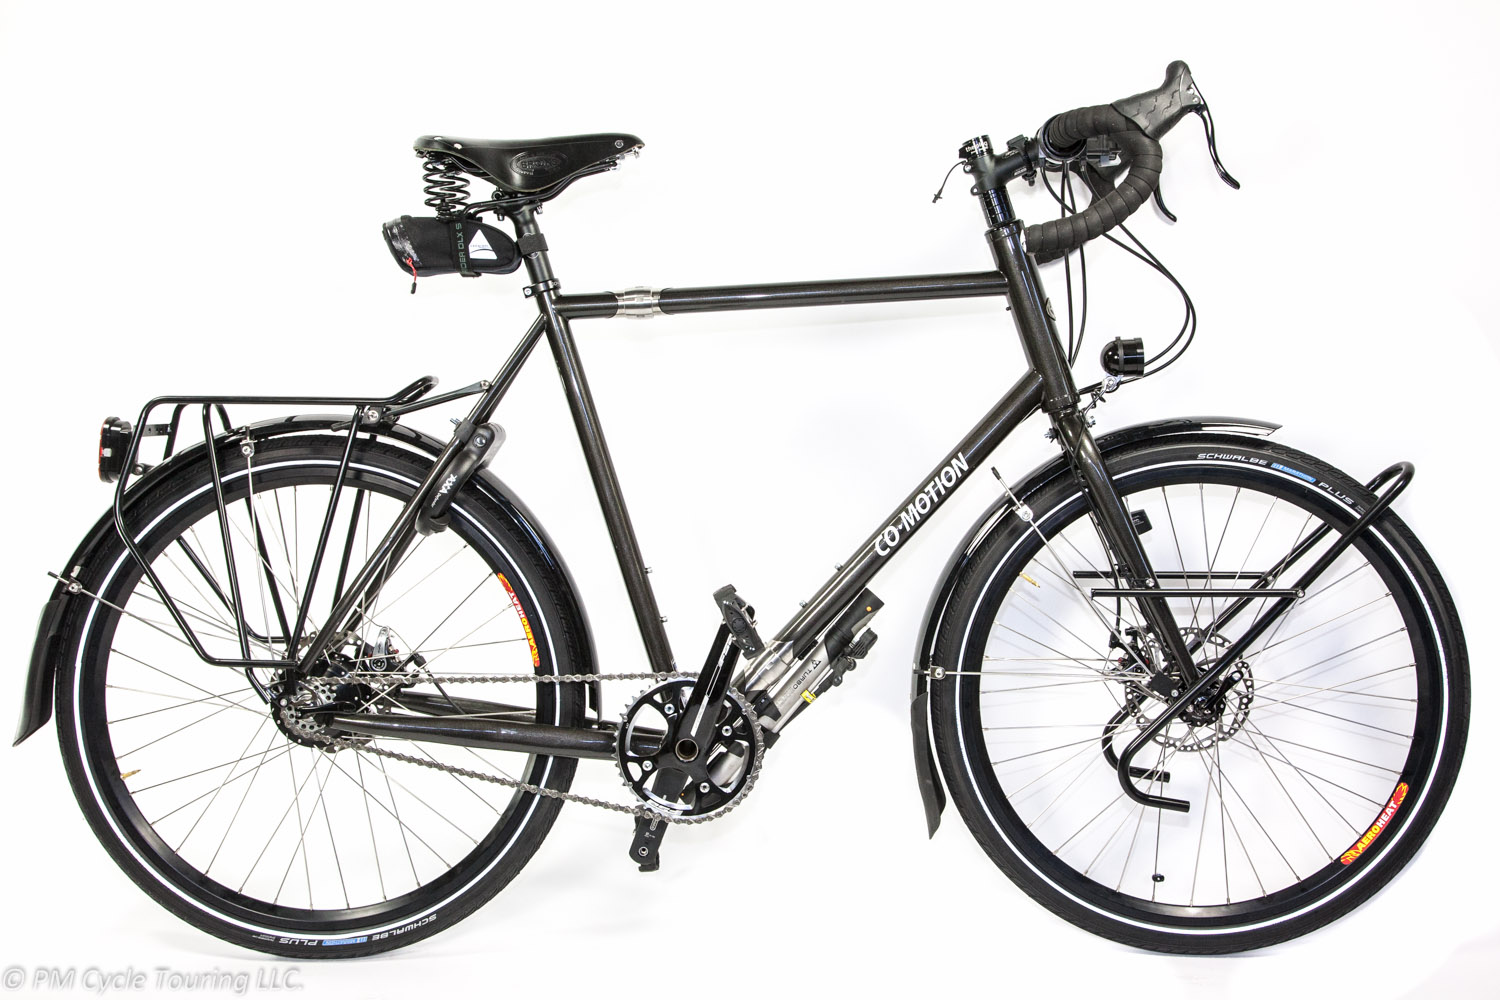
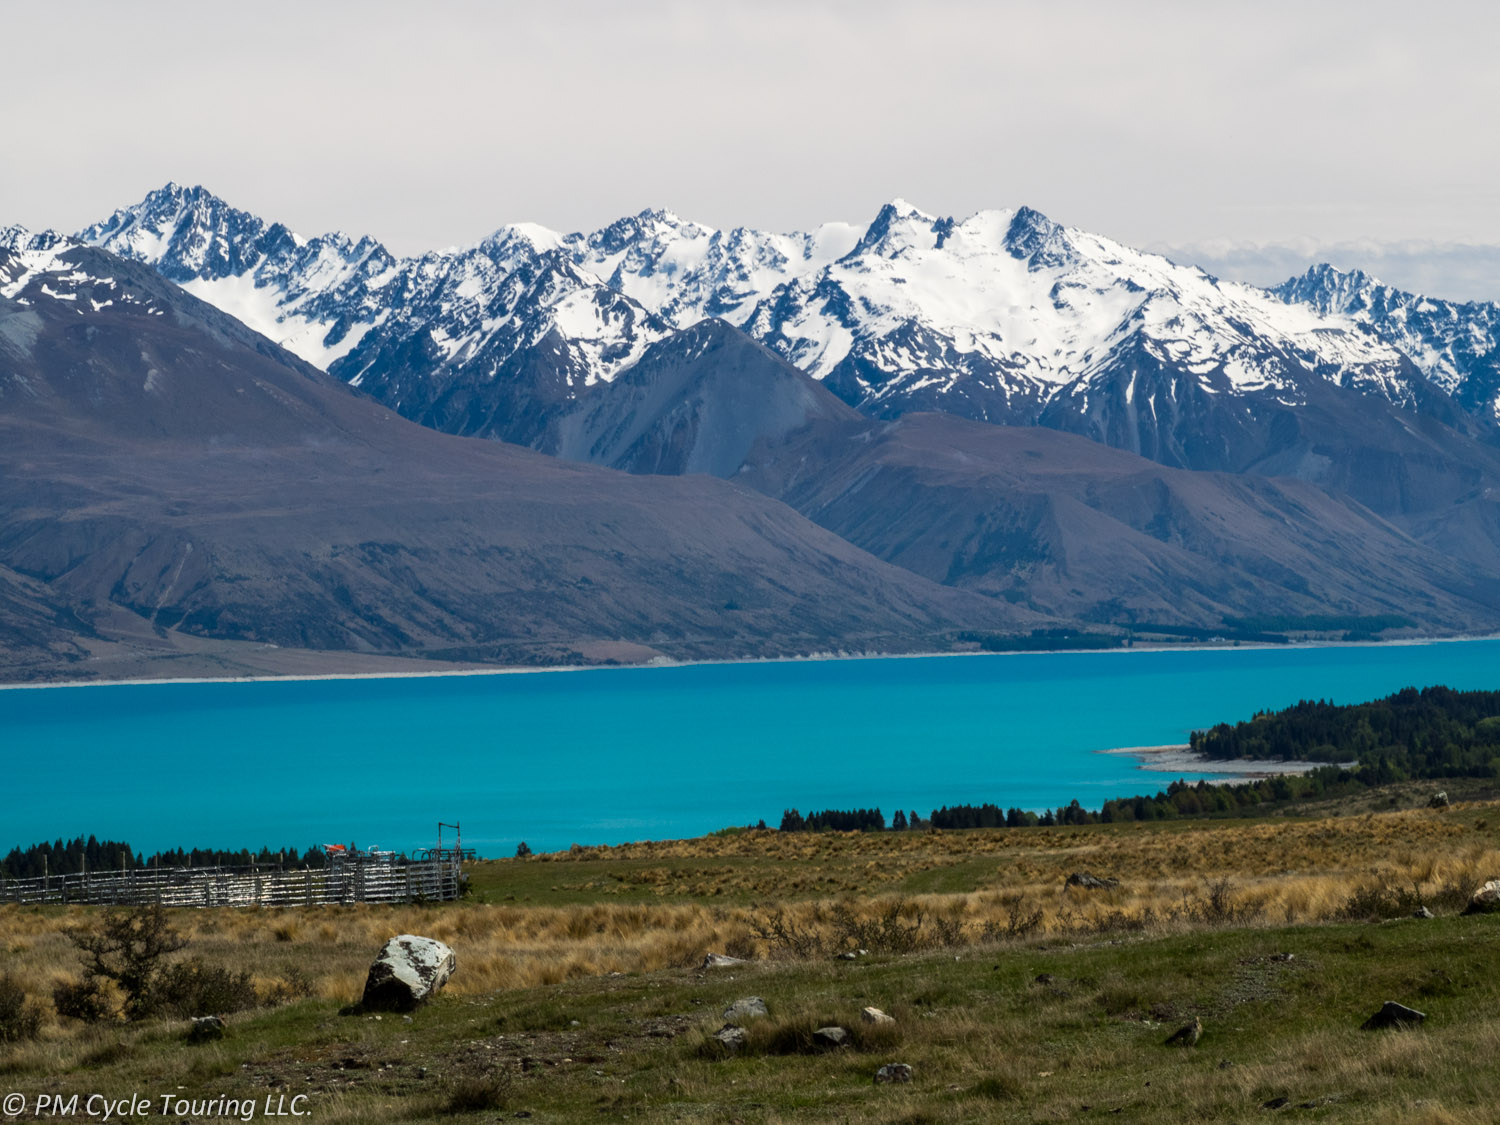
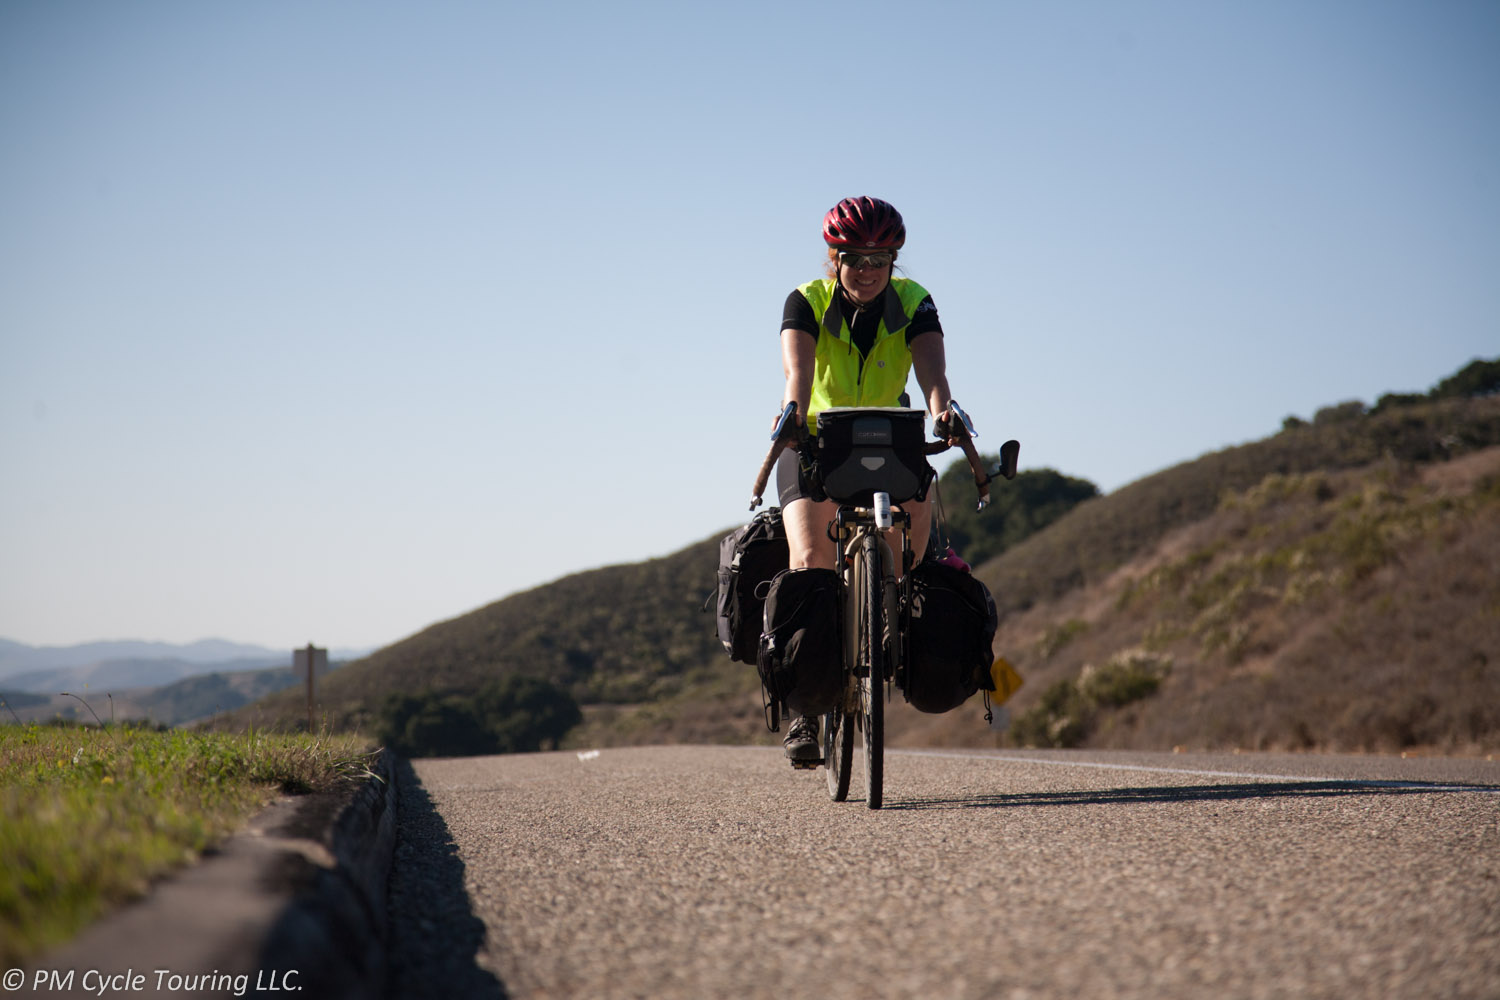
About a year ago I purchased my Co-Motion Pangea after an exhaustive search for the “dream” touring bike. Post-purchase I decided that a break-in tour was needed, to put the bike to the test. We began preparations for a tour of the South Island of New Zealand, which proved to be an amazing test of my Pangea. During our tour we experienced a little bit of everything you can throw at a touring bike: rain, gravel roads, river fording, snow and ice, mud, steep hills, and high winds.
Travel:
To get from sunny Los Angeles to New Zealand involved a 13 hour direct flight. Air New Zealand has a reputation for being very strict on their baggage policy and the Co-Motion suitcases dimensions are pretty much at the limits of allowed baggage sizes.
However the real issue ended up being weight. The suitcases themselves weigh near 14 lbs., and you only get 50 lbs. per bag. We packed the bikes and added the cages, bottles, pedals seats to the suitcase only to find that we were over the limit. After some re-arranging and putting all the extra bits into our other luggage, we managed to get the bikes under the weight limits.
Assembly:
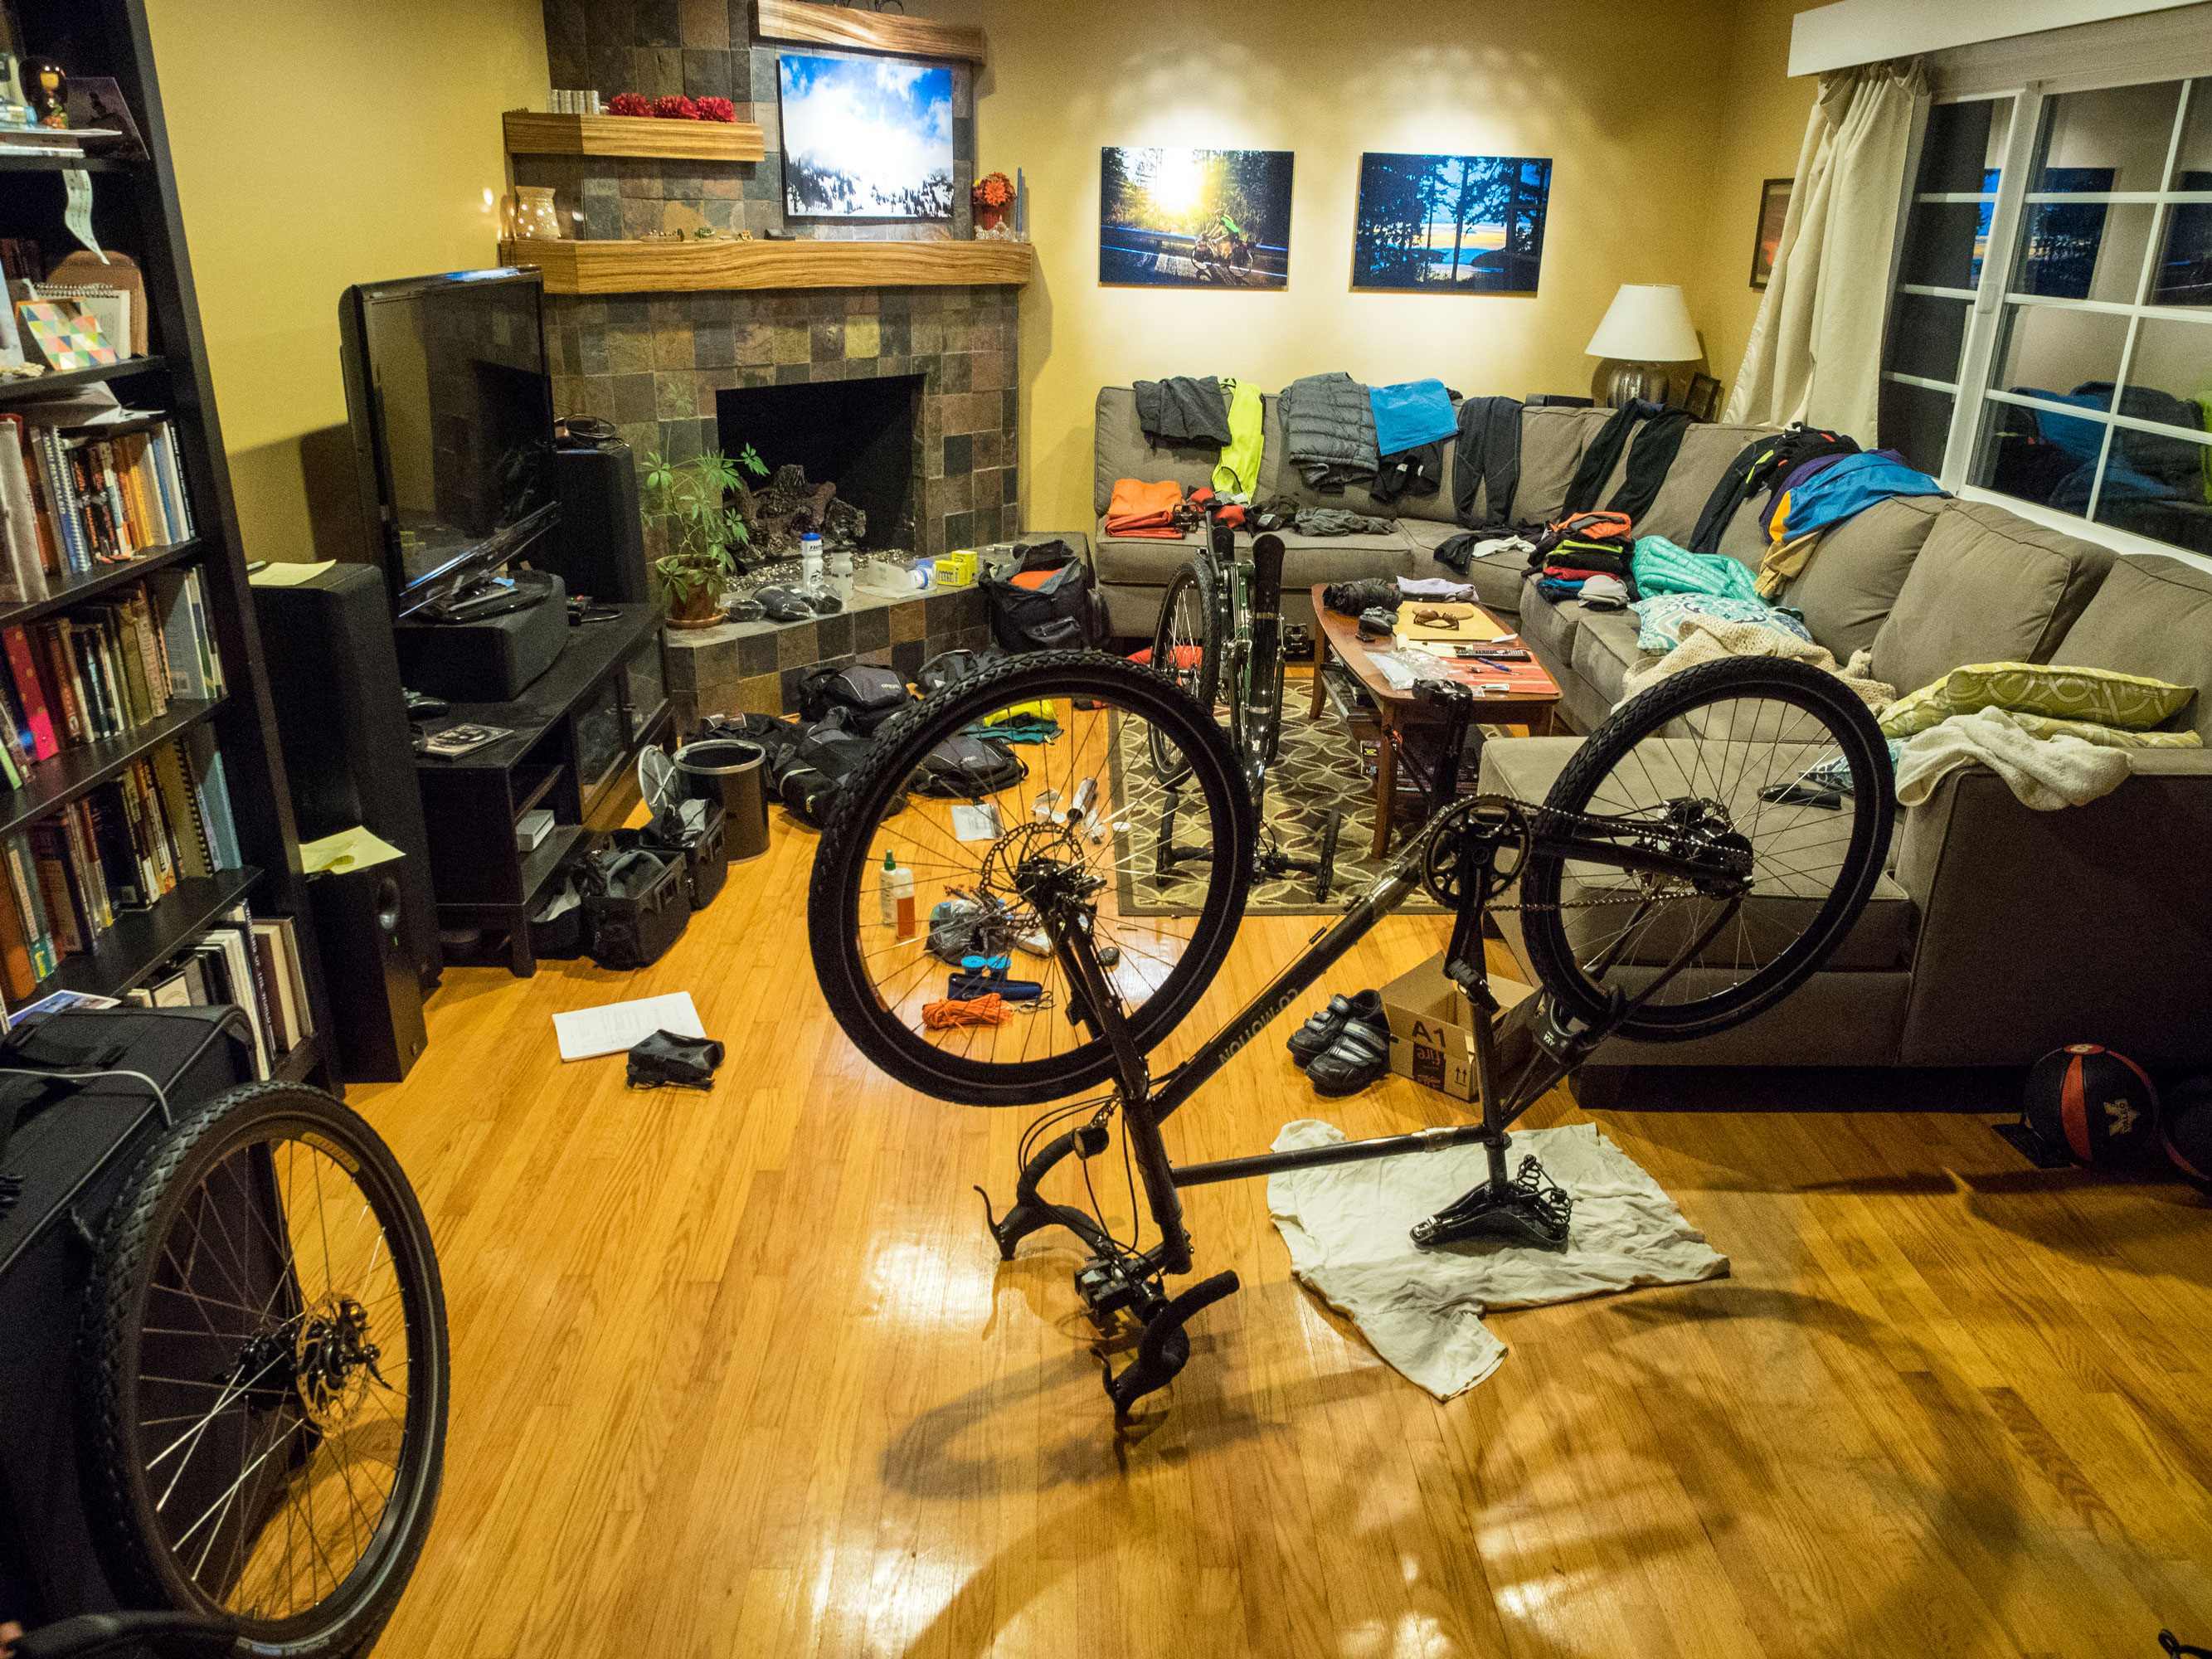
Putting the bikes back together was exactly as we practiced at home; please make sure you practice at home before you tour. No issues to report, everything worked as expected. It was a half-day event getting two of them together and tuned up.
Touring:
So, how is it to tour on a Pangea? I can sum it up in three words: I love it! The ride is very smooth and responsive. We started off on paved roads for the first few days and had no issues with any kind of pavement. The Brook’s saddles with springs, 26×2″ Monodial tires, and thick steel tubes make for a supremely comfortable ride. Even on gravel roads, the Pangea continued to ride very smoothly. My butt has never felt so good and the saddle wasn’t even broken in yet.
Speaking of gravel roads, we found that New Zealand roads aren’t graded like American Roads. It was rather common to find ourselves going up 11-14% grades that are a rarity in the US. We found that the gearing of our Pangea’s may be a little higher than we would like for such steep roads, especially dirt or gravel. However, there may have been another factor. We hardly trained for the tour. So I am uncertain how much of the gearing issues was due to our weak bodies.
As we progressed through New Zealand there were very few bicycle problems. About two weeks in I started noting that my chain was clicking a bit as I pedaled. I found that the tension was very loose and the chain was flopping a bit. I busted out the best multi-tool for a Pangea and adjusted the chain tension using the eccentric bottom bracket. This brought the chain nice and tight eliminating the noise from the drive train. Pam’s right handlebar brake lever started to get loose but that was probably a bike assembly error. Pam was missing one gear of her 14MW on Rohloff, once again likely bike assembly error (seeing a theme here? I am wondering about the shop we used to get the bike). We had to adjust chain tension several times. The Brook’s saddles with springs produce a tiny bit of noise every now and then. The stainless steel drops require a lot of force on the quick removal skewers to keep quiet.
My biggest disappointment was the SON generator and USB outlet. Riding along on flat roads it wouldn’t charge my battery pack or phone reliably. It would turn on, with the green LED lit, then the device would start to charge, then it would shut off, and repeat. If going downhill it would charge for a bit, but as any tourist knows the downhills are always too short. Finally we went through a particularly remote 4×4 track through the mountains that involved fording knee high water 40 times. The SON generator stopped working the next night and never turned on again.
After the generator stopped working I wanted to troubleshoot it, but as a cycle tourist I was carrying nothing I needed. I had no multi-meter or method to test if the hub was producing and the USB outlet failed, or if the hub failed. I unplugged the hub and we made use of our touring techniques for maintaining electric power for devices. New Zealand campsites usually had power available, so we were never more than two days without have an outlet. As any cycle tourist knows, you just make do.
Final Thoughts:
I am very happy with my bicycle, and I was recently asked if it was worth $7,000? For me it is. It feels great to ride, and I spend my time enjoying the ride not worrying about a derailleur tuning, or wondering if my bike could be just a little bit better. If I were to do it again I would skip the generator hub, but I stand by my decision to get a chain instead of the belt drive; the Rohloff itself is amazing.
I know that the Pangea will take me anywhere in the world I want to pedal; it is built like a tank. All that being said, you don’t need a fancy expensive bike to tour, the sites and views look the same, just get out there and ride! If you want the best bike money can buy I would put my money towards a Pangea.
*Note: I was not compensated in anyway for this review, just my two cents on a bicycle I purchased with my own hard earned money.
For our first tour outside the United States, we decided to make things easier by traveling somewhere with a common language. We had read about New Zealand’s beauty, the friendliness of its people, and how pleasant a place it is to stay, as well as its claim to speak English.
Upon arrival, we found that even though we spoke the same language, sometimes it didn’t feel that way. Some things still got lost in translation.
For example, for dessert one night, we decided to try a New Zealand milkshake. And not just any kind of milkshake, a “thick shake.” Here in the US, a thick shake is, well, thick, usually requiring a spoon to enjoy it properly.
When our thick shake arrived at the table, we were a little disappointed to find that not only was there no spoon, but it was liquid! It was mainly milk, with flavoring, and a scoop of ice cream. I guess that’s where the “thick” comes from. Ah, well. It tasted good regardless.
Bacon in NZ is not necessarily what Americans would call bacon. I ordered a “bacon burger,” thinking it would be a hamburger with slices of bacon. Nope. It was basically a ham sandwich, on a hamburger bun, not even including a hamburger patty. Slightly disappointing. If you are looking for proper American style bacon, the Kiwis call it “streaky bacon.”
On our last day in NZ, I needed a late afternoon pick-me-up, and we popped into a coffee shop. They advertised “iced” drinks, so I ordered an iced coffee. I expected to get coffee, with ice. Instead, the waitress served me a coffee milk shake, complete with ice cream, milk, and chocolate syrup. It was delicious, and even better than the aforementioned thick shake, just not what I had expected.
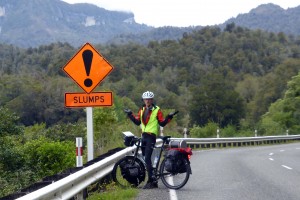
As we rode our bicycles around New Zealand, we were constantly amused at the differences in road sign wording that our two countries use. Over time, we became used to the differences, but every once in a while one would stand out. We actually came across a sign that we still have no idea what it could have meant: A hazard sign (orange with a black exclamation point), and underneath the word “Slumps.” We’re still puzzling over the meaning of that sign. And, sometimes the road signs were polite to the point of ridiculousness. For example, a sign in Christchurch read: Buses and heavy vehicles to use High St one way system as Manchester/Taum intersection not suitable. Seems like a much more polite way to state: Large Vehicles Prohibited.
The longer we were in New Zealand, the more we found ourselves adopting the local words for various activities and things. In a small way, we were able to pick up a little bit of the culture of New Zealand, even in the short time we were there. We had a fantastic time, and look forward to traveling to many more exciting places in the future.
As big of a fan as I am of the Co-motion bicycle, (see this post, here) the company website could use some refinement. When I started researching my dream touring bike I found that there were several options available that had little to no description. I spent a little bit of time trying to educate myself about the varying options and I wanted to share what I learned.
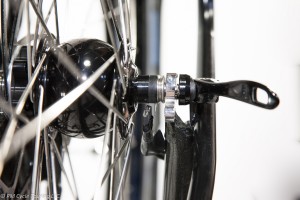
Stainless Steel Dropouts: The dropouts are the points that the wheel axles attach to the frame. Typically these are made of steel similar to the rest of the frame, so if you select this option they use stainless steel at these points. There are two distinct benefits of this option.
First, the stainless steel dropouts are not painted, leaving beautiful shining stainless steel which looks very sharp.
Second normal steel dropouts get all of the stress of you riding the bike put on them, and are prone to becoming slightly worn over time making it harder to get the wheel perfectly aligned. Additionally as you remove and re-install the wheel on a steel dropout you will likely chip the paint from clamping the wheel to the frame and will see rust building up. Since stainless steel is stronger than normal steel the stainless dropouts will not rust and will be less likely to get worn.
If you are looking at having the bike for a long time or just love the look, my recommendation is to get this option.
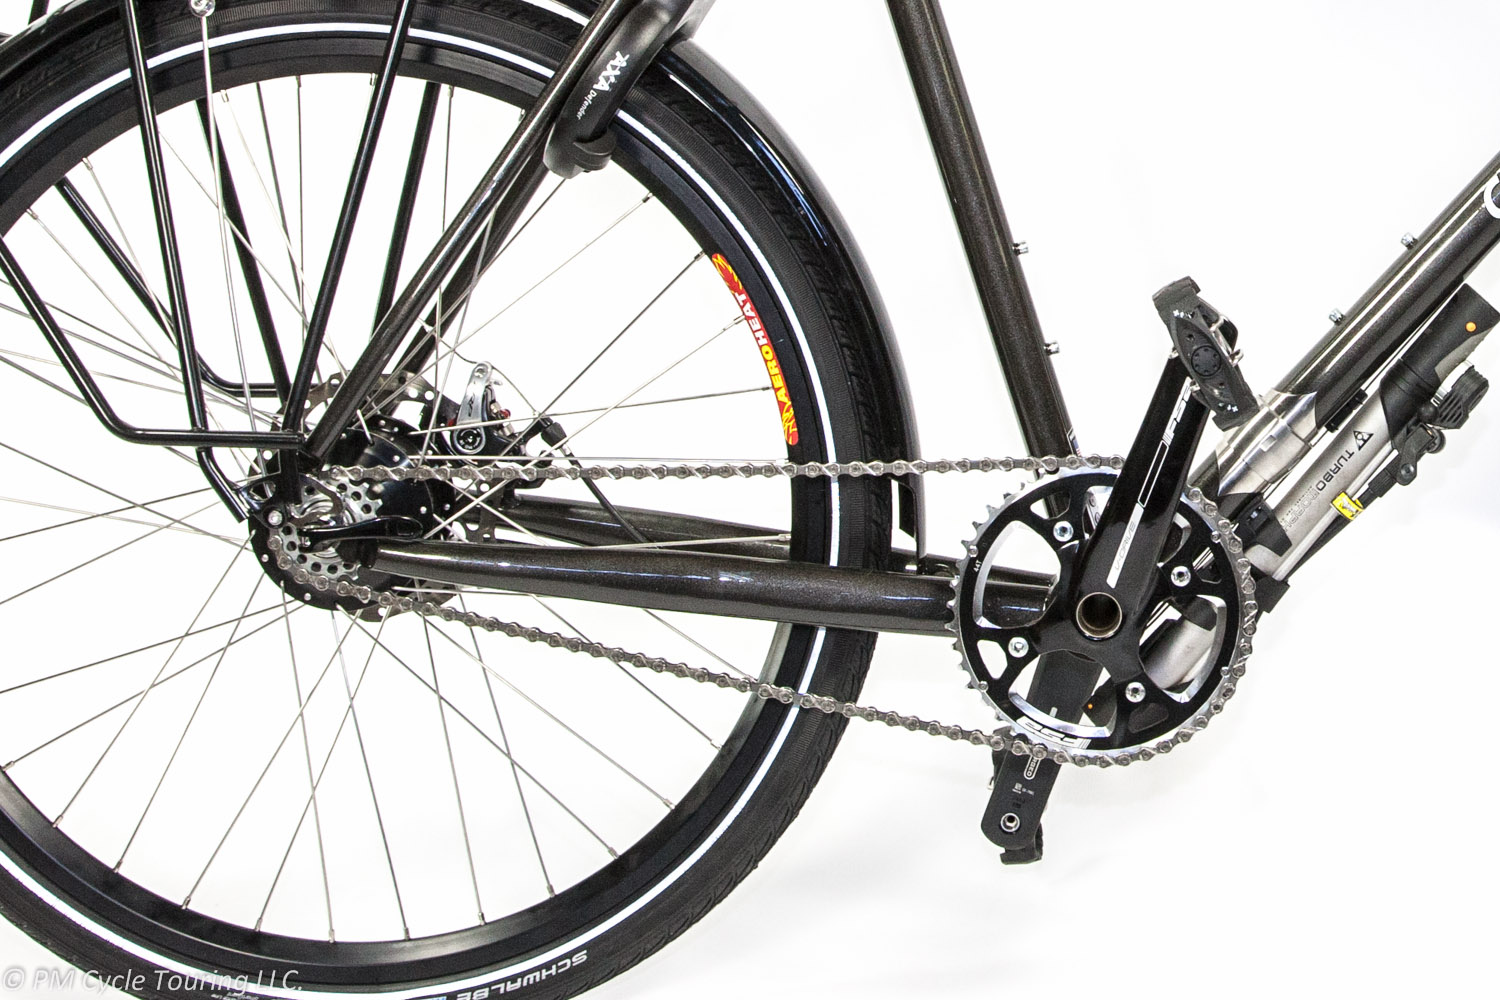
Pathfinder Package: This replaces the front hub with a Schmidt SON 28 generator, includes a Schmidt Edelux LED headlight, and a “the plug” stem cap with a built in USB charger. For a serious tourist getting off the beaten path this is a great way of giving you the ability to charge your electronics on the road. The headlight is top-notch, plenty bright for night time riding, and is a nice convenience to have.
The two downsides are that adding a generator to your bike does increase the amount of power required to pedal the bike. However this drag is relatively small being about 1 Watt at 5mph, and 6.5 Watts at 20mph. Considering that an unloading bicycle going up a 5% hill at 13mph takes ~320Watts, and pedaling on a flat surface with no wind at 13 mph takes about ~80Watts this generating hub and light are a small load. This package does add some complexity to the bike. However given our modern electronics this option is increasingly becoming more and more necessary, and I sprung for it on my bike.
If you look at the above picture, you can see the hub inside the wheel.
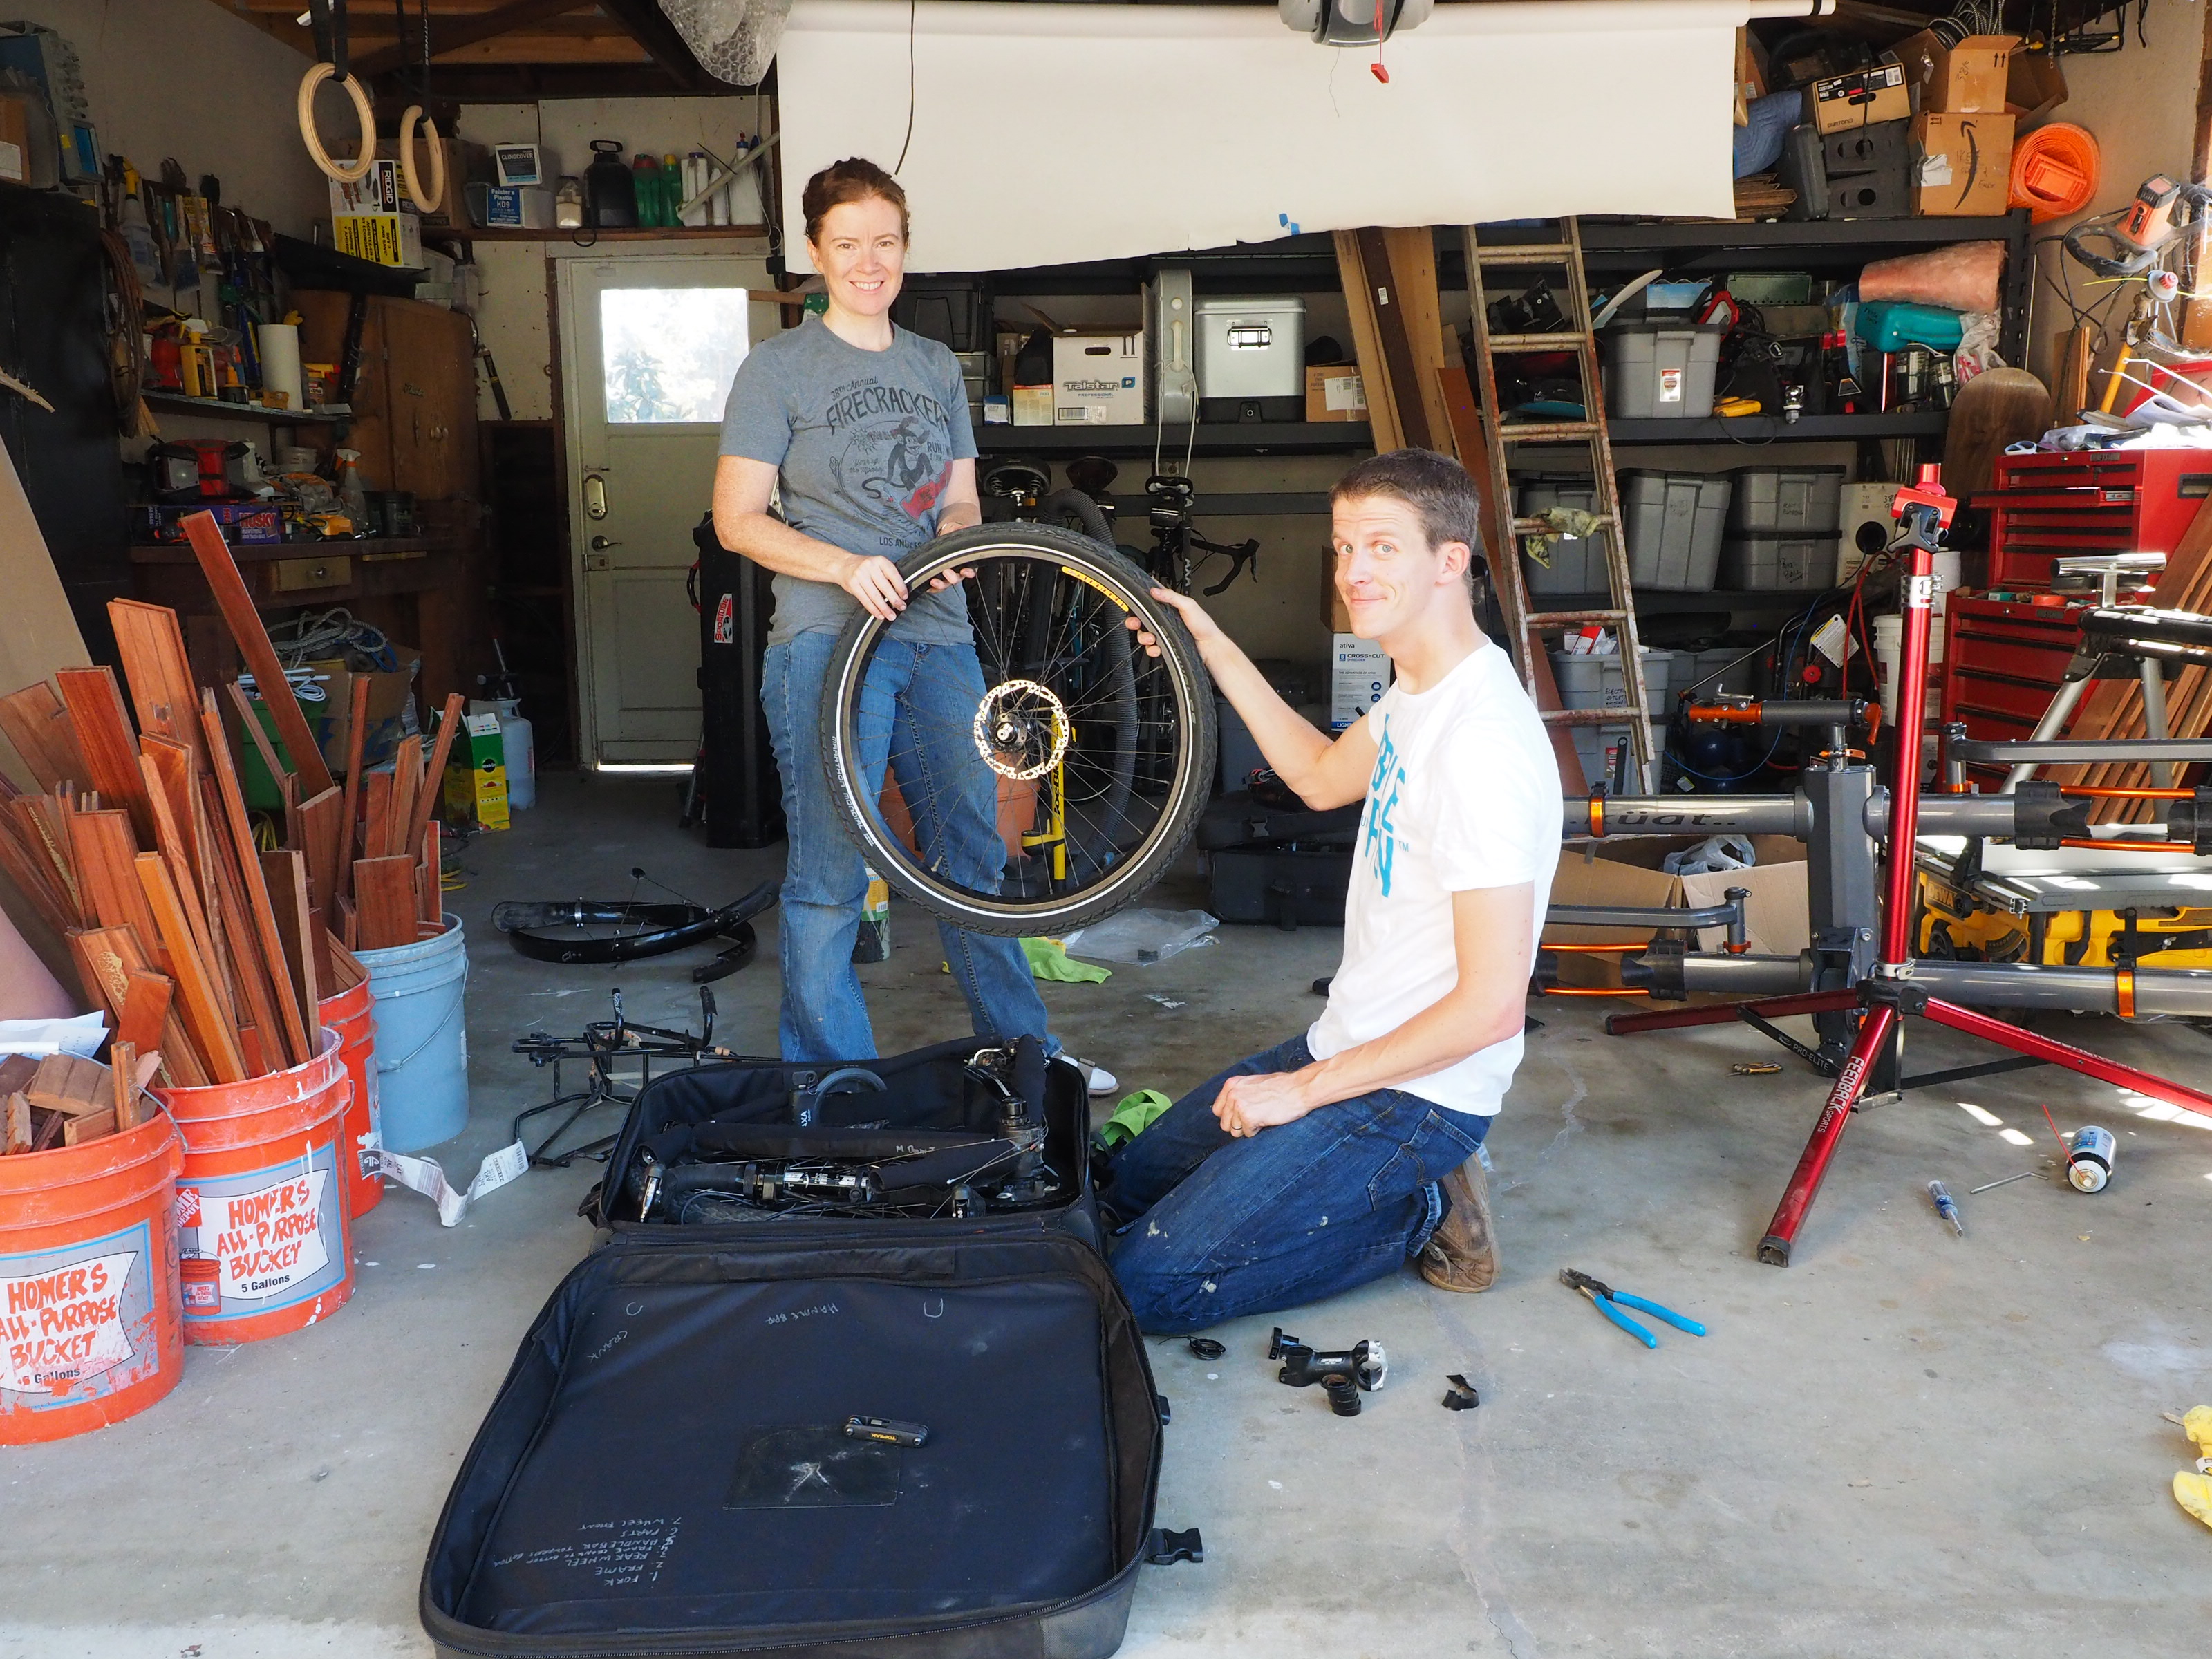
Co-pilot: Do you need your bicycle frame to be able to broken into two pieces to allow for packing of the bicycle? Yes? Then you need S&S couplers. These mechanical stainless steel joints have teeth between the joints and screw together to couple the two pieces of the frame together.
These couplers actually stiffen the frame a little bit and have been proven to be very reliable in service. To separate/tighten the couplers you do need a special spanner wrench (included with purchase). The only maintenance required is a dab of Teflon lubricant every now and then.

You can clearly see the two sets of S&S couplers on the frame, one on the crossbar and one on the downtube.
Co-pilot Padding Kit: When packing your bicycle you need to wrap padding around the frame to keep the paint nice and prevent any metal parts from rubbing against each other (bare metal rusts and can be a potential weak spot). If you are trying to save money you could just use some generic foam padding or rubber insulation material. However, the Co-pilot provides sewn padding kits with a nice fabric and Velcro closure to keep the padding attached to the frame. The time you save using this kit may be worth it if you plan on packing the bike a lot versus trying to wrap it yourself every time, or making your own padding.
Co-pilot Case: At $400 this is a significant amount of money. What you get is a very well built bicycle-packing specific suitcase. There are 4 exterior pockets, 3 interior pockets, reinforcements where the wheel axels will poke the bag, heavy duty zippers, and compression straps to ensure you can meet the airline size requirements. Additionally it is built with telescoping handling and wheels to make transport a breeze. The case appears and feels very well made, and I think you would be hard-pressed to find a better alternative, but let me know in the comments if you have heard of or found a suitable alternative.
Hopefully this sheds some light on to a few of the options that I found little information on, if you have any more information or questions let me know in the comments!
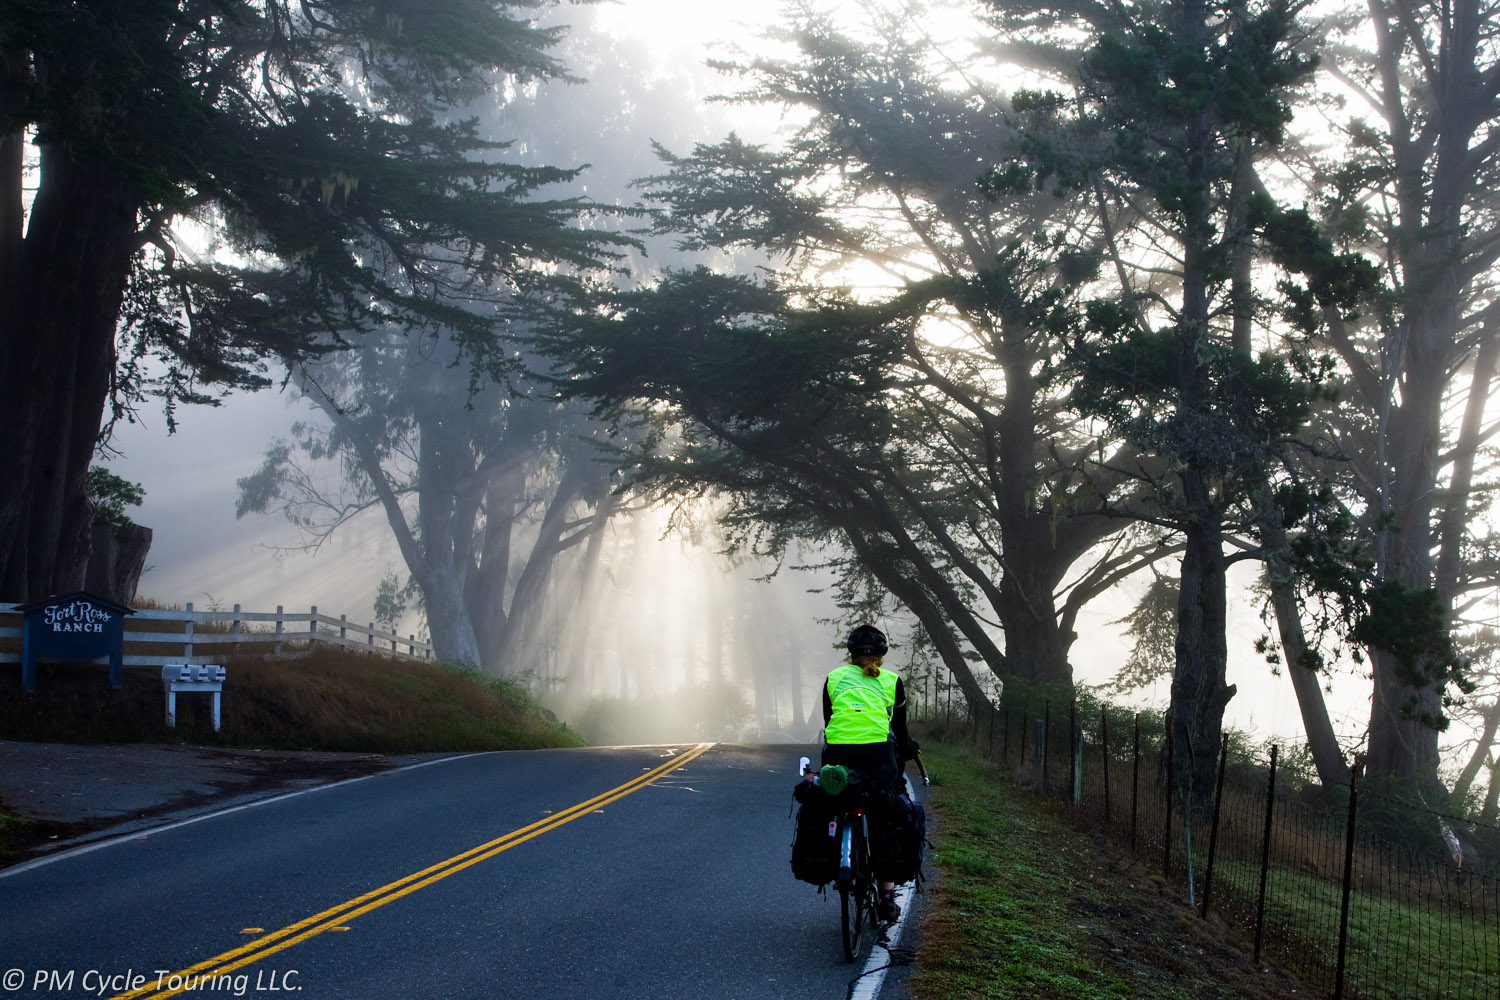
Hello all! As you may have noticed the stream of updates around here is going to slow down a little. We are heading off on a bicycle tour around the Southern Island of New Zealand! As part of that we are going to be journaling on a different site at http://NewZealand.OnA.Bike/ or you can click here.
Yes that is the web address, no www or .com required. Feel free to follow along and look forward to some articles, and lots of pictures, from our New Zealand trip in the near future.
In my previous article I discussed some ideas for reducing your weight and embarking on the ultralight bicycle touring lifestyle. This time I am going to talk about some specific pieces of equipment that weren’t mentioned in the last article. As always our current personal tour packing list is available for you to reference.
Dry Sacks: These are terrific for keeping your clothes dry and organized. You will probably even see the compression version of these with straps for really cranking down the size. However you need to be aware of the weight penalty of these compression straps; I found that each bag weighed 100grams more than a lightweight, roll-tight dry sack. Additionally, with the compression sacks you may be inclined to take more clothing and thus more weight. For ultra-light it may be beneficial to actually have less room, which will force you to take less clothes. With Pam and me carrying 4 sacks, getting rid of the compression dry sacks saved almost a pound of weight!
Sleeping Bags: When shopping for a sleeping bag keep weight in mind, as weight can vary from 1 to 7 pounds. The lightest weight bags will be more expensive, but remember that you have to pay for the food to fill the calorie requirement of pushing the weight of the bag around the world. Thus, it may pay for itself to get a lighter weight bag. Once you get the bag make sure you care for it properly and it should last you for many years.
Camp Stoves: This is one area that you don’t necessarily have to spend an arm and a leg for some improvements. If you search the internet for a soda can alcohol stove you will find the cheapest lightest stove that you can use. If the soda can stove is a little too adventurous for your taste take a look the gas stoves which screw directly on to the top of a canister or don’t have much structure to them. Some examples are this generic stove top or if you prefer a name brand the MSR Whisperlite is a popular option. Carrying around a giant Coleman stove is just silly with all the options available these days.
Tent: Very similar to sleeping bags, the cheapest will not be the lightest. For less than $200 you can get the Kelty Grand Mesa 2 Backpacking 2 Person Tent which weighs in at ~5lbs. If you can spend a bit more we use the Big Agnes Copper Spur UL 2 Person Tent (2014) which weighs in at ~3lbs but has 2 doors and vestibules which is very nice for partners. Be mindful that a light weight tent will be more fragile that a heavy tent, but we have had no problems using the same tent for multiple tours.
By reducing the weight on our bicycles we have more energy during the day and put less stress on our bodies. If you are at all like us you probably aren’t doing your training rides fully loaded. In fact, before our most recent tour we didn’t even do a fully loaded ride until right before we left. When you strap 40lbs of gear on your bicycle and try going up those hills it may come as a rude awakening how much effort it takes to keep going. At some point you may decide that ultralight is the way to go. If you have any tips or questions, leave them in the comments below.
Touring is blissfully simple: you hop on your bicycle and pedal from where you are to some new place. Life doesn’t get more straightforward. However, I often see people struggling with way too much gear on their bikes. In fact, for my first tour I suffered myself. I inappropriately carried heavy books, a pasta strainer, an extra Camelback, and a few more things which I had to send back home.
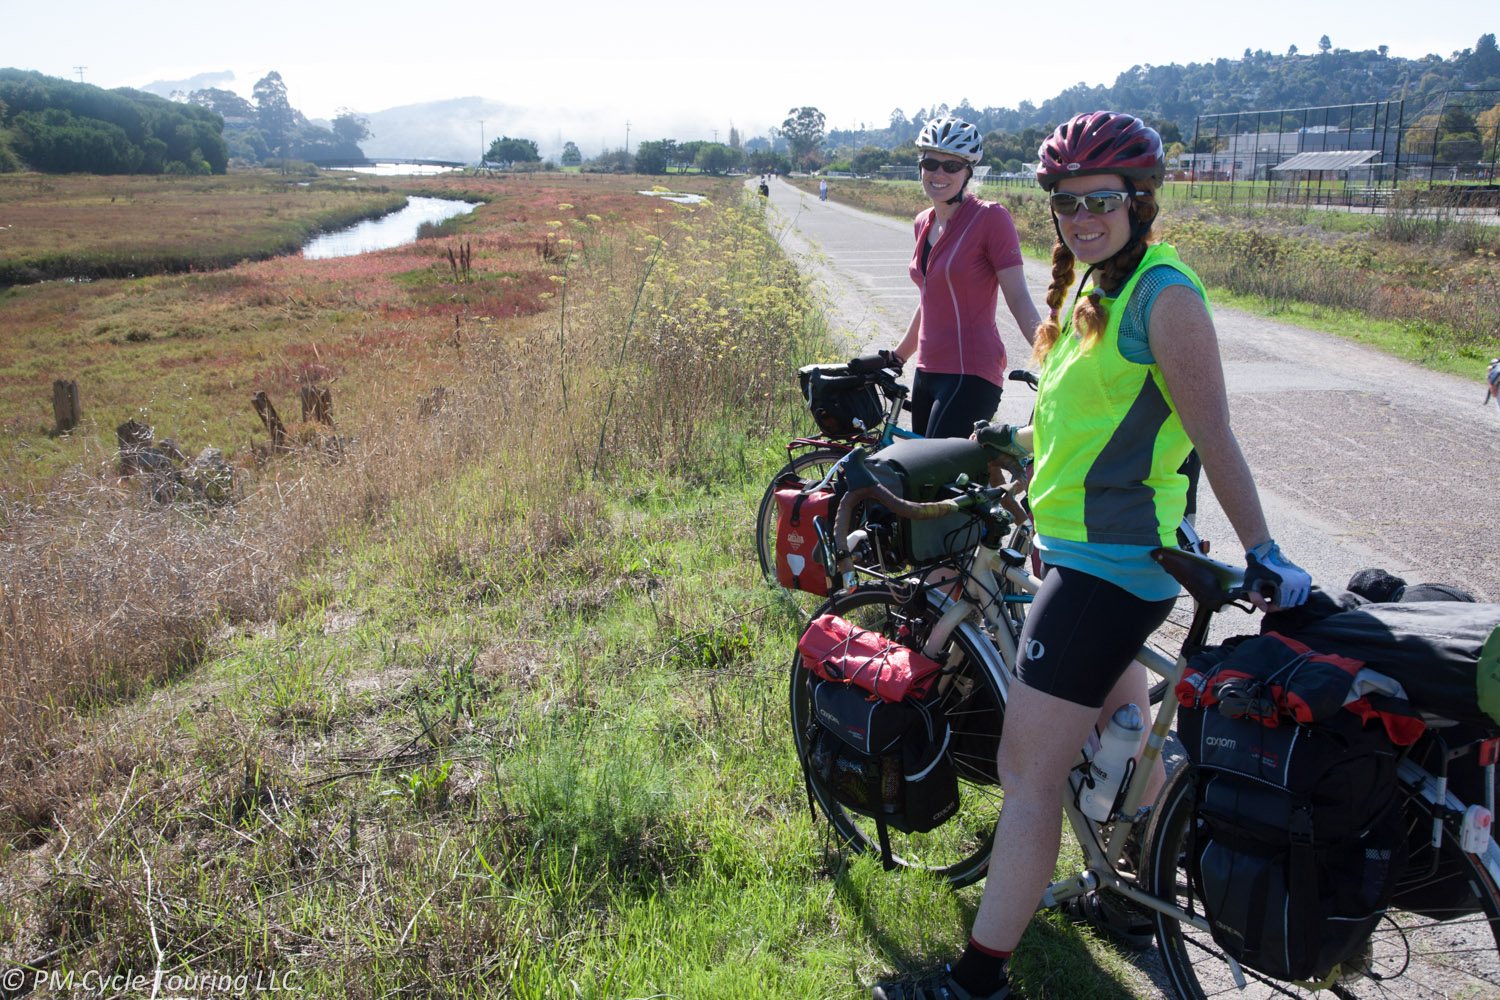
Since that first tour I have become a believer in ultralight bicycle touring. With modern technology and modern industry there are now extremely lightweight products that perform with enough durability for use on even the longest of tours. On our last 2,500 mile tour of the Southern Tier my wife and I managed to pack 41lbs of gear between the two of us including the weight of the panniers (click here for our packing list). When planning to shed weight there are a few high return areas: unneeded equipment, sleeping bags, camp stove, and tent, as well as substituting single-use items with multiple-use items.
Unneeded Equipment: First and foremost lay out all of your items and ask yourself if you need each one. The chances are good that there are several things you think will be useful but after consideration you may change your mind. Remember that you will have to carry these items for hundreds (or thousands) of miles. A few common offenders are:
Multiple Uses: Analyze your equipment that you may be able to get two (or three) uses out of. For example our stove has a plastic insert to prevent the non-stick coating from getting scratched. That insert makes for a handy bowl to eat out of: no need to carry an extra one. Our cycling rain jackets work as camp jackets and wind breakers. Much of our clothing can be used either on or off the bike.
Finally, remember that fancy/expensive is not always the lightest weight nor the most functional. In the next article I will dive in to some specific pieces of equipment that I have found substantial weight savings, including dry sacks, sleeping bags, and tents. If you have any ultra-light bicycle touring tips or tricks let me know in the comments below.
One interesting component of running a website is seeing how people get to your site and take a look at what they are searching for. Low and behold there are quite a few people out there wondering about how to bicycle tour without a spare tube. I have been thinking about this for some time and wanted to share my advice / opinions on this topic.
While touring you must assume that you are going to get flat tires. That being said that does not necessarily imply that you must carry a spare tube. While we are touring we have stopped using the glue and patch kits to fix holes in our tubes. Instead we are using the sticker kits available from Park. In our experience these little stickers work just as well if not better than the glue variety and they can be applied and pumped full of air without delay. If I were to not carry a spare tube I would make sure I have plenty of sticker type patches.
Location, Location, Location. If you are touring in a populated area, nearby friends or family, near public transportation, then you may be able to get away without carrying a spare tube. If something were to happen that a simple patch can’t repair at least you would have options for getting back home.
When considering what could possibly happen that a patch won’t fix let me share with you our experiences. One time while we were going to pump up the tube we just patched the entire Presta valve simply fell off of the tube. The point where the metal bonded to the rubber just gave up, no amount of patching can save you there.
Another time we were changing Pam’s tire in a muddy area and some mud got in the rim, preventing the hook from seating properly. We didn’t notice and pumped the tire up. Right around 65 psi the tire started slipping off the rim and before I could release pressure the tube stretched out the hole and burst with a sound like a gun shot. Of course it was a slime tube and it was 7 in the morning in a crowded campground. I was left standing in a fog of green slime as every single camper nearby looked out their tent to give me the evil eye for waking them up. No patching that hole.
For our first tour we took along two spare tubes. Down the Pacific Coast we managed to have just one flat tire! Next tour was the Southern Tier, going west to east. We started again with two spare tubes, but after two weeks we were up to two patches on each tube and had two failures. At that point we started carrying four spare tubes and all of them had patches by the end of the tour. The Southern Tier took its toll on us with a total of 15 flat tires between the two of us.
So while it is possible to tour without a spare tube I suggest that you bring at least one. You never know what you are going to manage to run over on the road, if your tube is going to fall apart, or how long it will be until the next car drives by. Have you a done long tour without a spare tube? Any suggestions for those that want to try it? Leave a comment below.
A relatively new concern when selecting your dream touring bike is the drivetrain. If you have decided on an internal gear hub it used to be a very simple choice: all bicycles had chains. However, over the last decade a new competitor has entered the arena: the Gates Belt Drive system. After taking an in-depth look at this new system I wanted to share my results and opinions.
Conventional Chain: This is the tried and true system. A metal chain connects the front cog to the rear cog on the rear wheel driving the bicycle forward. The downsides of a chain are that it requires lubrication, is difficult to keep clean, and can rust. The upsides are the durability, low risk of failures, and availability of replacements.
Gates Carbon Belt Drive: The newcomer to the bicycle industry, this is a carbon fiber belt connecting two special sprockets. At first glance there are some powerful incentives to this system. It is lightweight (~120grams lighter than a chain) and requires no lubrication or maintenance. In fact, if I were getting a commuter bicycle for around town I would really be interested in trying a belt drive. Touring around the world is a different scenario and I found problems with the carbon belt system.
On a tour in remote areas of the world my first concern is the availability of repair parts. If you damage the sprockets or belt there is virtually no possibility that a local bike shop will have repair parts. With that in mind you might starting wondering what it will take to damage a belt.
If you look at the manual for the Belt Drive (available here) there are several different actions which are listed as improper handling of a belt that may cause damage: crimping, twisting, back bending, inverting, zip tying, using as a wrench, mounting with a lever, or mounting by spinning the cranks. If any of those happen to your belt it is considered damaged and needs to be replaced (Page 5-7). While this may not be of much concern to the average rider, what if you wanted to carry a spare? Can you store the spare in your panniers in a fashion that does not violate any of the above? Basically, if any force is applied to the belt other than driving a bicycle it may be damaged.
Further in the manual, on page 34 it describes other scenarios that may damage the belt and require replacement: “… if a stone, a root, or a piece of clothing has been caught in the belt and pulled between the belt and the sprocket.” At this point it is advised that you always replace the belt. So let me think on this a minute. Do I want the drivetrain of my bicycle to require replacement because my pant leg got caught between the sprocket and the belt? Or if a rock drops on to the belt and rides through the sprocket? For a touring bike, no, and I don’t want to be stranded somewhere in the world waiting for a new belt to be shipped to me.
Another concern of mine is that the belt is tensioned much tighter than a bicycle chain. I have seen numbers in the range of 85-100 pounds of force being quoted for the tension. That tension is always there placing stress on the bearings of the drivetrain. Additionally, checking that tension is covered on page 15-19 which requires one of two special tools, or that you apply 20 to 45 Newtons of force (~10lbs) and measure that the belt deflects approximately 10mm. Once again I feel that this may be fine for a normal around town bicycle, but on a tour I would prefer not to be dealing with this.
And the last straw for me is that the belt requires a break in the frame. Because the belt is one solid piece the rear triangle must be capable of being separated to allow the belt to be installed and removed. Placing a break in the rear triangle of the frame seems like a less than desirable option on a bicycle that you want to take to the end of the world and back.
With all of this in mind I settled on the conventional chain with my Rohloff. It just fits the requirements that I am looking for in a bike and has a proven track record. I look forward to further advances in technology and one day being free of lubricating the chain, but for now touring on a carbon fiber belt doesn’t seem like the most reliable option.
After pinching pennies and saving for years, and setting aside a tax refund I finally had saved enough to order my dream touring bike. You may think this very exciting; however, this meant that I actually had to decide on what bike that would be. Unlike the Raleigh Sojourn which I just picked up from a bicycle shop, I needed to educate myself and make some important decisions.
Before I could even think about anything else I needed to really nail down what I was looking for this bicycle to do. I am not going to have the luxury of purchasing another bike like this for a long time so I need durability. I wanted to travel around the world with no boundaries so I need versatility: it needs to be at home on dirt and gravel as well as on the pavement. It must be comfortable to ride and should be made in America to support my local frame builders and needs to be able to packed up for easy travel. With all of these criteria in mind I began looking at each piece of the bike.
Frame Material: This ends up being incredibly easy; if looking for comfort, repair-ability, and durability only one material really meets these criteria. Steel. A bike framed out of steel rides well, can be welded by any stick welder in the world, and should last forever.
Drivetrain: Currently there are two viable options: a derailleur system or and internal geared hub. The derailleur setup technically meets every criteria I laid out, however I am sick and tired of tweaking the shifting of these systems and cleaning the dirt and grime off them. Not to mention my wife’s experience with a stick snapping her rear derailleur right off and me having to tow her 2 miles on a dirt road back to civilization.
Internal gear hubs (IGH) move all the gears inside the rear hub. There is really only one option for touring with an IGH because of the large gearing required for a touring bike and that is the Rohloff Speedhub. With 14 gears covering a 526% gear range, it is the equivalent of a 27 speed derailleur. Additionally, you can change gears while stopped, no real cleaning is required since the gears are inside the hub, and if the shifting cables break you can set the gear manually. It will not auto return to the lowest or highest gear like a derailleur. The downsides are that no one will likely be able to repair it in remote areas of the world, and it weighs slightly (~150grams) more than a full derailleur system.
The last piece of the IGH puzzle is deciding if you want to use a chain or a Gates Carbon Belt Drive. While the carbon belt drive offers a grease free option and is lighter weight than a chain, I decided there were several significant negatives. You can read more about this comparison in its own article. My final choice was to use a chain for my long distance touring bike. While I will still have to grease the chain, I will always be able to find a replacement chain and my frame will be one solid piece of steel.
Wheel Size: 700c or 26” is the simplest way to sum up this question and I will try to make this short and sweet. 700c wheels tend to feel smoother and have less rolling resistance. 26” wheels accelerate quicker, are less likely to have toe-overlap and are available world-wide. Because I didn’t need speed, and wanted to go worldwide I choose 26” tires. However I do think that there will likely be a time in the future where 700c wheels are the dominate tire size since it seems to be the direction manufactures in the US and Europe are going.
Manufacturer: There are several touring specific manufactures in the US, however only Co-motion happened to have a dealer nearby me that stocked bicycles for me to test ride. This let me actually try out the Rohloff and feel the geometry of the bike, and after riding it I knew that this company knew what they were doing. Since they hand build each bike in Oregon if you need a custom frame change it is only $300 extra.
Conclusion: After all the research and time I spent looking I finally, nervously, decided that the Co-Motion Pangea Rohloff was the bike for me. I will document my experience ordering the bicycle, and give a review of it further down the road. If I missed any considerations, or you want to share your dream bike, leave a comment below!