Gear Review: Mocreo Universal Travel Wall Charger Power Adapter Converter

If you’re planning on making a trip overseas, don’t forget that other countries have different power systems. That’s right! Your power plugs won’t fit into the outlets overseas. And don’t try to force the plug in. Not only is the plug shaped differently, the voltage and frequency are probably different. You will risk damage to your electronics, and possibly cause a fire. So, before you go, you’ll need to get a power adapter/converter.

There are many brands of adapter out there. But we found the Mocreo adapter to be a great option.

Black version of Mocreo Universal power adapter

Pros:

  • Covers more than 150 countries. You don’t need a new adapter for each tour.
  • Contains two USB ports, so you don’t waste a plug with a USB adapter when charging your electronics.
  • Easy to operate.
  • Safe to use. It has two fuses, and built in safety precautions so only one plug type can be selected at a time.
  • Folds into a square with no protruding parts.

Cons:

  • It is heavy. Sometimes it would fall out of the wall socket due to weight. It also sticks out far out of the wall. It adds 100 grams of weight to your pack.
  • It is not compact.
  • The white version has a blue glow that may disturb your sleep. I’d recommend the black version.
  • This does not convert the voltage, it just changes the plug. Make sure what you’re plugging in can support the different voltage. Most electronics can, but some can’t. Check before you plug it in.

Specs:
AC: 6A Max. 100-240Vac 50/60 Hz
USB: 2100 mA Max. +5Vdc

Warning: AC-AC. No voltage conversion. USB is for charge only. Indoor use only. No grounding.

If you’re planning on traveling to many different countries, this adapter will definitely meet your needs.

Disclaimer: All opinions about any products mentioned in this article are my own. I have not been compensated in any way by anyone. I will, however, receive a small commission if you choose to purchase the item from Amazon after clicking the link.

3 Ways to Consolidate Your Gear on Tour

Thinking of going on a bicycle tour? Each time we go, we find new ways to streamline our gear list. Here are three tips for how to multiply the uses of your gear on your next tour.

Turn a water bottle into a lantern. This works with the clear water bottles. Simply fill your water bottle at least halfway with water, turn your flashlight or headlight on, and shine the light into the side of the bottle. This improvised lantern provides a surprising amount of light, without the added weight of an actual lantern.

Use an emergency blanket as your tent footprint. Emergency blankets are really handy. They’re lightweight, and help reflect your body heat back toward your body in an emergency. Save weight by leaving your tent’s footprint at home (or don’t even bother to purchase one, since most tents these days don’t have one included). The blanket might even prove to be more puncture-proof than the footprint, which will save your air pad, as well. Bonus! We love this one.

Use hair elastics to keep your air pad/mattress rolled up. We found an easy way to keep our air pads tidy is to use hair elastics. This gives me the benefit of having a few extras on the trip, as I have a tendency to lose my hair bands at some point on tour. Sure, you could use rubber bands, but I can’t use rubber bands in my hair.

Bonus: Have you heard of Tenacious Tape? Great for fixing everything from tents to rain gear, this is a must-have on tour.

Sometimes if you step a little bit outside the box, you can save weight and energy on your tour. What are some inventive weight-saving ideas you’ve had? Let us know in the comments below! Also, check out our post on reducing your gear weight on tour for some more ideas.

Co-Motion Pangea Post-tour Review

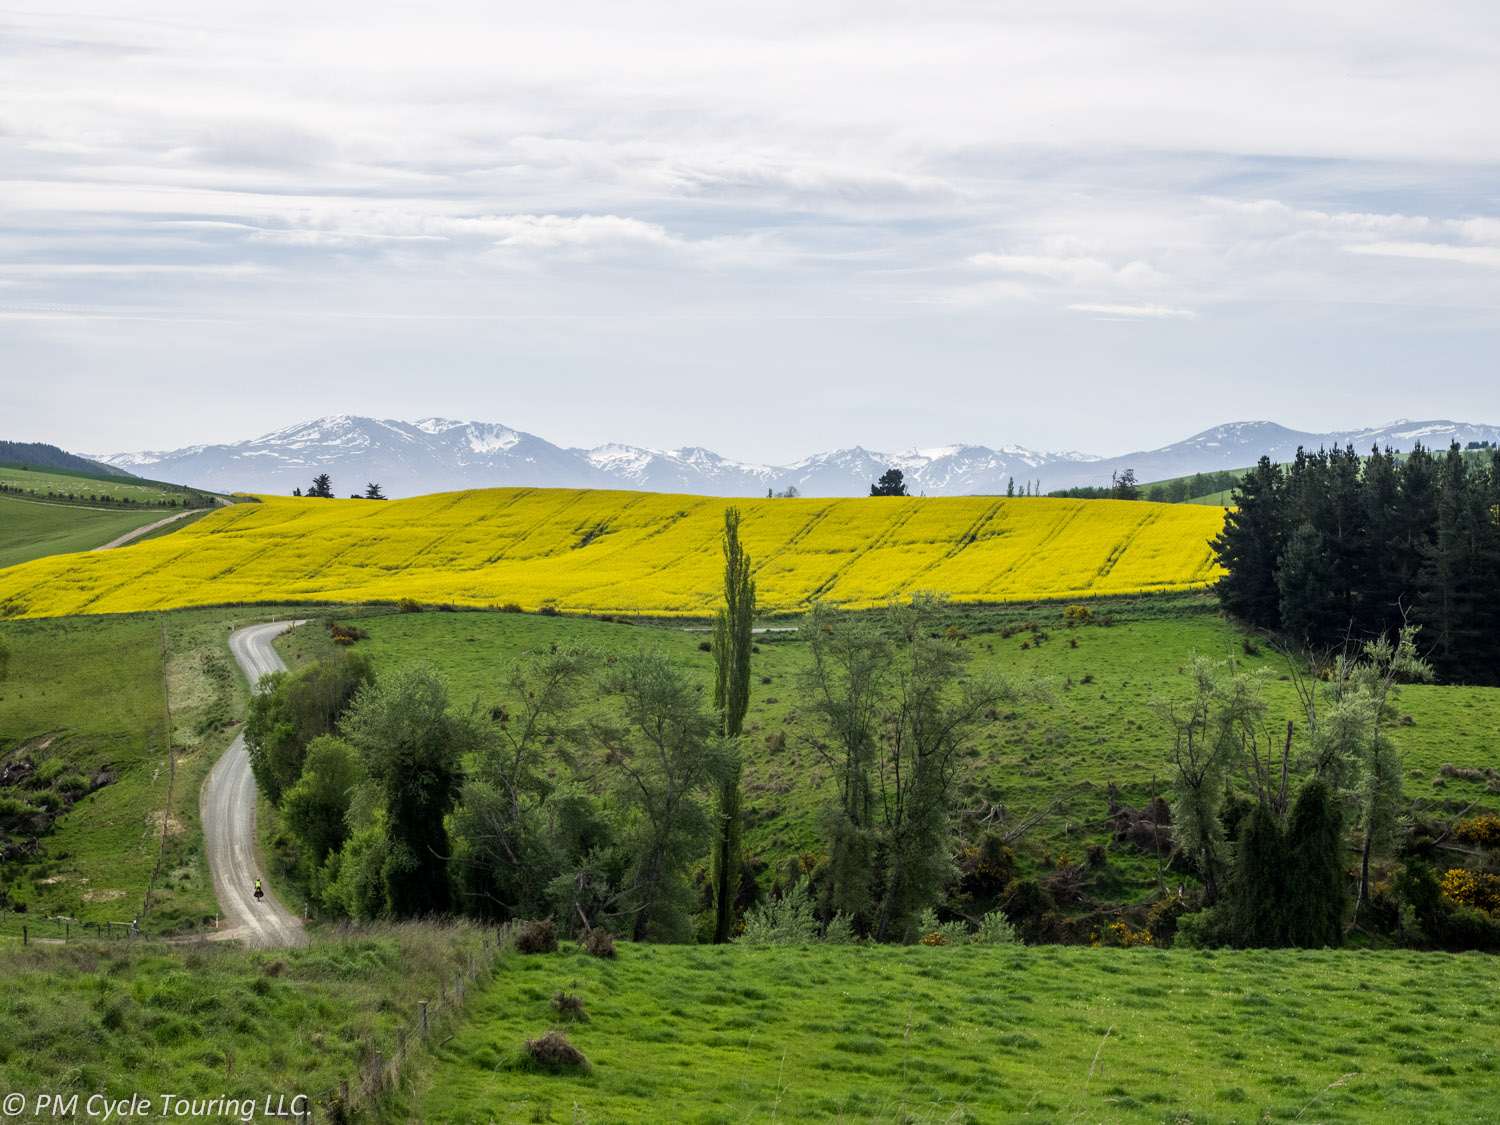
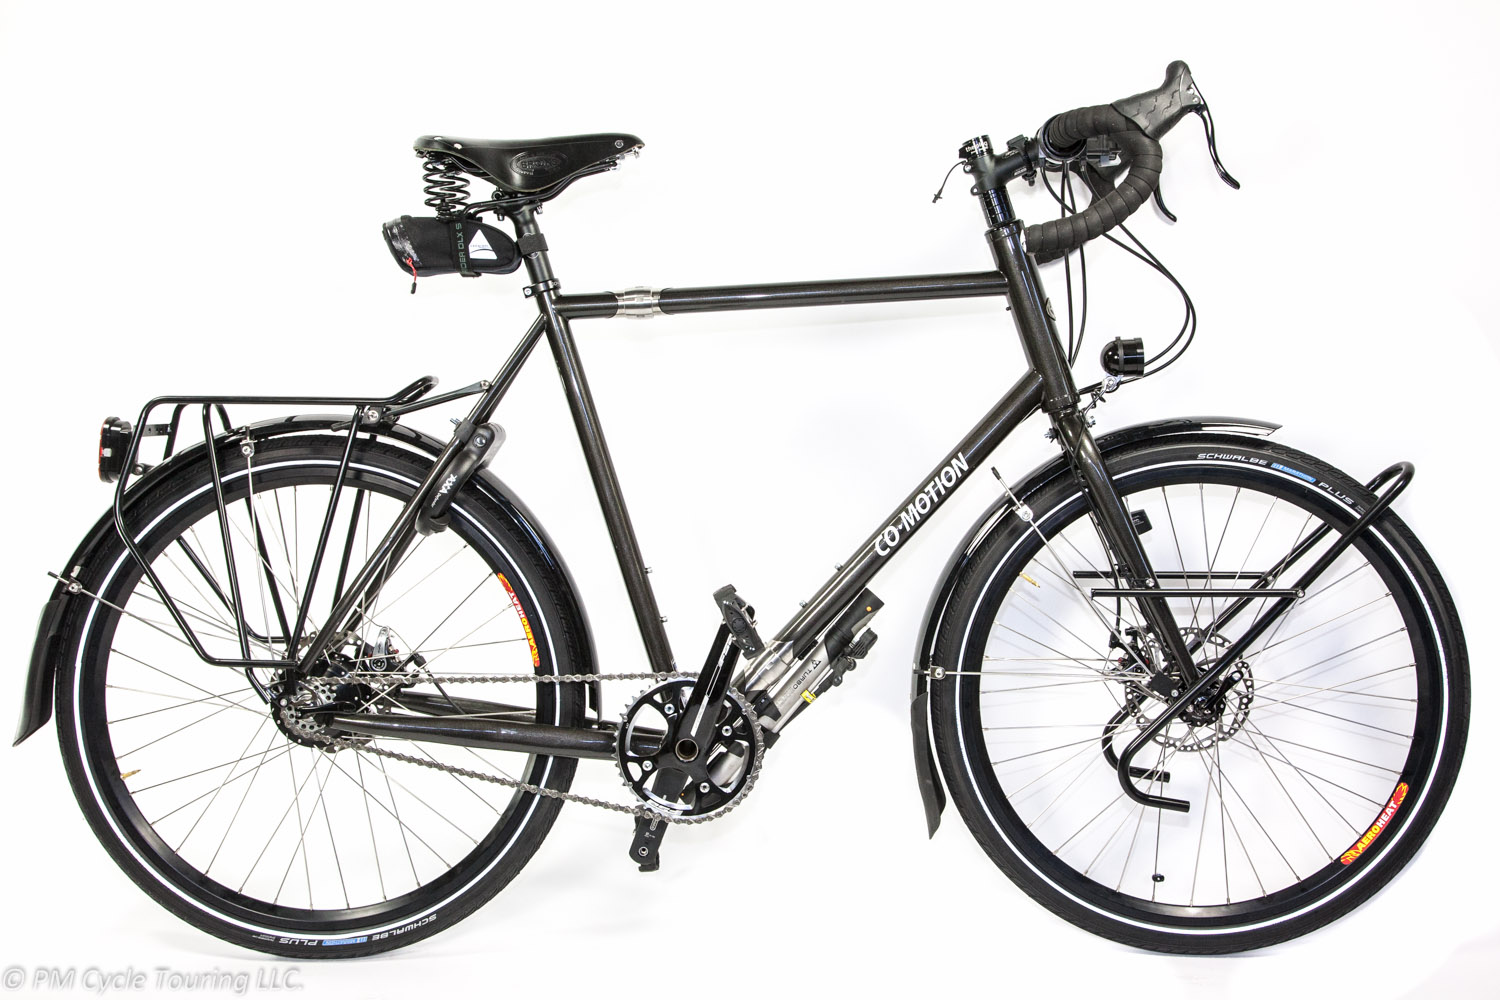
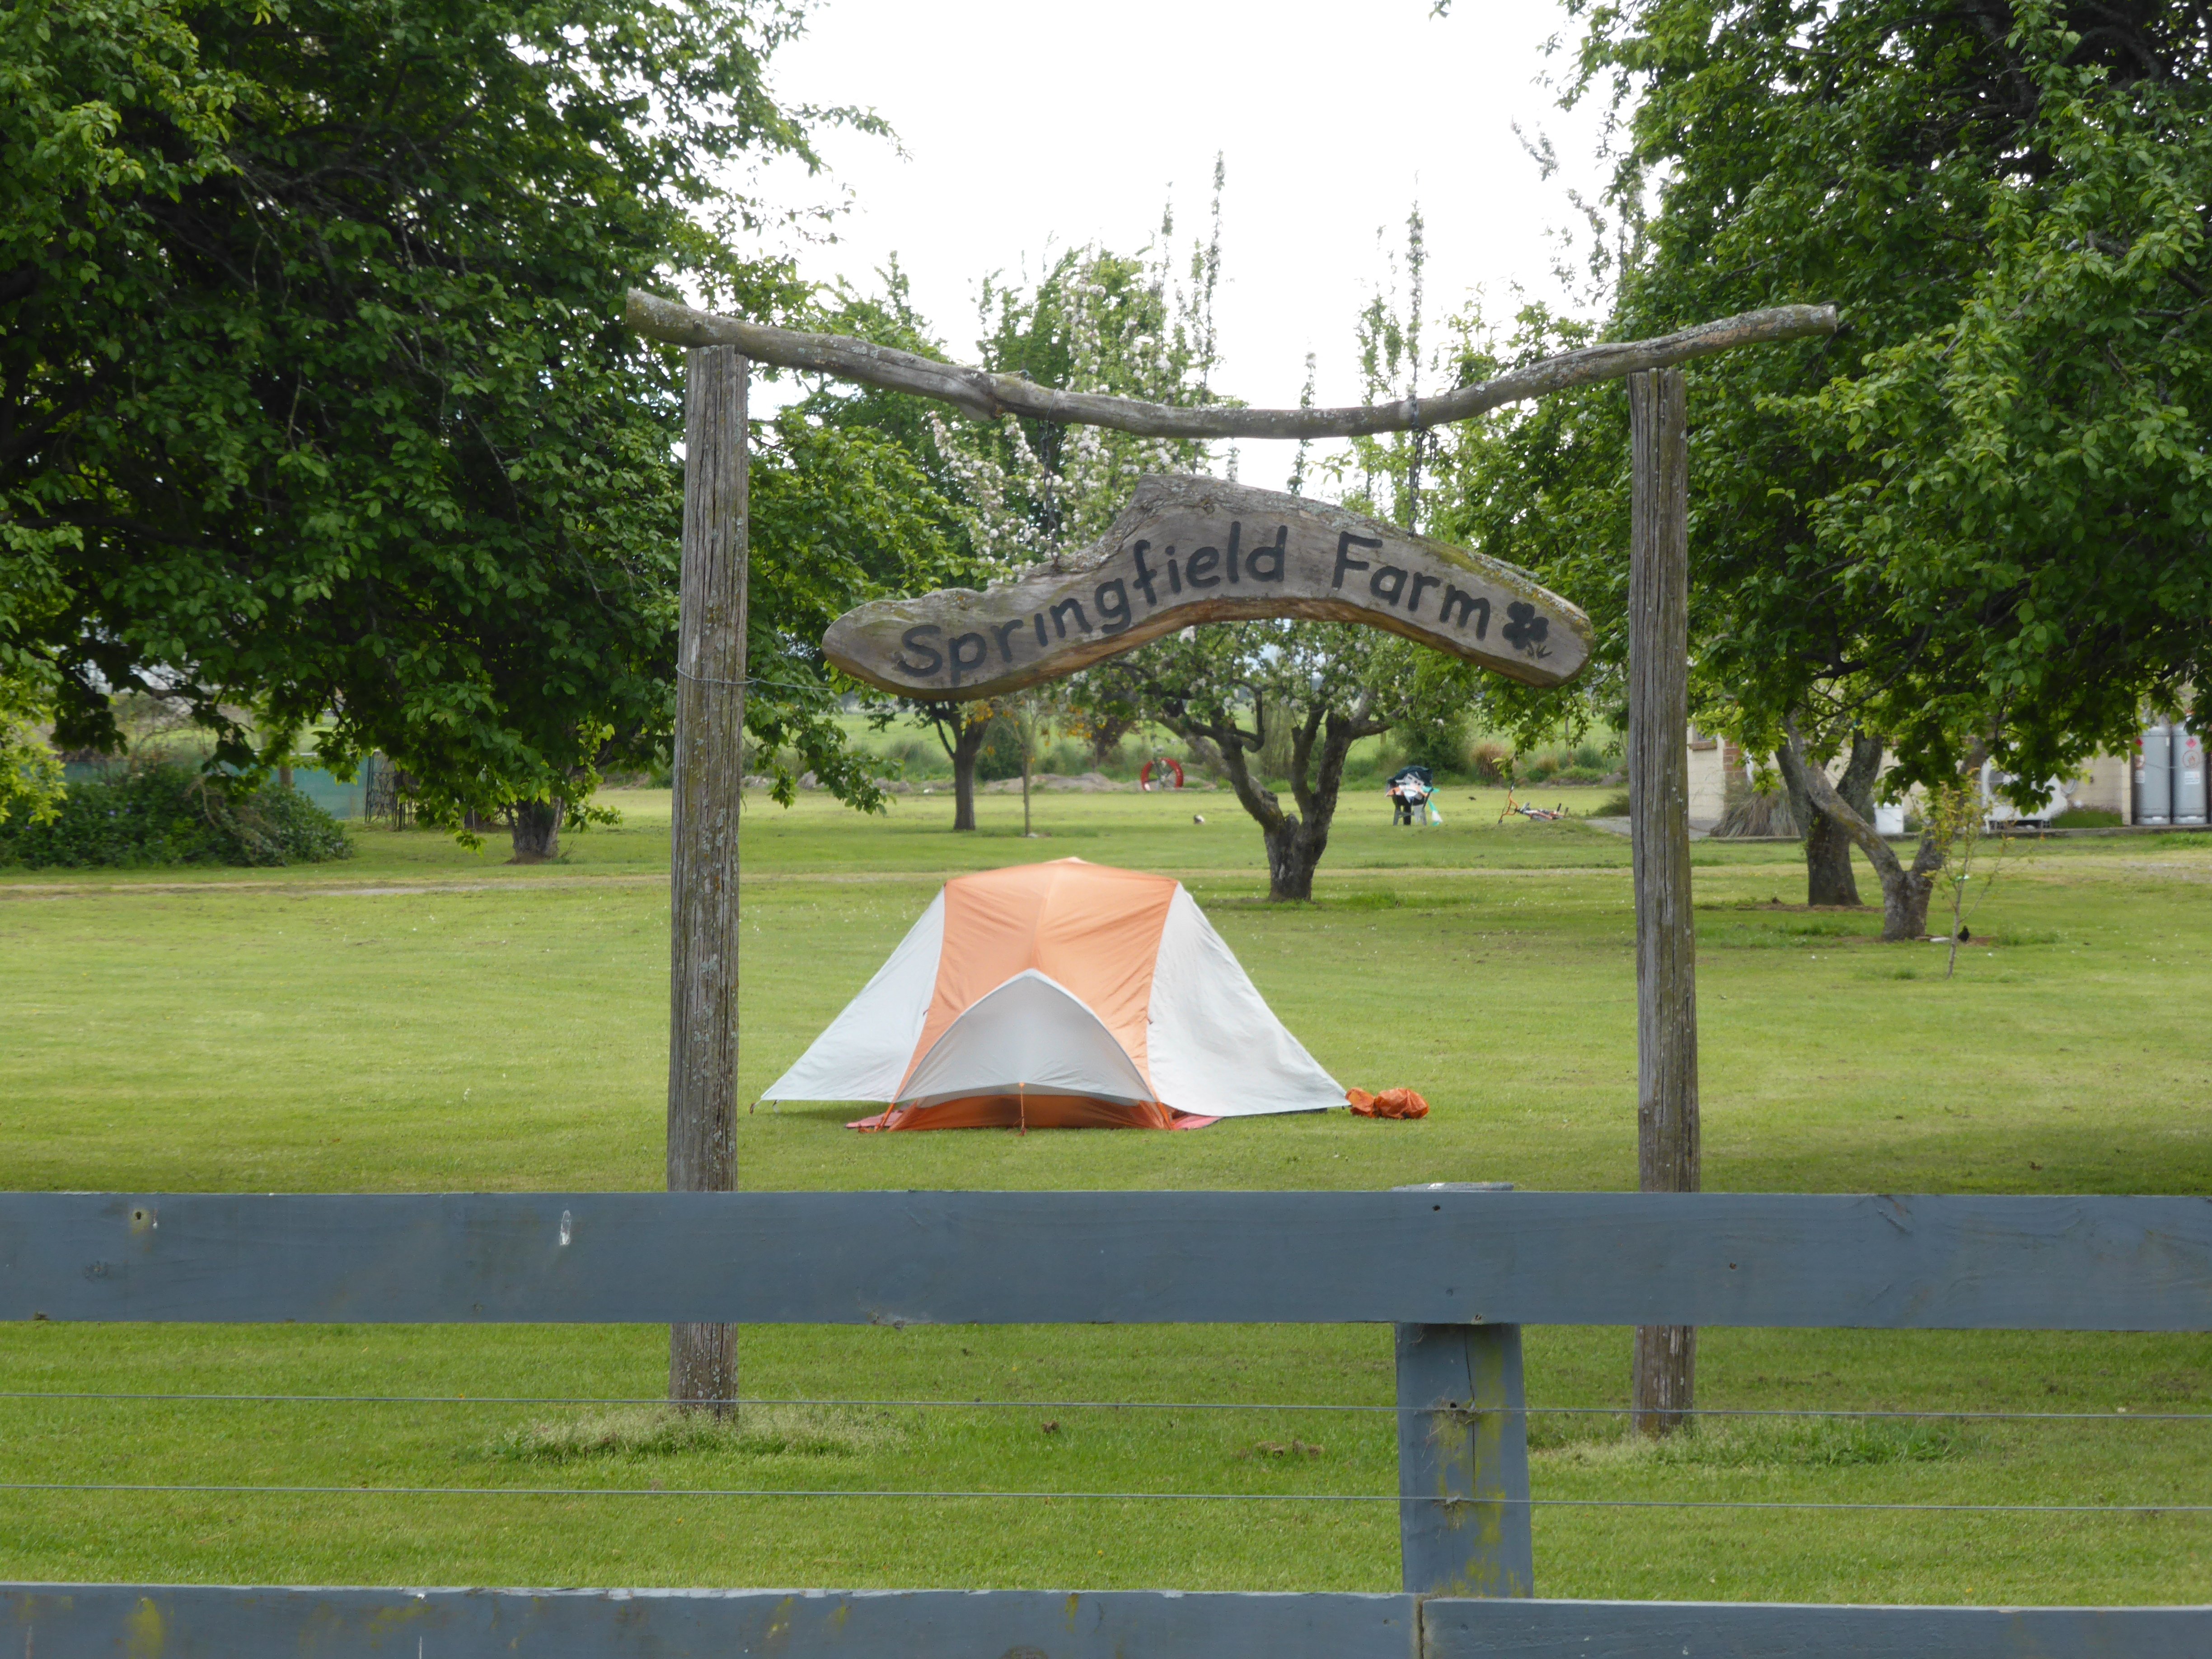
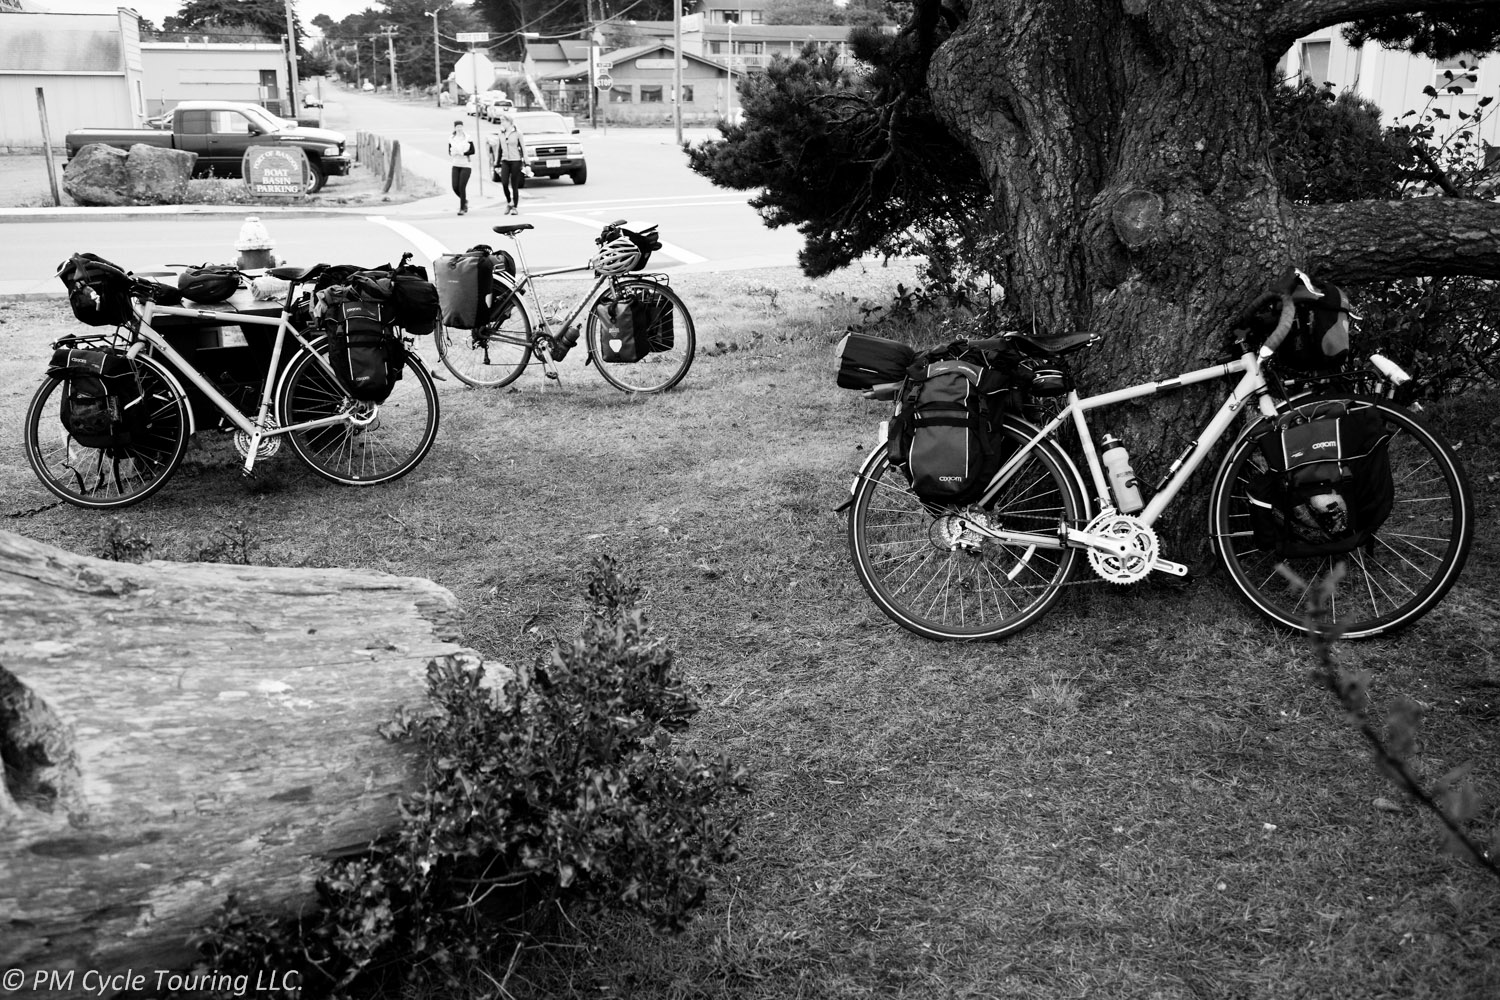
About a year ago I purchased my Co-Motion Pangea after an exhaustive search for the “dream” touring bike. Post-purchase I decided that a break-in tour was needed, to put the bike to the test. We began preparations for a tour of the South Island of New Zealand, which proved to be an amazing test of my Pangea. During our tour we experienced a little bit of everything you can throw at a touring bike: rain, gravel roads, river fording, snow and ice, mud, steep hills, and high winds.

Travel:

To get from sunny Los Angeles to New Zealand involved a 13 hour direct flight. Air New Zealand has a reputation for being very strict on their baggage policy and the Co-Motion suitcases dimensions are pretty much at the limits of allowed baggage sizes.

However the real issue ended up being weight. The suitcases themselves weigh near 14 lbs., and you only get 50 lbs. per bag. We packed the bikes and added the cages, bottles, pedals seats to the suitcase only to find that we were over the limit. After some re-arranging and putting all the extra bits into our other luggage, we managed to get the bikes under the weight limits.

Assembly:

Putting the bikes back together was exactly as we practiced at home; please make sure you practice at home before you tour. No issues to report, everything worked as expected. It was a half-day event getting two of them together and tuned up.

Touring:

So, how is it to tour on a Pangea? I can sum it up in three words: I love it! The ride is very smooth and responsive. We started off on paved roads for the first few days and had no issues with any kind of pavement. The Brook’s saddles with springs, 26×2″ Monodial tires, and thick steel tubes make for a supremely comfortable ride. Even on gravel roads, the Pangea continued to ride very smoothly. My butt has never felt so good and the saddle wasn’t even broken in yet.

Speaking of gravel roads, we found that New Zealand roads aren’t graded like American Roads. It was rather common to find ourselves going up 11-14% grades that are a rarity in the US. We found that the gearing of our Pangea’s may be a little higher than we would like for such steep roads, especially dirt or gravel. However, there may have been another factor. We hardly trained for the tour. So I am uncertain how much of the gearing issues was due to our weak bodies.

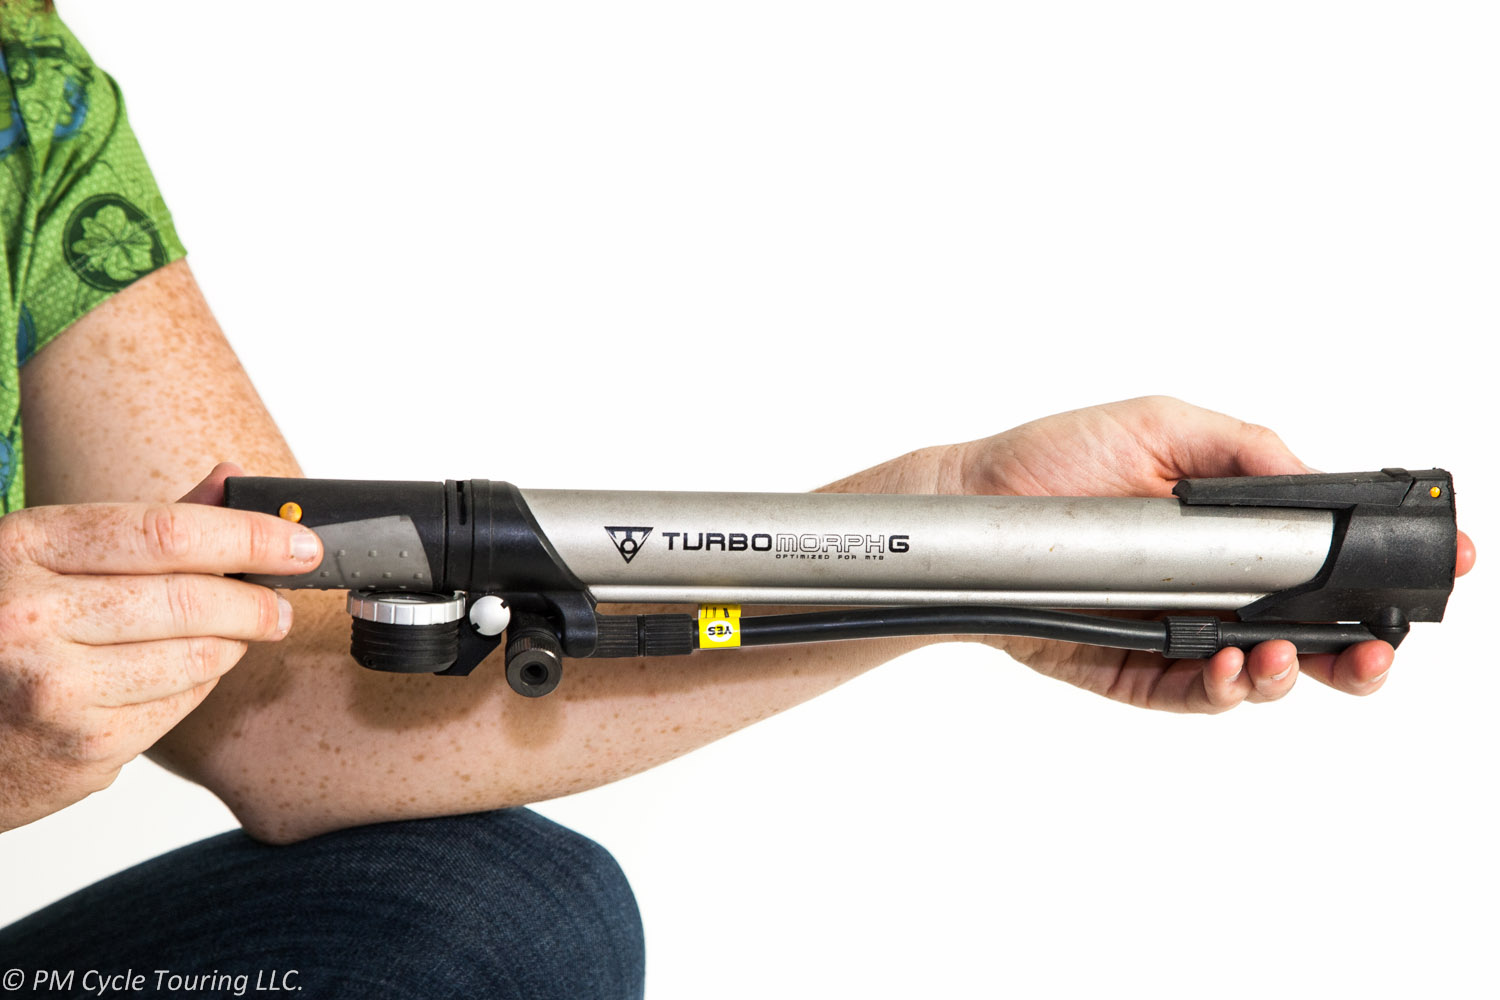
As we progressed through New Zealand there were very few bicycle problems. About two weeks in I started noting that my chain was clicking a bit as I pedaled. I found that the tension was very loose and the chain was flopping a bit. I busted out the best multi-tool for a Pangea and adjusted the chain tension using the eccentric bottom bracket. This brought the chain nice and tight eliminating the noise from the drive train. Pam’s right handlebar brake lever started to get loose but that was probably a bike assembly error. Pam was missing one gear of her 14MW on Rohloff, once again likely bike assembly error (seeing a theme here? I am wondering about the shop we used to get the bike). We had to adjust chain tension several times. The Brook’s saddles with springs produce a tiny bit of noise every now and then. The stainless steel drops require a lot of force on the quick removal skewers to keep quiet.

My biggest disappointment was the SON generator and USB outlet. Riding along on flat roads it wouldn’t charge my battery pack or phone reliably. It would turn on, with the green LED lit, then the device would start to charge, then it would shut off, and repeat. If going downhill it would charge for a bit, but as any tourist knows the downhills are always too short. Finally we went through a particularly remote 4×4 track through the mountains that involved fording knee high water 40 times. The SON generator stopped working the next night and never turned on again.

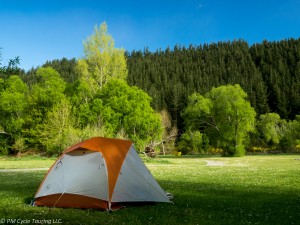
After the generator stopped working I wanted to troubleshoot it, but as a cycle tourist I was carrying nothing I needed. I had no multi-meter or method to test if the hub was producing and the USB outlet failed, or if the hub failed. I unplugged the hub and we made use of our touring techniques for maintaining electric power for devices. New Zealand campsites usually had power available, so we were never more than two days without have an outlet. As any cycle tourist knows, you just make do.

Final Thoughts:

I am very happy with my bicycle, and I was recently asked if it was worth $7,000? For me it is. It feels great to ride, and I spend my time enjoying the ride not worrying about a derailleur tuning, or wondering if my bike could be just a little bit better. If I were to do it again I would skip the generator hub, but I stand by my decision to get a chain instead of the belt drive; the Rohloff itself is amazing.

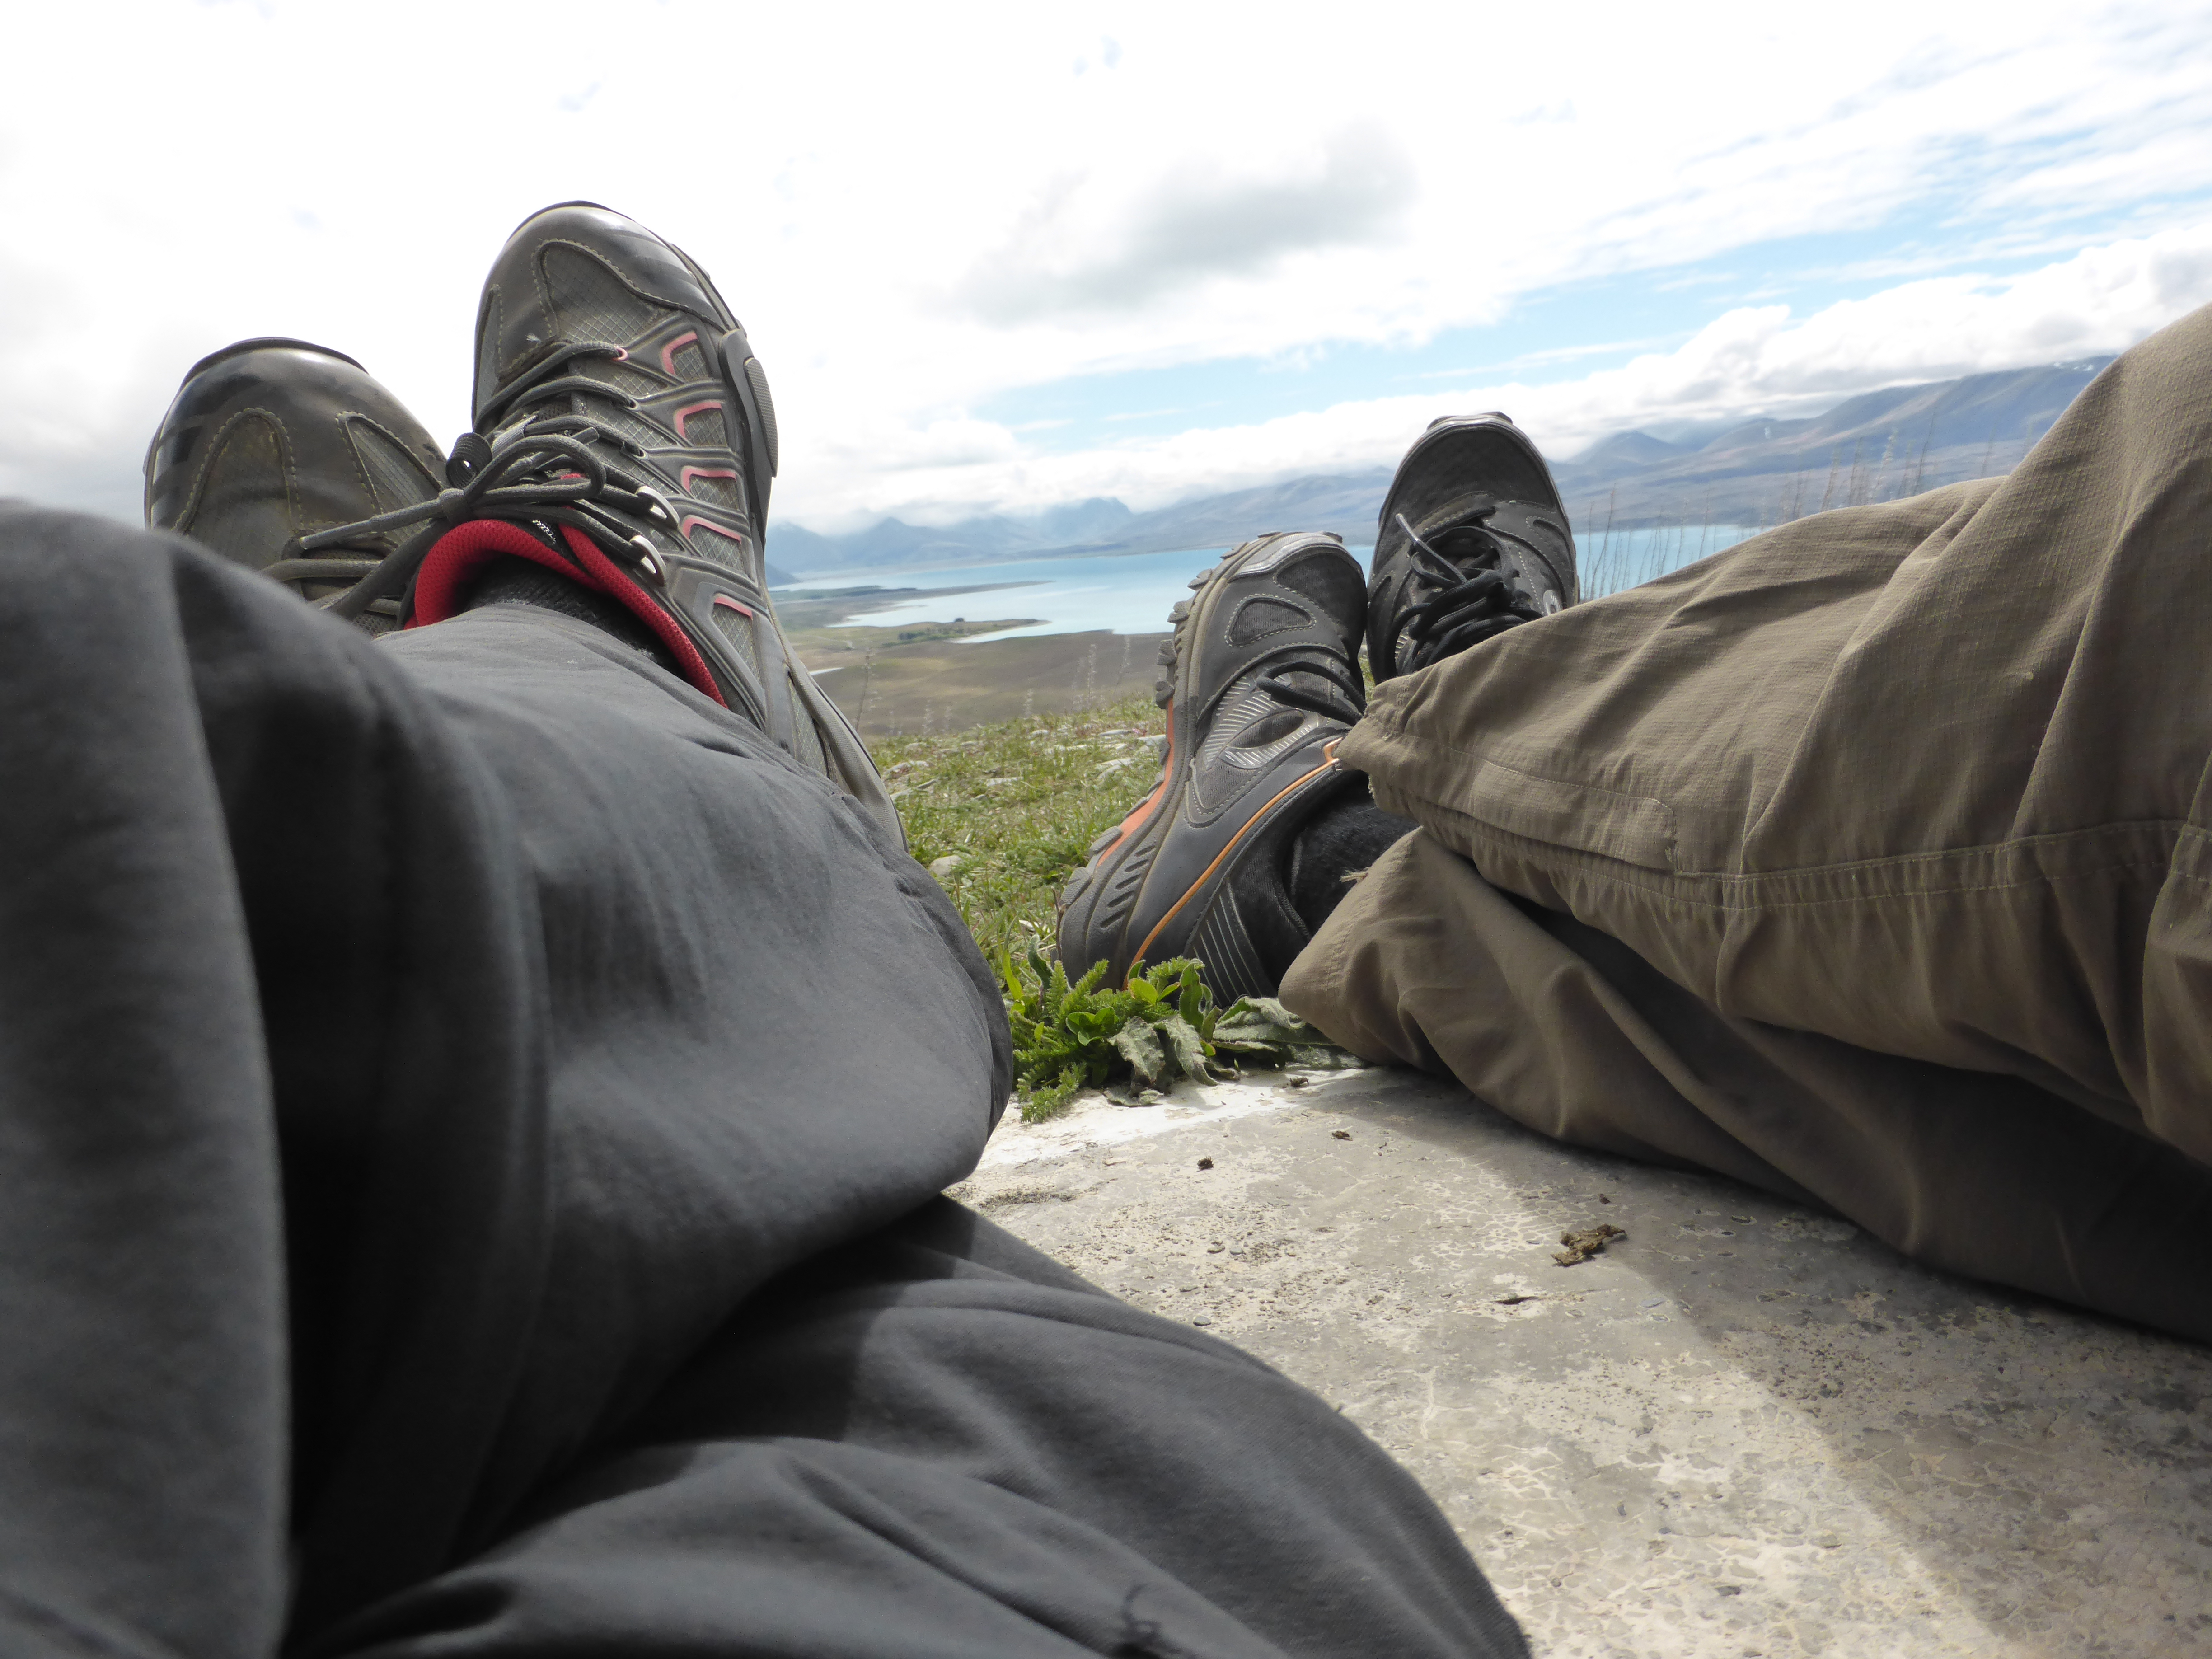
I know that the Pangea will take me anywhere in the world I want to pedal; it is built like a tank. All that being said, you don’t need a fancy expensive bike to tour, the sites and views look the same, just get out there and ride! If you want the best bike money can buy I would put my money towards a Pangea.

*Note: I was not compensated in anyway for this review, just my two cents on a bicycle I purchased with my own hard earned money.

Gear Review-Big Agnes Copper Spur UL 2 Tent (2013 version)

Restful sleep is essential to putting on the miles day after day. Ever noticed how it takes a while to get used to falling asleep in a new place? That definitely happens to me. But one thing I have observed during my bicycle tours is that even though the tent I’m sleeping in is in a new place each night, the tent itself doesn’t change. Having that consistent environment makes up for new locations each night. So, for me, this makes the tent is one of the most important purchases for a bicycle tour.

I did a lot of research before deciding on the Copper Spur UL 2 tent for our touring tent.

a tent set up in a field with a forest surrounding it
Big Agnes Copper Spur UL 2


First off, the pros:

  • Two “rainbow” doors, one on each side. This means that we each had a side to enter and exit the tent, and weren’t crawling over each other to get in and out. This turned out to be even better than I thought it would.
    • The one person tent only has one door and vestibule.
  • The tent, rainfly, and poles weigh in at 1400 g. and the 2014 version coming in 125 g. lighter. This tent is truly lightweight.
  • Easy to set up and take down (even with just one person). At the end of the day, this tent went up quickly with either one or two of us setting it up.
  • Head space.
    • Matt is 6’2” and I’m 5’6” and there was plenty of headroom for both of us to sit up in the tent. Previous lightweight tents that we’ve had skimped on headspace to save weight, but the Copper Spur left more than enough room for comfort.
  • Adequate ventilation.
    • Nothing is worse than waking up to bedding that is saturated with condensation. We found no problems with this tent throughout our entire tour.
  • Durable.
    • Stood up to 60+mph winds on our most recent tour.

Cons:

  • Footprint
    • Does not provide protection against thorns
    • Not included with the tent/needs to be purchased separately
  • Color
    • The bright orange doesn’t lend very well to stealth camping.


What’s changed on the 2014 model: The 2014 model is very similar to last year’s model, only slightly lighter. We have not had a chance to try the new version out.

We highly recommend this tent for bicycle touring. The Big Agnes Copper Spur comes in a single person as well as three-man and four -man versions. The single might be a bit small for a larger (taller) person, so keep that in mind. What are some things you look for in a tent? Let us know in the comments below!

Disclaimer: This review contains my personal opinions. I have not received any compensation by the manufacturer for this review. This review is for informational purposes only. If you click the Amazon link and make a purchase, we will receive a small commission.

Exped Synmat UL 7 Review

Your sleeping pad can make or break your camping experience. When touring the primary concerns for a sleeping pad are comfort, weight, durability, size, and ease of use. The Exped Synmat UL 7 exceeds expectations in all of those categories.

a woman holds a rolled up Exped Synmat UL 7
Pam holds the Exped Synmat UL 7

Comfort is the whole reason for bringing a sleeping pad, and can be difficult to quantify. Pads typically can be broken down in to two categories: Solid foam or Air Inflated. The Exped is air inflated and has a maximum inflated depth of 2.8 inches; the amount of air in the mattress can adjust pad firmness. The Exped also has insulation inside the pad to keep you warm on cool nights. Not much is worse than sleeping on a cold pocket of air. There is some concern that this insulation may work to keep you warmer on hot nights, however neither Pam nor I noticed that the pad was uncomfortable even in the hot humid nights in the South Eastern United States.

Weight is where the Exped shines, at only around 400 grams (depending on the size of pad you choose) it is one of the lightest pads available. Lighter weight pads tend to be made of crinkly plastic; this pad is constructed of a material that feels like very tightly woven nylon. It does not stick to the skin and can be laid on directly with reasonable comfort. Noise-wise this pad does create a bit of sound when laid on and if you toss or turn during the night, however we have yet to find a magical silent pad and you quickly get used to this sound.

Durability of any inflatable pad is directly proportional to how you treat the pad. If you throw it on the ground and aren’t careful about where you put it (like Matt) it will probably get a hole or two (read here about how to patch holes). However if you are careful and make sure you only place the pad on surfaces free of debris (like Pam) then you can go an entire tour with no problems. We did not find any appreciable difference in the durability of these pads compared to other pads we have used.

The size of the pad you choose can be very personal and also depend on weight. If at all possible try out the pad in the store, make sure you can inflate it to a firmness you like, and lay on it to verify comfort. Matt and Pam both prefer pads that go from head to toe. Matt is 6’1” and chose to go with the M size (72 in long) and Pam is 5’6”, so she went with the S size (64 in long). An option for those looking to go ultralight is to get the smallest pad possible, just covering the shoulder, torso, and hip area, letting the legs hang off the edge. This reduces overall pack weight, but might also reduce comfort.

A woman lays on a yellow synmat sleeping pad
Pam lays on the Exped Synmat UL 7 Sleeping Pad

The pad has two valves similar to all other Exped products, one for inflation which has a flap to prevent air leaking out between breaths until you close the cap, and the other to allow for deflation. Both of these have a hole approximately the size of a quarter to allow for rapid inflation and deflation. Compared to twist valves used by other companies these valves operate much easier.

To inflate the pad we use our Schnozzle Bag which takes about 4 full bags to completely fill it. If you elect to fill it manually it takes quite some time. In fact we have never even tried; just get yourself the Schnozzle bag! Inflation pressure can be tweaked by keeping the inflate valve cover open and pressing on the flap to release small amounts of air. Deflation is quick due to the large opening deflation cap, it takes about 30 seconds to deflate to where you are touching the ground and no more air is exiting.

an exped synmat ul 7 laid out in preparation for inflation
Pam prepares to inflate the Exped Synmat UL 7 with a Schnozzle Bag


Overall we have been very pleased with the Exped Synmat UL 7 and highly recommend them. In our opinion these pads are the best all-around pads available. They are a good compromise between weight and comfort. We used them on our Southern Tier Tour and our New Zealand Tour and they continue to be our go to choice. When combined with the Schnozzle Bag we find it difficult to imagine we will be looking for other pads in the future.

Detailed Specs:

Name Exped Synmat UL 7 S / UL 7 M
Weight 399 g / 463 g
Packed Dimensions* L x Diameter (cm) 24 x 9.5 / 24 x 10.5
Inflated Dimensions L x W x Thickness (cm) 162.5 x 53 x 7 / 183 x 53 x 7
Temperature 25 F (-3.8 C)

*Dimensions will vary based on how tightly you roll the pad. This is just an example of what you could expect when you pack the pad.

Disclaimer: All opinions about any products mentioned in this article are my own.  I have not received any compensation for this review. This review is for informational purposes only.

Shoe Fetish

I am not a shoe girl. I don’t like going shoe shopping and I don’t have a closet full of shoes. I’m more into having a few pairs of practical shoes that I wear all the time. But, I recently became the proud owner of a third pair of cycling shoes. When I was a kid, all my shoes were cycling shoes. They were simply the shoes I wore when I rode my bike. Now, it’s more complicated.

I have Time ATAC clipless pedals, which are really the pedals with the clips on them, and my shoes need to be clip compatible. My first pair of cycling shoes were Keen Commuter Sandals. I loved them, and I still do. They’re really versatile, easy to clean, and keep my feet from smelling too funky.

When I got a new, fancy bicycle, I wanted a new pair of shoes, and got a pair of mountain bike cycling shoes, Velcro and all. I choose the Black Shimano SH-WM51 Mountain Cycling Shoes  because they have a recessed cleat to allow walking around and they are fully enclosed shoes for foot climate control. These shoes ended up being super comfortable, and kept my feet warm on the frigid mornings in the mountains of the Southern Tier. I could add an extra layer of socks, and adjust the shoes to fit snugly. My biggest complaint was the lack of breathability. After a good rainstorm, my socks would be as wet on the inside, from sweat, as the shoes were on the outside.

As we made plans for a New Zealand bicycle tour, I decided to purchase a brand new pair (New bike, new shoes? Maybe there’s a theme). This new pair, Shimano SH-WM34, could be easily mistaken for a pair of hiking shoes. Which is perfect, since we plan to spend a lot of time off the bike on this trip. The shoes lace up, and are pretty comfortable to walk around in. The traction is similar to a hiking shoe, and makes hiking up the hills a breeze. The hiking shoe look helps me blend in with all the other outdoor adventurers for those days off the bike.

Update: And now that we’re back from New Zealand, I’m happy to report on how the SH-WM34 performed. On the bike, the shoe performed exactly as needed, providing a solid platform for pedaling. In addition to cycling, we did plenty of “tramping” off the bike, that is, hiking, and the shoe was very comfortable. There was just enough traction to make me feel secure on the moderate hills we hiked. I wouldn’t do very much advanced hiking, however, as this is a cycling shoe, not a hiking shoe. The inflexibility of the sole takes some getting used to, though, as I’m used to a little bit more flex in my hiking shoes. But overall, I was comfortable on our hikes. In the cool weather, I was able to wear thicker socks, which helped keep my feet warm. When it warmed up, I didn’t like how sweaty my feet got, however, so I wouldn’t recommend these shoes on a tour through hot, humid areas.

What kind of shoes do you wear when you ride? Do you go for comfort or style?

ZPacks Sleeping Bag Review

Pam and I love cycle touring, and if you check out our gear list you know that we hate lugging extra weight. Our previous sleeping bags collectively were weighing in at around 4 lbs (1.8kg) each. Considering that our total gear weight was about 50 lbs, the bags accounted for almost 10% of the weight we were carrying. After some research I decided to try to reduce that weight and try out the Zpacks ultralight sleeping bags.

A woman laying inside a green sleeping bag on top of an air pad.
Z-packs sleeping bag


About the company: Zpacks is the brain child of an avid ultralightweight hiker, and they manufacture most of their products in Florida and are currently some of the leaders in the ultralight hiking market. Since Pam and I try to support people who provide good products and pay their employees well so it is easy to support Zpacks.

Spec: Zpacks sleeping bags are available in four temperature varieties: 40F, 30F, 20F, 10F. They come in 5 different sizes based on your height, and 2 widths based on your girth. Either 900 fill or 850 fill water resistant down is available. The outer and inner fabrics are Pertex GL, a durable, lightweight material.

size comparison for xped sleeping pad and z pack sleeping bag
Z-pack sleeping bag and xped sleeping pad

About the bag: The fabric feels similar to other tech materials: smooth, slippery, and thin. This doesn’t bother me at all. Most of the time I do use a silk liner, but that is mainly to keep the bag clean or to sleep on top of the bag during warm nights. The bags are designed to be slept in with the zipper on the ground underneath your back to reduce drafts. While the zipper is small and doesn’t bother me laying on it, I tend to toss and turn all night so I added an optional draft tube to prevent drafts as I do my nightly roll overs.

The bag is shaped so that it is larger at the top of the bag and tapers down to a small foot area. The whole idea is to minimize the space inside the bag which you have to heat up; this will keep you warmer with less extra material and therefore less extra weight. The zipper extends to about ¾ down the length of the bag which is plenty for climbing in and out.

One of the most amazing things about this sleeping bag is how much you can compress it down. Fully compressed it is downright tiny and as soon as you pull it out of the bag it starts inflating back up to full size. With a little fluffing it is perfect every night. The second amazing thing is Matt’s bag only weighs ONE pound. A one pound, 20F rated bag has kept Matt plenty warm even on a 15F night.

Durability: Initially I was very concerned about how the bag would hold up to continuous use on a bicycle tour. In hindsight this is probably a silly worry as a bicycle tour is not any more taxing on equipment than 3 months of hiking which is what this bag was designed for. Through 45 days of bicycle touring on the southern tier, this bag performed like a champ, and continues to perform as expected.

Overview: The Zpacks sleeping bag comes highly recommended by me. The weight and comfort are amazing. This is a great place to spend a little extra money to ensure that you get a warm comfortable night’s sleep and slash a few pounds that you have to carry around on a tour.

Disclaimer: This review contains my personal opinions. I have not received any compensation for this review. This review is for informational purposes only.

Exped Air Pillow M Review

Pillows can be considered a luxury for short tours, but for more than a night or two you probably want something to lay your head on. At 3 ounces the Exped Air Pillow M is lightweight (also available in a 2 ounce Ultralight version). Because it is an inflatable pillow it packs down extremely small, smaller than a can of soda.2014-03-03 1718 ExpedPillow

The pillow has two valves similar to all other Exped products. One for inflation which has a flap to prevent air leaking out between breaths and the other to allow for deflation. Both of these have a hole approximately the size of a quarter to allow for rapid inflation and deflation.2014-03-03 1713 ExpedPillow

To inflate it we use our Schnozzle Bag which takes about 15 seconds to completely fill the pillow. If you elect to fill it manually it takes between 4 and 6 breaths. Inflation pressure can be tweaked by keeping the inflate valve cover open and pressing on the flap to release small amounts of air. Deflation is nearly instant due to the large opening uncovered when you open the deflate cap.

The Pillow is constructed of polyester; this material feels somewhat like a very fine tightly woven nylon material. It doesn’t stick to skin like plastic, but Matt prefers wrapping his down vest around it for increased comfort; Pam prefers to just sleep on it bare. There are two small loops of extra material designed to allow you to use some clips to hold the pillow in place, however we never utilized them.2014-03-03 1715 ExpedPillow

Overall we were very pleased with these pillows and used them for our entire Southern Tier tour. There were no problems on the tour and they continue to work well; we plan to continue to use them for all our future tours. We highly recommend this pillow.

 Name  EXPED Air Pillow M
 Weight  Pillow: 75 grams
Packsack: 5 grams
 Packed Dimensions  5 in x 2 in
 Deflated Dimensions  38 cm x 27 cm
 Inflated Dimensions  38 cm x 27 cm x 11 cm
 Approximate Cost  MSRP: $39.00
 Other Similar Products  EXPED Air Pillow UL

Disclaimer: This review contains my personal opinions. I have not received any compensation for this review. This review is for informational purposes only.

Topeak Turbo Morph Mini Pump Review

When you’re out on a tour (or any ride) you’re bound to get a flat tire at some point. At home, you probably have a floor tire pump to easily get your tires up to pressure. I do. But I can’t carry that pump with me on my rides (I don’t want to). So I use either CO2 or a hand pump. But have you ever tried to pump up your tire using one of those wimpy hand pumps? I like to run my tires at 100 psi, but I have yet to get up to that pressure using a typical hand pump. I’ve tried CO2, but without a gauge, I don’t know what pressure I can get from a cartridge.

Enter the Topeak Turbo Morph Mini Pump. Here’s what makes this pump stand out from the rest:

  • Compact
  • Lightweight
  • Foot Stand
  • T-handle
  • Gauge
Miniature Hand Bicycle Pump with handle, foot stand, and gauge
Topeak Turbo Morph Mini Pump with T-handle, Foot Stand and Gauge

First of all, it is super compact. It easily attaches to any bike frame with the mounting bracket. It’s lightweight, at just 9.9 oz. (280 g). (Ok, so it’s not as lightweight as some other hand pumps, but the extra ounces are worth it, trust me!)

Using the foot stand and t-handle, it’s easy to get the leverage to pump your tire up to pressure. And the gauge lets you know when it gets there. There’s adapters for Presta, Schrader, and Dunlop valves, so no matter your valve type, you’re covered.

We got this pump midway through our latest tour, and we won’t go anywhere without in the future. Highly recommended.

Disclaimer: I have not received any compensation for this review. This review is for informational purposes only, and reflects my own opinion. I have not been in contact with the manufacturer.

Choosing the Right Lock for your Touring Bicycle

Because Pam and I tour as a couple we always have one person to watch the bicycles while the other runs to the store or bathroom. However, if you want to leave your campsite and hike, or take a day trip somewhere else, a lock can do wonders to ease your mind. Last tour we brought a tiny portable lock on tour with us, which a pair of scissors probably could have cut through. We basically would just lock our bikes together to keep honest people honest. However, there were a few times I wished that I had brought a more substantial lock.

After some research I decided that a frame lock (which attaches to the rear triangle of the bike and stops the rear wheel from moving) is the ideal touring lock. While a frame lock alone is not going to prevent someone from picking up your bike, the fact that it is fully loaded and said person would have to carry 50+ pounds where ever they wanted to take the bike might be enough of a deterrent.

Another benefit of a frame lock is how easy it is to engage the lock, you simply partially twist the key while pushing down on the lock lever and the bike will not roll away. If a bit more security is needed a plug in chain or any cable with loops can be attached to a fixed object. But there isn’t any fiddling with getting a lock out of your bags and finding an appropriate place to attached it. The lock is always on your bike ready to go.

Additionally when the lock is engaged your rear wheel won’t turn. Since neither of us have kickstands, engaging the lock means we can lean the bike against anything we want and it will stay upright and not roll away.

If someone really wants to steal my bicycle they will; no lock can stop that. But this will give me peace of mind that someone can’t just ride away with my life, and it is so easy to use that it is unlikely for me to not lock the bike. It may even allow my wife and me to spend more time together (in case being on a tour wasn’t enough time together anyways).