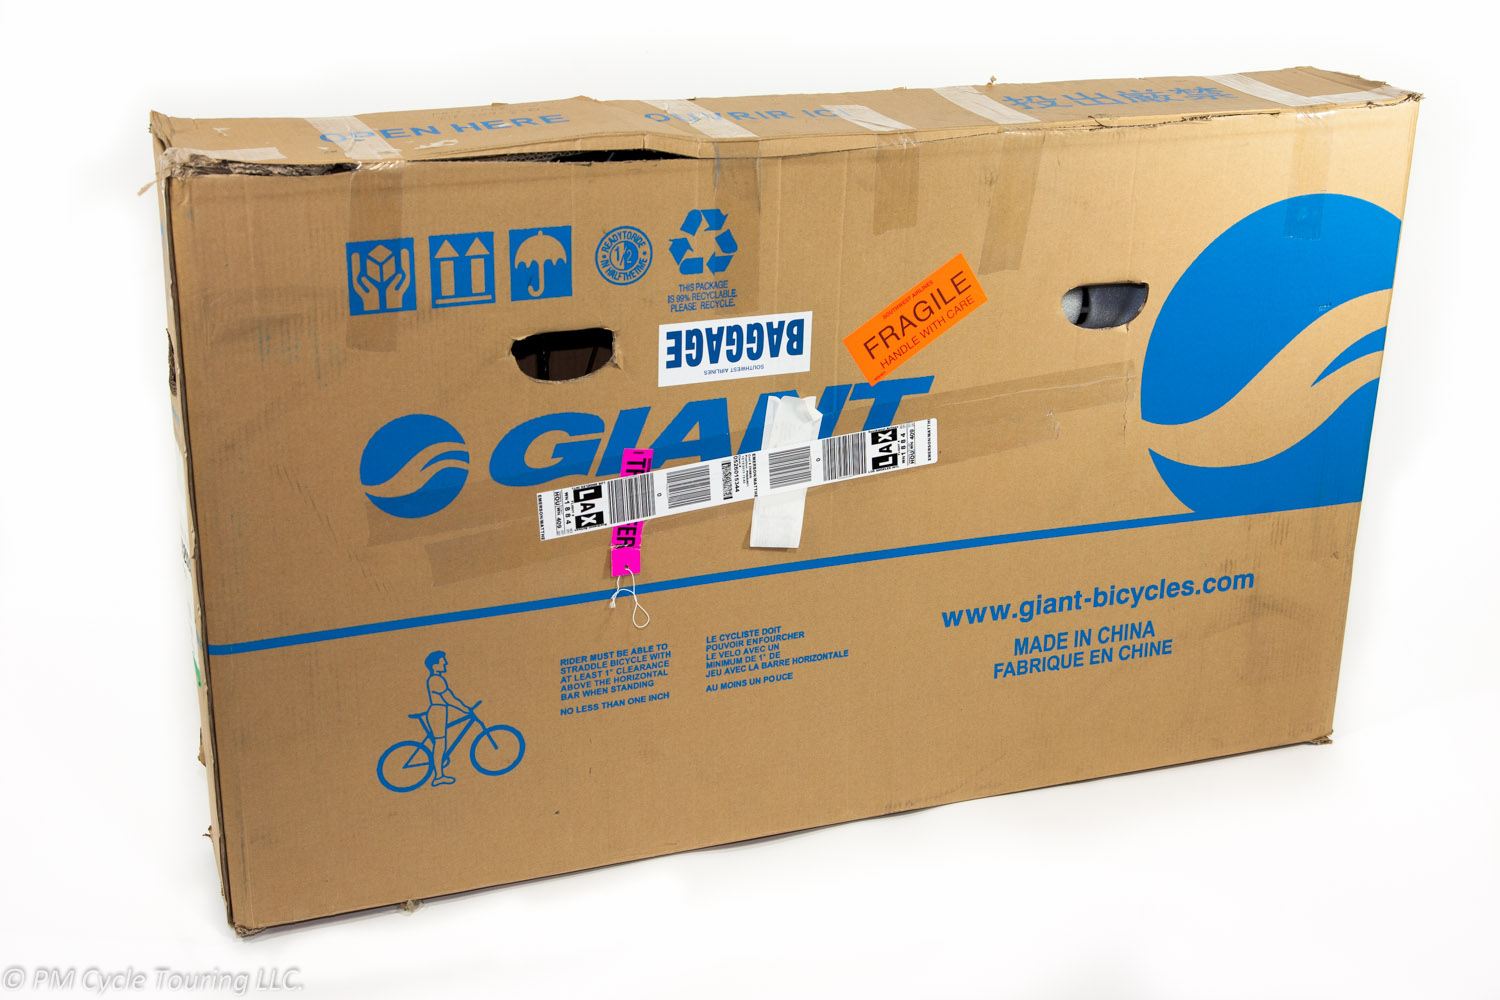
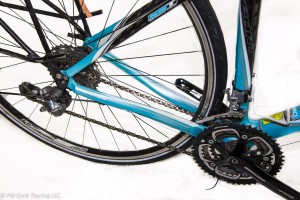
For our first tour we flew from Los Angeles to Seattle and had our bicycles boxed up. We had never really thought about how to put the bicycles back together once we got there. I suppose we just assumed it would be super easy. Thankfully our host had a bicycle stand and some tools to help us get them back together, but it was close to being an unpleasant experience. In response to that here is our guide to taking a bicycle from boxed to ready to ride.
Review this before you leave for your tour and reference if needed during your tour:
- Get your boxed bike and an open area to begin putting it together.
- After removing your bicycle assess how dis-assembled it is. If you had a shop pack it up some equipment may still be attached compared to our walk through, or it may be further dis-assembled.
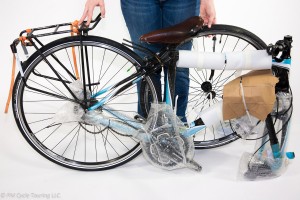
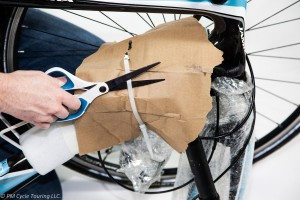
- Remove any excess packing material
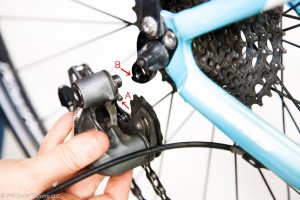
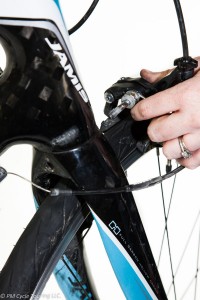
- Attaching the rear derailleur
- Shifting to the highest gear on the rear shifter should give you extra slack in the cable.
- The chain does not need to be on the f ront cogs, it may be easier with it off allowing free movement of the derailleur.
- There will be one large screw on the rear derailleur which screws into the frame. Additionally there will be a smaller screw which is perpendicular to the large screw (A in the picture). Make sure this screw ends up resting on the notch of the derailleur hanger (B in the picture). If you aren’t paying attention you may tighten the big screw and bend the smaller screw, so make sure you keep an eye on this while tightening the rear derailleur!
- Once the rear derailleur is attached you can position the chain properly on the front and back cogs.
- Positioning the stem
- Prior to packing your bike you should use a metallic sharpie to mark the angle / position of your stem/handlebars
- Rotate your fork so that it is facing the proper direction.
- We find it best to have the fork or front wheel on the ground while working with the stem/fork, if you loosen the wrong part the entire fork may fall out if the bike is on a rack or has the fork unsupported.
- If needed loosen the stem and position it so it is pointing in the proper direction, straight away from the bike. Tighten if needed so the stem is firmly attached to fork.
- Loosen the handlebar mount portion of the stem.
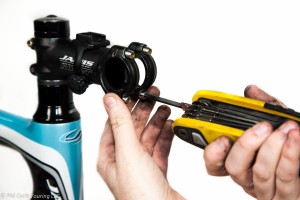
- Insert the handlebars and align the marks you made before you left to get the handlebars centered and at the proper angle.
- Tighten all screws firmly.
- Attaching the front wheel
- If packed with a plastic spacer, simply remove the spacer. This may require applying gentle pressure to pull the fork a little apart.
- Attach the front wheel as you normally would. You should be familiar with this because you will be needing to change flat tires while on the road.
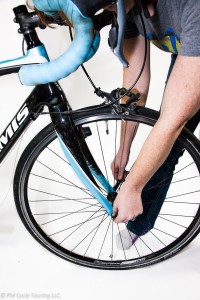
- If packed with a plastic spacer, simply remove the spacer. This may require applying gentle pressure to pull the fork a little apart.
- Attaching the front caliper brakes
- Locate the front brakes and the mounting hole in the front fork.
- Slide the bolt through the mounting hole and thread the tightening piece from the other side. Use an Allen wrench to tighten, snug but not over tight.
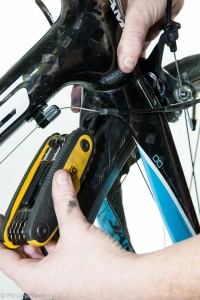
- Locate the front brakes and the mounting hole in the front fork.
- Finishing Assembly
- Check all cables to ensure they are in the proper mounting holes. As needed re-guide or re-position cables to their appropriate positions.
- For the rear derailleur
- Ensure the cable routed properly along or through the frame from the handle bars to the derailleur.
- Thread the cable through the derailleur, but don’t tighten it just yet.

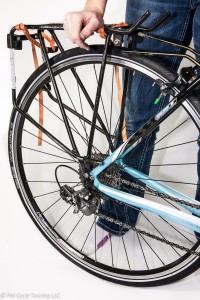
- Attach your racks to the appropriate mounting points and ensure all screws are tight, including screws that remained installed during transit. You are about to embark on a tour and you don’t want your bike falling apart because you failed to check a screw tight.
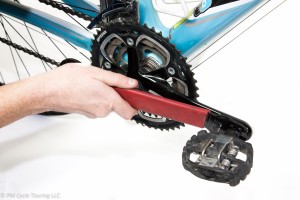
- Using a pedal wrench attach the pedals. One pedal is threaded “normal” (tighten by turning clockwise) the other pedal is threaded “backwards” (turn counterclockwise to tighten).
- Adjust the rear derailleur
- While this is a necessary part of putting your bike together we have included a separate guide. Look for a future post explaining how to do this!
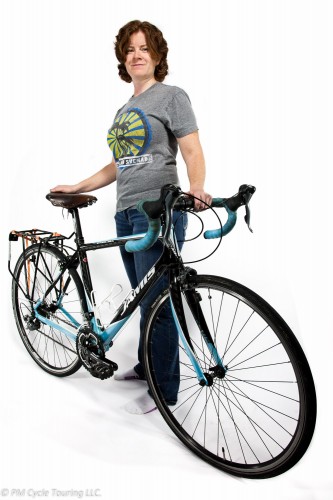
- Stand back and admire your completed bike. Now get out there and ride!
If you have any questions feel free to leave them in the comments, or if you noticed that I missed something tell me. I hope this helps people get a feel for taking a bicycle from boxed to ready to ride.