Eat to Ride, Don’t Ride to Eat

A common question that I get asked when I tell people I’ve ridden a bicycle across country is, “How much do you have to eat?” This is a great question. The answer is complicated: it depends. On our first tour, my husband and I definitely didn’t eat as much as we needed to in the beginning. We struggled with flagging energy levels by mid-afternoon.

At the two week mark, we assessed how much we were eating, versus how much energy we were using every day, and determined that we were eating about half as much as we needed. No wonder we were so exhausted! Once we figured it out, and started eating more and more often, things got a ton better.

I know a lot of people who exercise just so they can eat whatever they want. I can totally understand that. And it is really tempting when you’re cycling 7+ hours a day to go straight to the junk food aisle or the fast food restaurant. Cheap, easy calories are very appealing.

But here’s where I would caution you.  You’re not riding to eat. You’re eating to ride. That food is your fuel. Sometimes you put the low-grade, cheap gas into your car because you don’t have a choice. But if you want your car to perform its best, you usually want to give it the good stuff. The same goes with your body. Yes, it’s about calories and energy. But it’s also about nutrition and vitamins and minerals. Taking a multivitamin, although probably not a bad idea, won’t make up for eating a ton of junk on your tour.

Bottom line is, eat as much as you need to. Listen to your body, and find out what that means for you. By all means, enjoy yourself while you’re out there. Maybe even give yourself a reward for a particularly difficult ride. There is nothing wrong with that. Just don’t compromise your health by eating junk all the time. Eat some fruit and vegetables every once in a while. Buy some whole grain bread instead of bleach cheap white bread. Your body will thank you.

What is for Lunch?

We’ve talked about breakfast, but now let’s talk about the second most important meal of the day: Lunch. (P.S. When you’re touring, all meals are important.) While breakfast and dinner are usually eaten in camp, bicycle tourists typically eat lunch “on-the-go”. A good lunch can take you right past that afternoon slump and help you finish your day’s ride strong.

Obviously, the sky’s the limit when it comes to what you can eat for lunch. For us, we prefer simple and easy lunches. I do, however, get tired of eating the same thing every day, so I like to switch it up as well (Matt would eat the same thing all tour if I let him). Here’s a list of our favorite bicycle touring lunches:

Peanut butter and jelly sandwiches. The old standby. Every kid’s favorite meal is definitely appropriate for a bicycle tourist. The protein/fat from the peanut butter and the sugar from the jelly restores energy reserves from the morning and helps energize you for the afternoon’s ride. Peanut butter jars are heavy, so we like to buy the small plastic ones (they also take up less space). We end up buying peanut butter more often, but that’s ok with us. Jelly, surprisingly enough, keeps for a long time without refrigeration. We like to buy the smallest jars we can find, which last us a couple days. If it smells off at all, we toss it, but they are definitely good for at least 3 days. To add variety, we try different kinds of jelly, or grab some honey and add fruit. If adding fruit bananas are especially great, but blackberries are also awesome. We’ve tried every type of bread that grocery stores carry, as well. Our favorite is Ezekial bread, with the sprouted wheat berries. We also like the sandwich thins, which don’t get smooshed as much as regular loaves.

Salami and cheese sandwiches. Getting enough protein while touring is key to keeping energy levels up. Salami is a great option, since it usually comes in small sizes and keeps well without refrigeration. Cheese also lasts longer that I would have thought. We just buy small blocks. Cheese is also great to add to your pasta dinner at night. So, bonus! Multiple uses [Symbol]

Deli Food. Most grocery stores in the US have a deli section with pre-cooked chicken or other meats, potato/macaroni salads, and other great picnic food. Normally they will pack as much or as little as you want and you pay by weight. This stuff easily will last for 2-3 hours so you can grab it mid-morning then sit down and have a proper picnic later for lunch with no preparation required.

Eating out. Sometimes, we’ll be riding through a town right around lunchtime. When this happens, we like to find a good local restaurant and enjoy a sit down meal. It’s nice to be able to support the local economy. Plus, we usually take the opportunity to freshen up a bit, use the restroom, and even charge up our phones if we need it.

Lunch is sometimes my favorite part of the day. It can be a chance to spread out our “picnic blanket” (really our emergency blanket/tarp) and enjoy the beautiful scenery. It’s times like those that make me feel really grateful to be alive and on a bicycle tour. What are your favorite lunches? Let us know in the comments below.

Don’t feed the wildlife

Two weeks into our first bicycle tour, we set up our camp the same way we had the previous 13 nights. We put all of our panniers tied together hanging from a tree limb. Moments after we crawled into our tent for the night, we heard a commotion outside. Matt investigated, only to find raccoons fighting over our panniers and the food inside. They were vicious! He had to fight them off, and with no better option, we brought the panniers into the tent with us for the night, terrified the raccoons would come clawing through our tent. There had to be a better way!

One of the joys of bicycle touring is getting back to nature. Bicycle tours can take you to remote places, where it’s just you and nature in all its glory. Unfortunately, wildlife encounters can turn an enjoyable tour into a nightmare. There’s a few things you can do before you set out that can make all the difference.

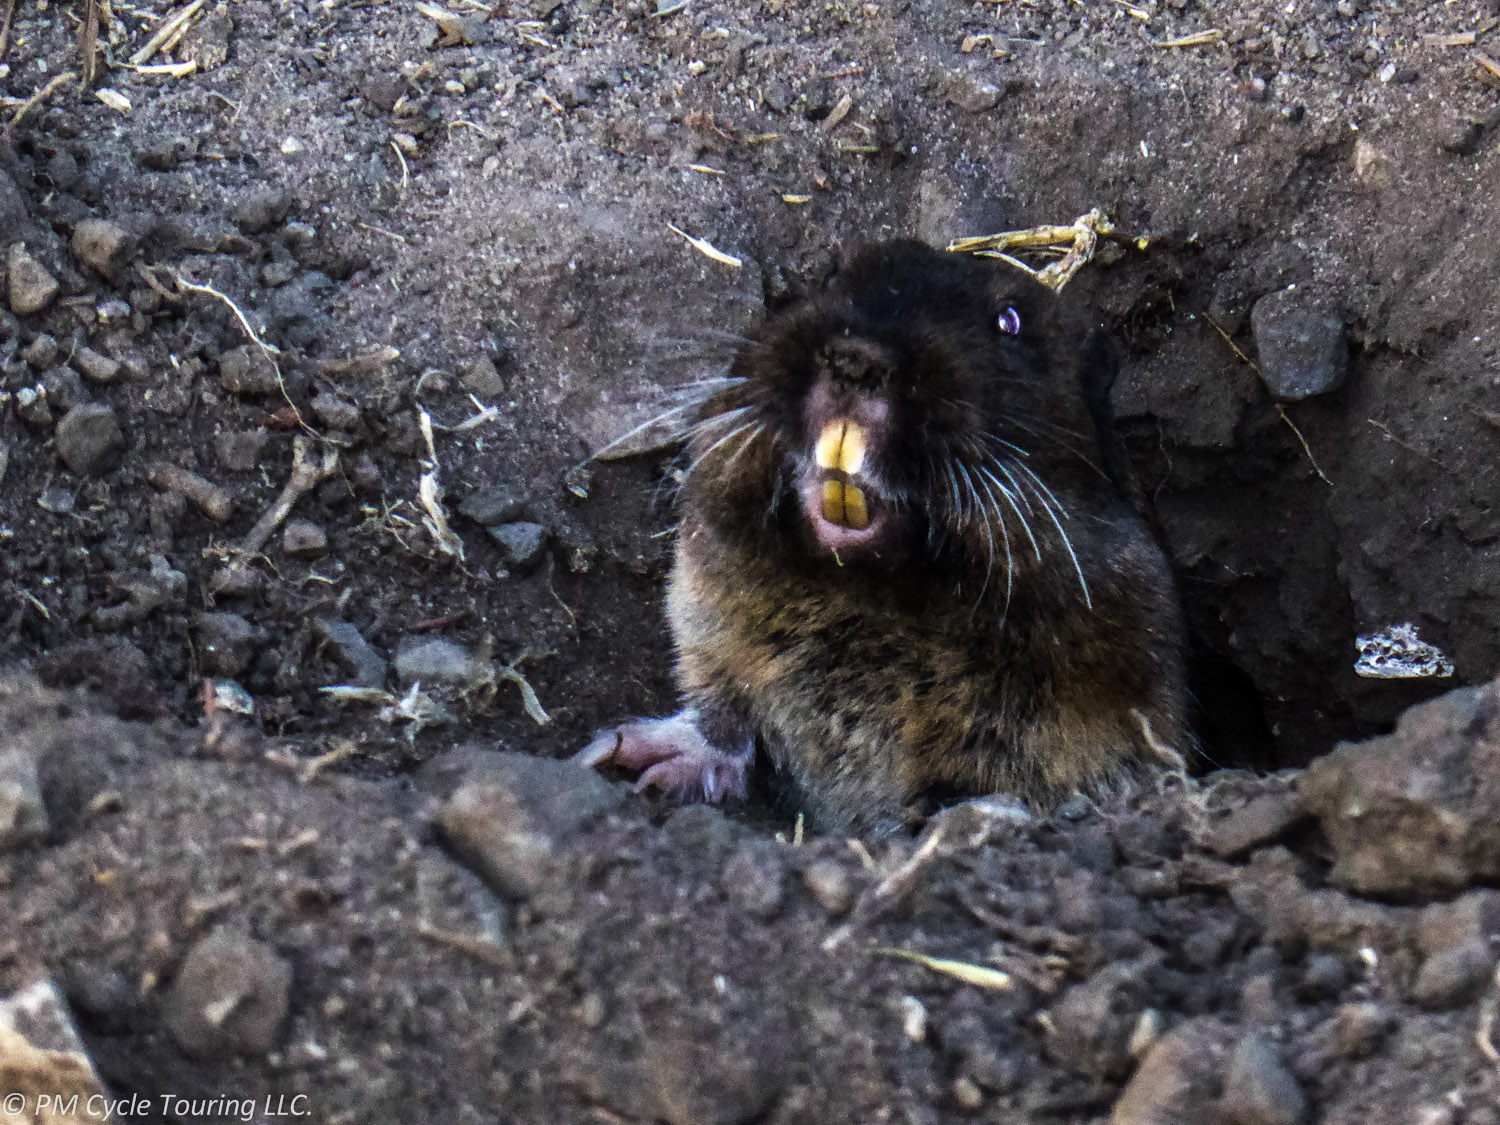
Bear can: We found this is the most convenient method of keeping the critters out of your food. Raccoons, rats, skunks, possums, and other nocturnal animals can be very persistent when it comes to going after food, and in some areas bears can be a huge problem. Keep in mind that smells from any food items will linger on your belongings and tempt the animals. Panniers are not animal resistant! A bear canister will prevent any animals from getting your food (and may even be required depending on where you’re going). You should keep everything that smells (toiletries included) in the bear proof container. On our latest tour we used the Bearikade (the Weekender size), and highly recommend it.

At night, place the bear can at least 100 yards from where you’re sleeping (if there’s bears) and make sure it’s in a safe place-that is, it won’t roll off a cliff or into a river or other natural hazard. The bear proof container won’t keep the critters from smelling the food, it will just make it impossible for them to get to it. They will invariably check it out, and maybe even claw at it for a moment; after some time they’ll probably get tired of it, and your breakfast will be safe for the morning.

We found it to be very convenient and easy to use the bear can. It kept our panniers from getting smelly or dirty, and the food was always easy to access. When we came it camp we could just leave our panniers on the bicycles and not have to worry about anything clawing at them. It made camping very simple and less stressful.

Bear box: Some campsites will have bear boxes to put your food in. Again, don’t limit what you put in it to food; put all toiletries into them as well. This means all sunscreen, lip balm, toothpaste, etc. If there is no bear box available, but there have been critter sightings, check to see if it would be ok to leave your panniers in the restroom. A lot of times the door will be enough of a deterrent to the smaller animals. Be careful in some bear areas, though, because they are smart enough to get in. Check with the ranger or camp host to find out the best thing to do with your food.

Smell proof bags: These can be a deterrent, however they should not be your only protection. Smell proof bags are a great place to put your snacks for the day in. This can help you reduce the smell of food in your panniers or handlebar bag. We used these bags on our latest tour and had no issues with animals.

Bring your food in your tent: This is one of the oldest trick in the books and many people swear by this method. Make sure that the food is only in your tent while you are in the tent with it, if you leave food unattended animals may claw through your tent. While we have done this in the past, I hesitate to do this now. It could teach animals that a tent means food and seems risky versus our positive experiences with our Bearikade.

Bottom line: be smart. Think about your food and what you’re going to do with it. Make it as difficult as possible for animals to get it. You’ll be glad you did and sleep better if you aren’t worrying about it.

Breakfast: Starting the day off right

Making good food choices early in the day will help set you up for a successful ride. We often joke when we’re riding about needing not only breakfast, but second-breakfast as well. There’s a reason we eat so much: we’re burning a lot of calories throughout the day, and food gives us the energy we need to help avoid energy crashes.

Here are a few things to keep in mind when planning your meals for the day.

First, try not to eat anything too heavy or rich. If your body has to work too hard to digest it, you’ll be diverting energy away from your ride. As your exert yourself your body diverts blood from your stomach to your muscles slowing digestion.

Look at foods that are both filling and satisfying. You want the meal to give you energy for as long as possible.

Finally, convenience is a factor. A quick, satisfying breakfast can get you going and on your way.

So what do we eat when we are out touring? We prefer hot cereal grains. We usually rotate between oatmeal and other cereal grains, such as Oat Bran or 5 / 7 / 11 grain mixes from Bob’s Red Mill brand. Bob’s cereals come in conveniently sized packages which last about a week between the two of us and are sold in most grocery stores throughout the United States. You can also check the bulk bins for different cereal grains. Cereal grains are not heavy, are very filling, and take just moments to cook (simply add to boiling water and eat when thickened). We would recommend staying away from packaged, instant oatmeal, it is just not as filling as the real stuff.

Pam likes her breakfast sweet, so here are a couple of methods to make your breakfast cereal even tastier. Honey sweetens nicely, and has the added benefit of tasting great added to a peanut butter sandwich for lunch. Additionally, adding peanut butter and jelly to cereal gives it a nutty flavor and adds protein. You can also add dried fruit, or trail mix to your bowl. But our all-time favorite addition to hot cereal is chocolate. Place half (or all) of a chocolate bar into the cereal, which melts, and viola’! Instant chocolate cereal! It is such a treat in the morning to get you going.

A downside of cooking your own breakfast is the cleanup, and washing dishes after breakfast can be a pain. If you’re not into that, there are other options. Scope out restaurants in the area that serve breakfast, or pick up some muffins, fruit, and yogurt the night before. Granola bars can stave off hunger if you need to eat first thing in the morning (like we do) until you can reach a breakfast spot. Just plan ahead. There’s nothing worse than trying to ride hungry.

Calories = energy. You need energy to get you going and to keep you going. Plan ahead, figure out what works best for you. We enjoy a hot, satisfying breakfast to get us started on the right foot. How about you?


Snacking on the Go

The only way to maintain energy levels throughout your bike ride is food. While meals are necessary, probably the most important thing you can do is snack, and snack often. Sometimes while I’m touring with my husband, I find myself getting irritated or overly emotional at small things. The first thing he asks me is, “When is the last time you ate something?” And it’s true! If it’s been a while, I grab something to eat. My handlebar bag is full of goodies to snack on through the day.

I don’t eat while I’m pedaling, so I take a break and snack. Part of touring is enjoying the surroundings, wherever I happen to be. One of the best ways to do this is to pause every 10-15 miles, eat something, and take in your current location.

Additionally I like variety when I eat. I get tired of eating the same thing over and over. Here’s a few types of snacks I’ve tried on my tours:

  • Fruit: Whether dried or fresh, fruit is an awesome snack. When touring in summer, stop into a fresh fruit stand and enjoy peaches or plums. Bananas are also great. Blackberries growing on the side of the road in the Pacific Northwest are also amazing. Can’t get fresher than that!
  • Gels or Gu: I find sport gels to be most useful when I need a punch of energy, like right before a big climb. I like the ones with caffeine. Be careful, though, because sometimes these can make your stomach upset and you may need a bathroom; try them before you go.
  • Granola Bars: In a pinch, we’ll eat those little Quaker granola bars, but these aren’t my favorite. They’re small, and there’s not much to them. I feel like I have to eat 2 or 3 to make a dent in my hunger. An alternative are locally made bars or the Nature’s Own two packs.
  • Energy Bars: For example, Cliff or Power Bar, or other varieties. My favorite are probably Cliff or Luna bars. While some of them taste like cardboard (Power Bars), the Cliff Bars are rather tasty and pack a good amount of calories. I prefer candy bars, but just because I have such a sweet tooth.
  • Sweets: A fellow tourist from the UK called candy in general “sweets” and it stuck with me. On my last tour I kept craving sour gummies. Hard candies work, basically anything with some sugar, too. Just a little bit of sugar, which gets converted straight to energy.
  • Candy Bars: My favorite go-to snack is Snickers. The combination of peanuts and chocolate, along with the sugar of the caramel is pretty much the perfect cycle touring energy bar. I also like to switch it up with other candy bars, but most often return to Snickers. I’ve found Payday bars are also good, with all the peanuts.

Touring is different than everyday living. You have to keep your energy up so you can expend it. This doesn’t mean you can or should just eat anything and everything you want. But it’s important to maintain a certain level so you don’t have an energy crash (or a literal crash, either). So snack, and snack often.

What are your favorite snacks? Share with us in the comments below!

Cycle Touring Expenses

When you’re thinking of starting a bicycle tour, one of the things to consider is how much money you want to spend. A bicycle tourist can end up spending as much or as little as he or she wants.  You don’t have to be rich to tour; here are some tips to keep your costs down.

Bicycles. Bicycles come in many shapes and sizes, as well as material type. A great touring bicycle doesn’t have to be brand new or expensive. Check the classifieds or Craigslist to find a new-to-you bicycle. Also, your local bike shop might have the perfect second-hand bicycle. Ask your friends: maybe someone has a bike you can borrow. The bottom line is you need a bicycle to get you down the road, you don’t need anything fancy to get started. A simple bike with rack mounts and plenty of gearing will get you from point A to B as well as a custom built Co-Motion.

Lodging. Camping equipment costs, such as for tents and sleeping bags, can add up. You might think it would be cheaper to forgo camping for staying cheap motels, but going that route (also known as credit-card touring) can get quite expensive. Typical campsites (in the US) range from $5 a night to $25 a night for bicyclists. Hotels in popular tourist destinations can be more costly than you might expect, and can be in the $100s/night during peak tourist season. Be ready to spend some money on a quality tent, since it will shelter you from Mother Nature, and can actually help save you money in the long run.

Gear. In addition to camping gear, there’s clothing, bicycle repair equipment, and technology. Stay tuned for more posts on these!

Food. Before you leave, think about how you plan to eat out there on the road. You’ll be eating. A lot. You’ll need to think of meals as well as snacks. When I’m out there, I like to snack at least once an hour, or every 15 miles or so. I also make sure to have a nourishing breakfast, a hearty lunch, and a filling dinner. Cereal grains for breakfast keep me full until that first morning snack. Snacks tend to be much more expensive at convenience stores. Try to buy them at grocery store if you can and always be on the lookout for sales to stretch every tour dollar further.

My go-to lunch is PB&J (peanut butter and jelly sandwiches). It’s difficult to find a more filling, inexpensive meal. Neither jelly nor breads needs to be refrigerated if eaten within a couple days. If you save money on lunch, you may be able to afford to try out that local eatery for dinner without breaking the bank. You should definitely sample the local cuisine, after all, bicycle touring is about experiencing the flavor of an area.

To sum up: The four main things you need to tour are a bicycle, lodging, gear, and food. Touring can be done on any budget. Remember that you don’t have to spend a lot of money to have a great time on your tour. Shop around and find what works for you.