Interpreting California Mileposts

There are many different kinds of road signs in California. There are the big green signs that tell you how many miles you have left to get to your destination. There are the route signs that tell you what road you’re on. And then there are the little white, rectangular signs you’ll find posted at every mile. Knowing what these signs mean can be a big help. The ones that look like this:

Milepost 30, California State Highwy 1, Monterrey County
Milepost 30, California State Highway 1, Monterrey County


Well, here’s a little primer on how to interpret these milepost signs.

First, check out the top. That number? In this case it says “1” but it could also say 001. This is the road you are on. This one in particular means California State Route 1. I’ve also seen an abbreviation of the name of the road, for instance HGR for Harris Grade Road.

Next, there is a two or three letter designation for the county. There are 58 counties in California, therefore, 58 different abbreviations. This is county MON for Monterrey County.

Finally, there’s a number. This is the mileage from the county line. Generally, the mile numbers increase as you go from south to north or from west to east, depending on the general direction of the road. When you get to a new county, the mileage numbers start over.

You can count on these milepost signs to be posted at every mile, but also marking bridges and roadside call boxes. I can honestly say that looking forward to the next milepost has saved me on many a monotonous bike ride; when I think I can go no further, I just say, “at mile 12 you can rest.” And when I get there I say “now mile 13.” It’s also especially handy when traveling from north to south (or east to west) as the numbers count down to the next county. Anything to help keep your motivation to keep pedaling!

What is for Lunch?

We’ve talked about breakfast, but now let’s talk about the second most important meal of the day: Lunch. (P.S. When you’re touring, all meals are important.) While breakfast and dinner are usually eaten in camp, bicycle tourists typically eat lunch “on-the-go”. A good lunch can take you right past that afternoon slump and help you finish your day’s ride strong.

Obviously, the sky’s the limit when it comes to what you can eat for lunch. For us, we prefer simple and easy lunches. I do, however, get tired of eating the same thing every day, so I like to switch it up as well (Matt would eat the same thing all tour if I let him). Here’s a list of our favorite bicycle touring lunches:

Peanut butter and jelly sandwiches. The old standby. Every kid’s favorite meal is definitely appropriate for a bicycle tourist. The protein/fat from the peanut butter and the sugar from the jelly restores energy reserves from the morning and helps energize you for the afternoon’s ride. Peanut butter jars are heavy, so we like to buy the small plastic ones (they also take up less space). We end up buying peanut butter more often, but that’s ok with us. Jelly, surprisingly enough, keeps for a long time without refrigeration. We like to buy the smallest jars we can find, which last us a couple days. If it smells off at all, we toss it, but they are definitely good for at least 3 days. To add variety, we try different kinds of jelly, or grab some honey and add fruit. If adding fruit bananas are especially great, but blackberries are also awesome. We’ve tried every type of bread that grocery stores carry, as well. Our favorite is Ezekial bread, with the sprouted wheat berries. We also like the sandwich thins, which don’t get smooshed as much as regular loaves.

Salami and cheese sandwiches. Getting enough protein while touring is key to keeping energy levels up. Salami is a great option, since it usually comes in small sizes and keeps well without refrigeration. Cheese also lasts longer that I would have thought. We just buy small blocks. Cheese is also great to add to your pasta dinner at night. So, bonus! Multiple uses [Symbol]

Deli Food. Most grocery stores in the US have a deli section with pre-cooked chicken or other meats, potato/macaroni salads, and other great picnic food. Normally they will pack as much or as little as you want and you pay by weight. This stuff easily will last for 2-3 hours so you can grab it mid-morning then sit down and have a proper picnic later for lunch with no preparation required.

Eating out. Sometimes, we’ll be riding through a town right around lunchtime. When this happens, we like to find a good local restaurant and enjoy a sit down meal. It’s nice to be able to support the local economy. Plus, we usually take the opportunity to freshen up a bit, use the restroom, and even charge up our phones if we need it.

Lunch is sometimes my favorite part of the day. It can be a chance to spread out our “picnic blanket” (really our emergency blanket/tarp) and enjoy the beautiful scenery. It’s times like those that make me feel really grateful to be alive and on a bicycle tour. What are your favorite lunches? Let us know in the comments below.

Tire Size Confusion

So, who out there is confused about tire sizing? Anyone? I know I’m not the only one out there confused by the terminology, sizes, types, etc. Just the other day, my husband and a bike shop owner had an in depth conversation about the various attributes of different size tires, and I was completely lost. I decided I should learn a bit about tires, and maybe pass that info on to you. It seems that there are two major things to consider: Wheel Diameter, and Tire Width.

As I listened to their conversation, all I heard was a bunch of numbers, 700C, 26 inch, 590 mm, 29er, and I was very confused. Now I know that wheels come in lots of sizes, but the two main ones are 700C and 26-inch. 700C means a 622mm diameter wheel. And 26-inch is 559mm diameter. There’s a third less common 650B which may become more popular in the future with 584mm diameter. {In reality, the 700C or 26-inch is supposed to refer to the diameter of the outside of the tire, but this is not the reality. We’ll keep it simple and say that 700C refers to a standard size wheel, which is true. See how complicated this can get?} What about 29er’s? Well, to add more confusion, they are simply 700C mountain bike wheels measuring at 622mm. Sheesh!

Next is the tire width. Depending on how narrow or wide your wheel rim is, determines the width of tire that you can have. You shouldn’t put too narrow of a tire on a wide rim: it won’t seal. Also, go too wide on a narrow rim, and your tire will pop off. Dangerous! Most people think that a wider tire means slower speeds, and a thinner tire makes you go faster. This is generally the case. But, a wider tire tends to mean a smoother ride, whereas a narrower tire gives a stiffer, bumpier ride. That being said, your body can get used to almost anything, and your ideal tire width ultimately comes down to personal preference.

So, if you take a look at a tire you will see the size of the tire, for example, 700C x 23mm (23-622). This means the tire size is 700C with a 23mm width. The second number, in parentheses, is the ISO (the standardizing organization) designation, which says the same thing as the first number, but with width of the tire followed by diameter of the wheel. Thank goodness for standards! As long as you have a new bicycle, finding the appropriate size shouldn’t be a problem. Unfortunately, older bicycles might have non-standard size wheels, therefore the standard size tires might not fit properly.

I hope this helped. Just trying to decipher all the information really made my head spin. But, once you wade through it, it’s not really too bad. Now, trying to figure out which set of tires to get for your bicycle is a different story, and we’ll tackle that one another time!

Note: I got a lot of help for this article from Sheldon Brown’s website and if you want more information it is a great place to start.

ACA Pacific Coast Section 4 Map 48

Bicycling down the Pacific coast is one of the most amazing experiences I’ve had so far. Each section of the coastline is unique, with different geologic features. Sometimes the road is a hundred yards above the ocean. Other times you’re riding with the waves crashing right beside you. The section between Monterey and Moro Bay is particularly scenic as you pass through Big Sur, which is home to the southernmost coastal redwood forest. If the traffic quiets down enough, you’ll hear the cormorants and seagulls, as well as sea lions and elephant seals. You may catch a glimpse of the California condor, soaring on updrafts above you.
South of Big Sur, just before Limekiln State Park, a new structure will greet you. In 2011, Matt and I were riding through this section and got a particular thrill. There was road construction in progress, which made the traffic very nice on this stretch of road. First we rode through this construction zone trying to imagine what it would look like when it was all said and done. There were giant columns being erected and a ton of heavy machinery.

Pacific Coast Highway 1 near Lime Kiln, California. Major road construction was in progress and we trailed a line of cars through the site.
Pacific Coast Highway 1 near Lime Kiln, California.

Next we ended up with the road to ourselves for a little while as the cars were held up. Directly overhead, on the side of the mountain, we could see workers. Then, the sound of a helicopter. We stopped and watched, fascinated, as the helicopter landed on the road, picked up some men and supplies, and took off, heading to the top of the mountain. It was a thrill to watch the process. We weren’t sure what the end result was going to be, as they had just started, but we were sure it would be incredible. And we had front row seats and the ability to pause and enjoy the show.

Fast forward to 2014 a few weeks ago, we were driving the same route we had biked before. What had taken us almost a week before now took us only a few hours. As we approached the place (we refer to it as the helicopter spot), I started to get excited. Surely the construction was done. What could it possibly look like?

Well, as you can see, it looks amazing. At a point on the highway that was prone to rock slides, now there is a tunnel/castle/feat of engineering.

Pacific Coast Highway 1 near Lime Kiln, California. 3 years ago we rode through this as it was being constructed, not able to visualize how amazing the structure would become.
Pacific Coast Highway 1 near Lime Kiln, California.

As you ride down the coast, take a moment to marvel at what human ingenuity can accomplish. And be sure to snap a picture!

Those Hills Are Intimidating!

On my first ever bicycle tour, we bicycled down the Pacific Coast. We started in northern Washington, near the Canadian border, and made our way south toward Mexico. After the first few days of climbing up and down steep, small hills, I realized how unprepared I was. The steep hills just about made me throw in the towel. Each night, I would glance at the map for the next day’s ride, and worry if it looked like there was a sizable hill coming up. As we drew south and closer to the biggest climb on the coast, Leggett (1 and 2), my anticipation increased. Would I be able to make it?

But here’s the thing. The big hills always turned out to be much easier to climb than I expected. In general, hills are graded gradually. Even steep ones usually aren’t steep for long. And the best thing about being on a bicycle is you can take a break whenever you need it. There’s no rule that says you have to keep climbing a hill once you’ve started. My husband’s motto is: Slow and steady, and onward and upward. As long as you keep making forward progress, you’re golden! My memories of the Leggett climb are ones of satisfaction and a sense of accomplishment. The climb was gradual, and quite pleasant. The view from the top was amazing, and the downhill ride was exhilarating.

As I have gotten better at bicycling and touring, I have become a better judge of what my body is capable of. I find the least enjoyment with rolling hills, even as a well-seasoned tourist. I much prefer slow, gradual climbs. Additionally, I have learned to take with a grain of salt a car driver’s opinion of upcoming hills. Car drivers don’t even notice the millions of hills they climb with no effort; on a bicycle you have to fight and conquer each one.

On a recent tour, we tried out an Android app simply titled “Elevation Profile” that we used to show the elevation profile for the next day’s route. It was much more accurate than the map profiles we had been using. And since I had more confidence in myself, it felt good to see what I was capable of achieving.

Once again, bicycle touring can be seen as a metaphor for life. How many times do we stand before an obstacle and psyche ourselves out before we even try? Worrying about how big that hill was the night before didn’t change the fact that the hill existed, or that I had to climb it. The best thing to do is take the challenges as they come. And there’s nothing better than reaching the top of a particularly long climb, taking a deep breath, and smiling all the way down the other side.


Learning to Ride a Bicycle (Pam’s bicycle evolution)

I started riding bicycles when I was about 7 years old. My first bike was a fixed gear, with a coaster brake, you know, the one where you just push backwards on the pedals and the bike stops. I got my first bike with multiple gears (10) and rim brakes when I was a teenager, and I loved the speed I could attain on that bike. But then I got my driver’s license, and for some reason I stopped riding. I guess that happens to a lot of us. Driving a car was just more convenient, and gas was cheap.

About 9 years ago, I became interested in bicycling again. I bought a comfort bike, with twist shifters and 21 speeds. Even though I hadn’t been on a bicycle in more than a decade, it’s true what they say: once you learn how to ride a bicycle, you don’t have to relearn. I rode that bicycle everywhere from city streets to dirt trails. Getting used to all the gearing took some time, but I eventually got the hang of it.

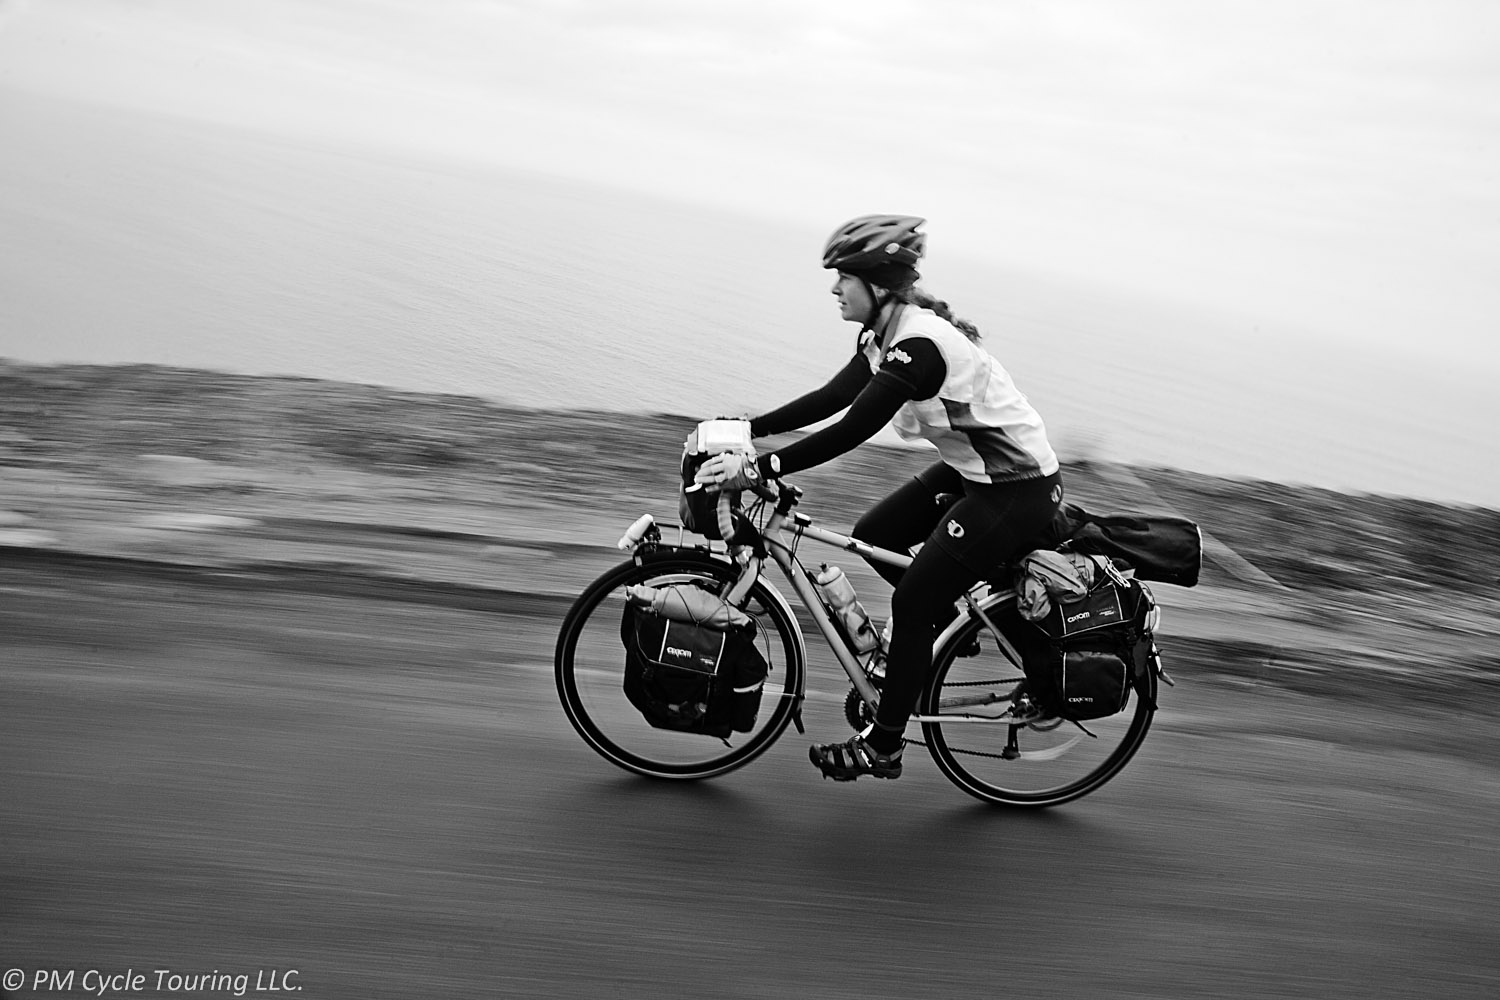
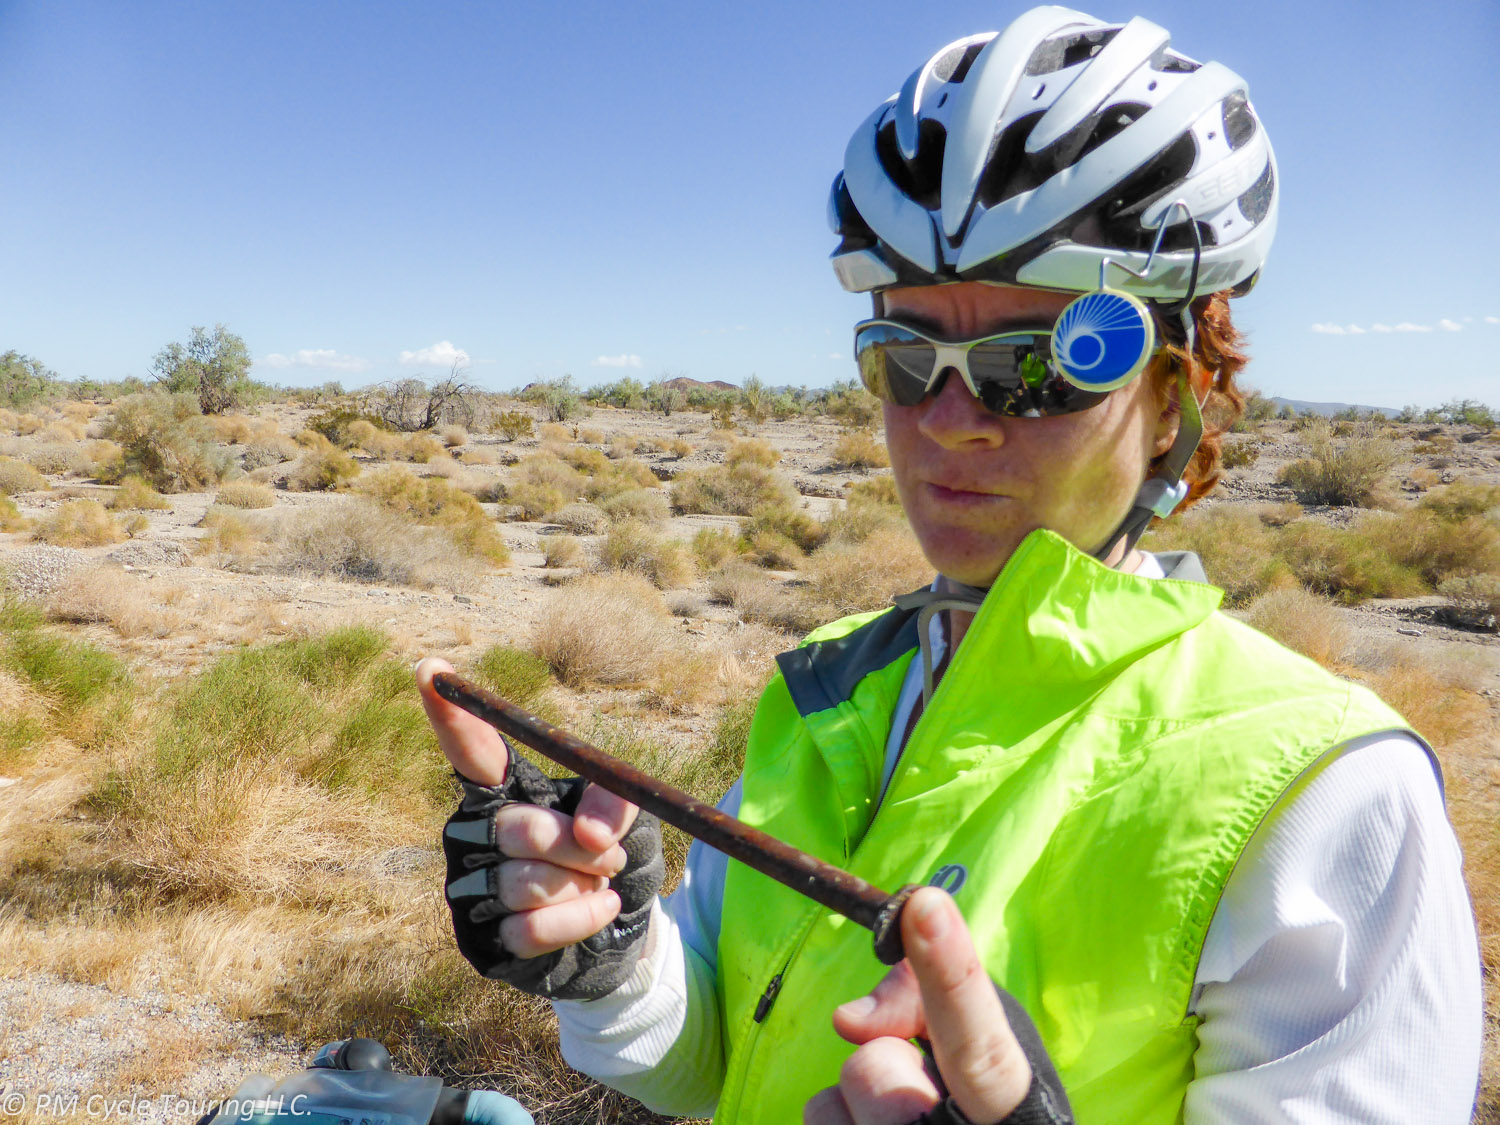
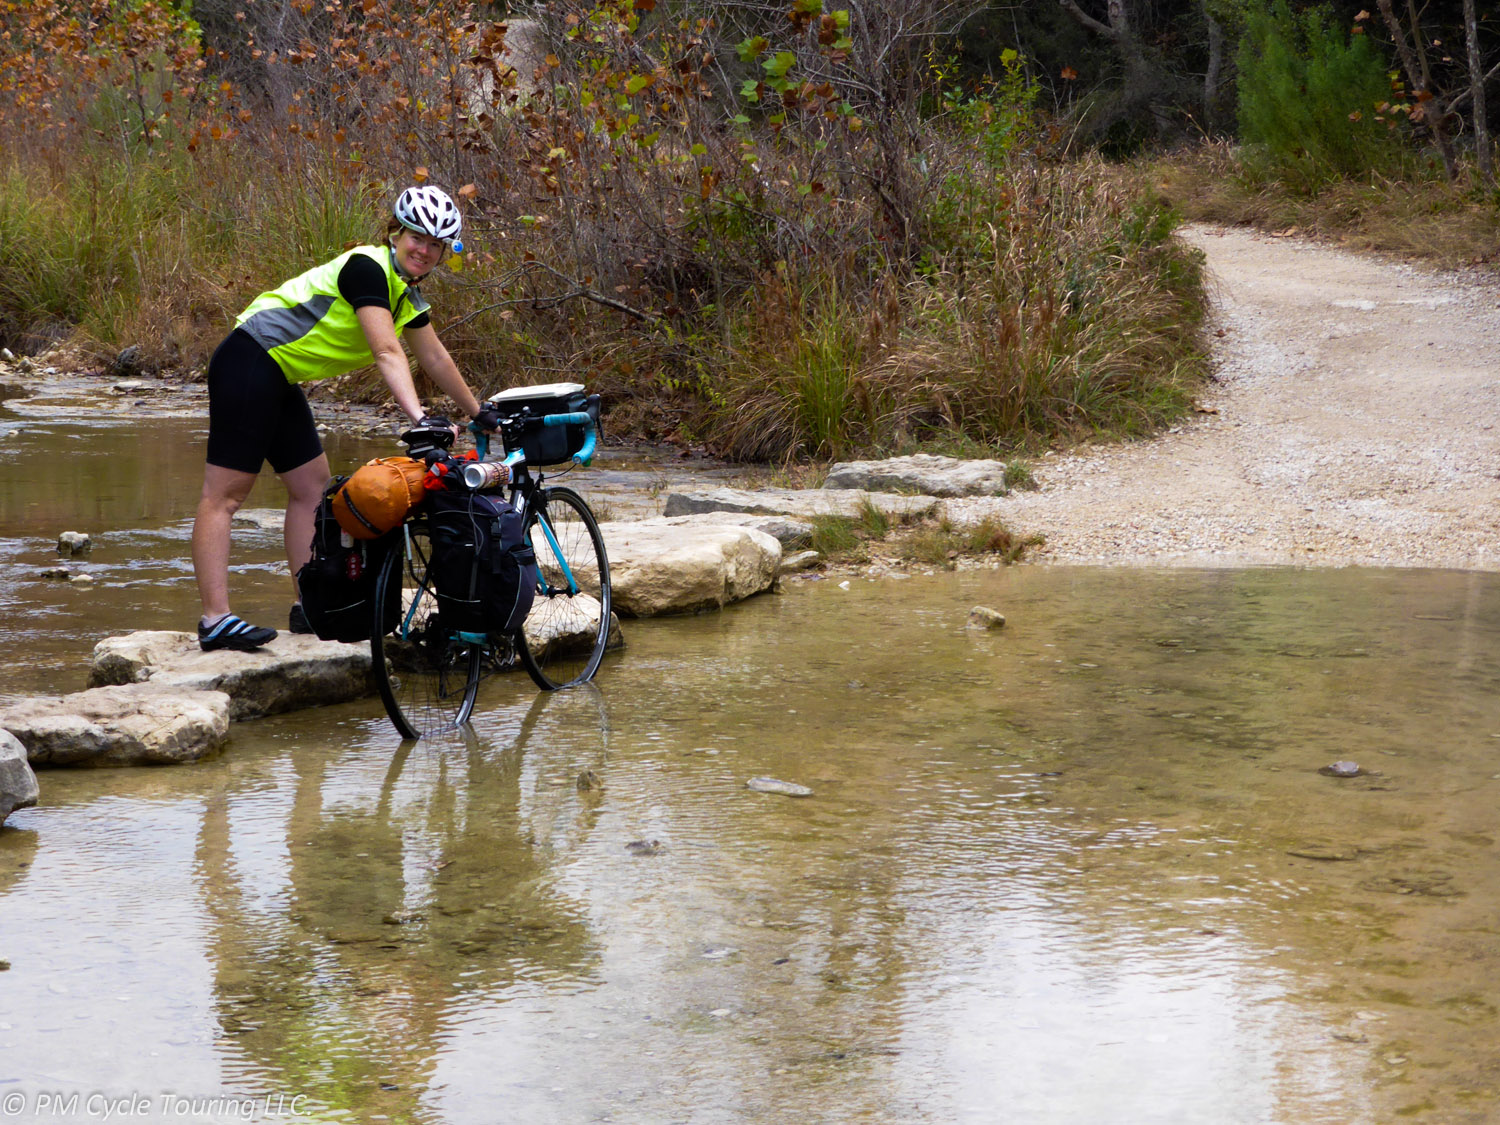
Then came my first touring bicycle, a Raleigh Sojourn, with bar end shifters and clipless pedals (the adjective clipless is misleading and confusing. It really means “clip-in,” where the shoe is clipped into the pedal.) The very first time I rode the bicycle I was afraid to clip in completely. I was sure I wouldn’t be able to unclip in time when I stopped. So, I just rested my foot on the pedal while I rode, but when I did come to a stop, my clip was stuck to the pedal anyway, and I fell over. Right in front of the bike shop. I was so embarrassed, but less so when I found out that almost everyone falls at least once. Over time it became natural to clip in and unclip, and now I don’t even really have to think about it.

Bar end shifters were also an adjustment. However, once I figured it out, I liked the dependability of the shifting. My biggest problem at first was remembering which side controlled the front gear, and which the back. Unlike the twist shifters, there were no numbers on the shifters to clue you in. Also, I would sometimes forget which direction I was supposed to shift, and when I really needed an “easier” gear, I would accidently shift to a more difficult one, and lose my momentum. I had to make up a mnemonic to help me remember. To go UP the hill, the chain needs to go UP the cogs on the back. The lever gets pulled UP.

My latest bicycle has Shimano STI shifters, which are combination gear/shifters. This was yet another learning experience for me. It took quite a while, but the quick shifting that you can do with this style of shifter is amazing. The shifter is within easy reach, and if you have to brake quickly, your hand is right there.

After riding for many miles and many hills, I have begun experimenting a bit with different gears. A lot of people will tell you that the most efficient way to ride a bicycle is to keep a high cadence (how fast you pedal) of 80-90 rpms, no matter what gear you are in. I’ve always had a difficult time with this. At first, it was because of my lack of skill at shifting. I wouldn’t shift soon enough before a hill to keep up my cadence. Also, I’ve found that 80-90 rpms is way too high of a cadence for me to be comfortable. I enjoy riding at a much more reasonable 65-70 rpms (This is an estimate since I’ve never had a cadence meter installed on my bicycle).

With practice, I have become a pretty good judge of a hill. Looking at it, I can tell when I need to downshift in order to keep up my speed or cadence to get up the hill. Every once in a while, the steepness takes me by surprise, and I find myself rising out of the saddle to give myself a little more leverage. A skill that I had in my youth that I had to reacquire as an adult. For some reason, it felt unsafe with my shoes clipped into the pedals. Once I got over that feeling, I’ve been able to use the skill to my advantage. But mostly, I am able to choose the right gear to make my way slowly and surely up every hill I encounter.

As with everything in life, it all takes practice. Whether you are new to riding a bicycle, or new again to riding, it’s the same. Don’t be afraid to try new things. Whether it’s clipless pedals, bar end shifters, or brake/shift levers, you may find yourself loving the new technique even more than the old.


Bicycle Repair Equipment: 5 Must-haves for your next tour

Where you plan to tour and how long you’ll be out there play a big factor in deciding how much repair equipment to bring. If your tour is in the US on highway and state roads, chances are that you can get away with bringing fewer repair items. However, if you are touring in the Siberian Tundra, you might want to bring everything, including a spare bike if you can! Here are 5 things I think every cycle tourist should bring.

  1. Multitool. Do not leave home without it! Instead of having separate tools in varying sizes, the multitool makes it so much more convenient. You will need this at some point on the tour to make adjustments, or to make repairs. A proper bicycle multitool with the appropriate sizes for your bicycle is very, very important. If you are going around the world the Topeak Alien III  has every tool you can cram in. For something simpler try the Avenir Woodsie 10.
  2. Spare tubes. Even with the world’s best, toughest tires, you will have a flat tire at some point on the tour. Road debris or nails or thorns will most likely cause a flat. Make sure you have at least two spares; we have had valves fall off and other oddities that would have left us stranded if we didn’t have more than one spare. Tube manufacturers recommend no more than 2 patches per tube, however we have easily doubled that. Slime tubes can help prevent tiny holes, but are still susceptible to large punctures; we found them less useful than we hoped. Tubeless tire systems are touted as being better, however a common complaint is the difficulty of riding with them. It is easiest to bring along spare tubes and know how to change a flat before you leave.
  3. Tire Levers. It is much easier to change a flat with these. They are usually cheap and you can pick them up at any bike shop or store that sells bicycles. Make sure you get a sturdy pair; the flimsy thin ones will break. They come in packs of three typically however two is all you really need.
  4. Hand Pump with Gauge. Many hand-held pumps are difficult to use and impossible to tell how much air is in the tire. With a gauge, you know you’re putting the right amount of air in. We’ve tried several small pumps and the Topeak Turbo Morph G Mountain Mini Pump  was by far the best. I would recommend it to any tourist.
  5. Duct Tape. When all else fails, duct tape can be the difference between having to walk and being able to hobble to a bike shop for repairs. We like to keep a roll wrapped around parts of our pannier racks for emergencies. You can use duct tape as a tire boot, to patch clothing/tents, an emergency bandage, and much more.

If you are traveling to extremely remote areas, consider bringing along some extra tools. For example, a chain tool, extra spokes, lube, extra tires, cassette removal tool, pedal wrench, and spare derailleur cables might come in handy. These tools all add weight and take up space, but might be necessary if you are hundreds (or thousands) of miles from the nearest bike shop.


Touring Clean vs. Home Clean

As a woman on a bicycle tour, you’re bound to get questioned on many topics. Even if you’re traveling with a companion, male or otherwise, there are questions that invariably get asked. For example: “Do you ever feel unsafe?” “Why would you want to do that?” “How do you stand not being clean?” The first two questions, I can understand. It’s the last one that gets me, and it’s actually the most common question from other women. Why are women so concerned about this?

Well, I’m here to tell you that modern cleanliness has taken the meaning of clean a little too far. The idea that you have to be stripped free of every bit of dirt and sweat immediately is something that you get over really quickly while on a bicycle tour. You get used to your own smell pretty quickly, in a matter of days usually. And don’t get me wrong, a nice shower at the end of the day feels amazing, but it’s easy to ride and sweat through a day (and sometimes two) without thinking too much about it. A clean bathroom on bicycle tour is a luxury. And you learn to never pass up a toilet, no matter how dirty. Just do your business and get on with it. (You also learn how to do your business behind the cover of a tree, or in a culvert, or pretty much any other opportune place. When you gotta go, you just go!)

And speaking of modern hygiene, let’s talk about body hair. On my first bicycle tour, I was very aware of how quickly my leg and underarm hair was growing out. At home, I can get away with a shave once a week or so, but while on tour it began to seem out of control, as I didn’t even bring a razor. I was more than a little embarrassed about it. After talking to other women bicycle tourists, I came to the realization: it doesn’t matter. You’re riding a bicycle all day. You’re using your own powerful muscles to push and pull pounds of gear, plus your own weight, up massive hills. What does a little leg hair matter?

Once I stopped caring so much about it, I felt relief. Like a weight had been lifted from my shoulders. In the present moment, when all that matters is making it to the goal you’ve set for yourself for the day, a little leg hair is irrelevant. Everything gets put into perspective. The simplicity and beauty of the ride should be what you are focused on; this is what your body was built to do. Plus, there’s plenty of time when you get home to lather up or on a rest day (you are scheduling rest days on your tour, right?). Until then, just eat, sleep, and ride!

Girl Trouble

When I told my mom about my plan to ride a bicycle across the country, she had a few concerns. Most were not legitimate (isn’t it dangerous for your future reproductive prospects to ride on a bike seat all day? (It’s probably not)) Some were, though. Invariably, when I talk to other women about cycle touring, they bring up a number of issues that concern them. We’re all adults and humans with daily needs to take care of. Let’s talk about some of these.
One of the most common questions I get asked from potential female tourists is: “Where do you go to the bathroom?” If you’ve never spent much time outdoors, you may have never had to do your business in anything other than an indoor toilet. Here is the short answer: anywhere you can. Always take advantage of a toilet if you see one. Supermarkets, gas stations, and restaurants are all great places to use the toilet. Construction sites typically have porta-potties. Sometimes there’s porta-potties in fields for the fieldhands.
However, there will be some times that you’ll have to go when you don’t have a toilet handy. You’re going to have to squat somewhere. Look for a place off the road, behind a tree or bush which hides you a bit. I take off any high-vis I have on just to make myself a little less conspicuous. If I’m cycling through an area with no trees or anything to hide behind, I use culverts-those pipes that run under the road. It puts me down below the surface of the road, making it a little more difficult to be seen. Remember to try to not go within 100 feet of a water source.
What about menstrual cycles? Well, that can be a little more complicated, but while touring in the United States we have not had a day where we didn’t have a place or two I could take care of this in a restroom. In my experience, the fact that I’m cycling for many hours a day lessens my symptoms. I’ve had a lot of success with tampons. If I need to change it out during a daily ride, I have baby wipes to make sure my hands are clean. If there is no place to dispose of it I have a shovel to bury it in a cat hole. I’ve read about women using an internal cup, and I’m intrigued; I think I’ll try this for my next tour.
Other things that I’ve found that really helps include having a sport’s bra that hooks in either the front or the back. At the end of the day, my arms are usually sore enough that pulling a sports bra up and over my head can be difficult. Also, getting dressed in a tent or inside a sleeping bag can be tricky if you have to pull that bra on. On my last tour, the hooks were a welcomed addition.
As for shaving legs, arms, or whatever else you may be used to shaving: I choose not to shave while I’m out there on tour. Carrying a razor and shaving cream just to try and shave in a dingy camp shower is not my idea of fun. No one is looking at your legs while you ride. If you do stay at a hotel every now and then you can always ask the front desk for a razor.
Don’t let your fear of these issues keep you from riding. You just take care of things as they come. In the end, you just do it. It’s really no big deal. What other concerns do you have?

What to Pack: Clothing

As with everything related to cycle touring, careful planning beforehand can payoff big time. This is especially true when it comes to clothing. Weather prediction is a tricky thing, and having the appropriate clothing for any weather situation is difficult. But, with a few guidelines, you can make the right decision and pack your panniers with the right amount of clothing.

The key is to pack only what you need and not a thing more. As I look over my gear list for my last two tours (check them out here and here), I notice a theme. Many items have multiple uses. Versatility is the name of the game.

Tops. Cycling jerseys come in a variety of sleeve lengths. Sleeveless, short-sleeve, long-sleeve, three-quarter sleeve. The most versatile is short sleeves in combination with arm warmers. However, I’m starting to find long-sleeved jerseys to be the best for me, as it cuts down on the amount of sunscreen I have to apply. Plus, if it’s really cold, I put my armwarmers on under my jersey, and then with my rain jacket as an over-layer, I have 3 layers on my arms and I’m very comfortable. I usually bring one short-sleeved jersey along as well. If the jersey is made of a material such as wool, it can go a few days before starting to smell funky. I like to at least air my jersey out from the day, using a clothesline (such as this one) or just draping it over the tent. Unless it rains or is overly humid, it dries overnight. Another great thing about wool is that it lends very well to hand washing, which can be great in areas where you are away from a washing machine.

Bottoms. Cycling shorts also come in a variety of lengths, from super short shorts to long leggings, and everything in between. The most versatile would be shorts, in combination with leg warmers. I’ve found that two pairs of bicycle shorts are all I need on a tour. I wash the pair I wore that day, let it dry overnight, and wear the other pair the next day. I generally wash the shorts in the shower with me at night, making sure to get all the soap out. You can even wear the shorts multiple days in a row if required, just make sure the shorts are dry completely, because wet shorts can rub you the wrong way. I also like to bring a pair of rain pants, which act as a windbreaker layer as well.

Undergarments. The other essentials would be underwear, bras, and socks. I don’t wear underwear while I ride, because of the rubbing and chafing that can happen. I bring 2 pairs of easily washable travel underwear (like these), 2 sports bras, 1 regular bra (which I recommend for every woman. Sports bras can be so restrictive, and having an actual bra can make you feel more human at the end of a long day’s ride.), 3 pairs of riding socks, and one pair of camp socks.

Rain gear. Invest in a good set of waterproof outer layers. For more on what makes raingear great, see this post.

Camp clothes. I recommend bringing a pair of pants and a long-sleeved shirt to wear about camp. I prefer pants that unzip down to shorts, because this adds to the versatility.

Miscellaneous. Other recommendations are a beanie (to keep your head warm in camp), a pair of walking shoes (so you can enjoy exploring camps and towns), and a down vest.

By getting pieces that have multiple uses, you can cut down on the amount of clothing you bring with you on tour, and still be ready for anything Mother Nature can throw at you.