Shoe Fetish

I am not a shoe girl. I don’t like going shoe shopping and I don’t have a closet full of shoes. I’m more into having a few pairs of practical shoes that I wear all the time. But, I recently became the proud owner of a third pair of cycling shoes. When I was a kid, all my shoes were cycling shoes. They were simply the shoes I wore when I rode my bike. Now, it’s more complicated.

I have Time ATAC clipless pedals, which are really the pedals with the clips on them, and my shoes need to be clip compatible. My first pair of cycling shoes were Keen Commuter Sandals. I loved them, and I still do. They’re really versatile, easy to clean, and keep my feet from smelling too funky.

When I got a new, fancy bicycle, I wanted a new pair of shoes, and got a pair of mountain bike cycling shoes, Velcro and all. I choose the Black Shimano SH-WM51 Mountain Cycling Shoes  because they have a recessed cleat to allow walking around and they are fully enclosed shoes for foot climate control. These shoes ended up being super comfortable, and kept my feet warm on the frigid mornings in the mountains of the Southern Tier. I could add an extra layer of socks, and adjust the shoes to fit snugly. My biggest complaint was the lack of breathability. After a good rainstorm, my socks would be as wet on the inside, from sweat, as the shoes were on the outside.

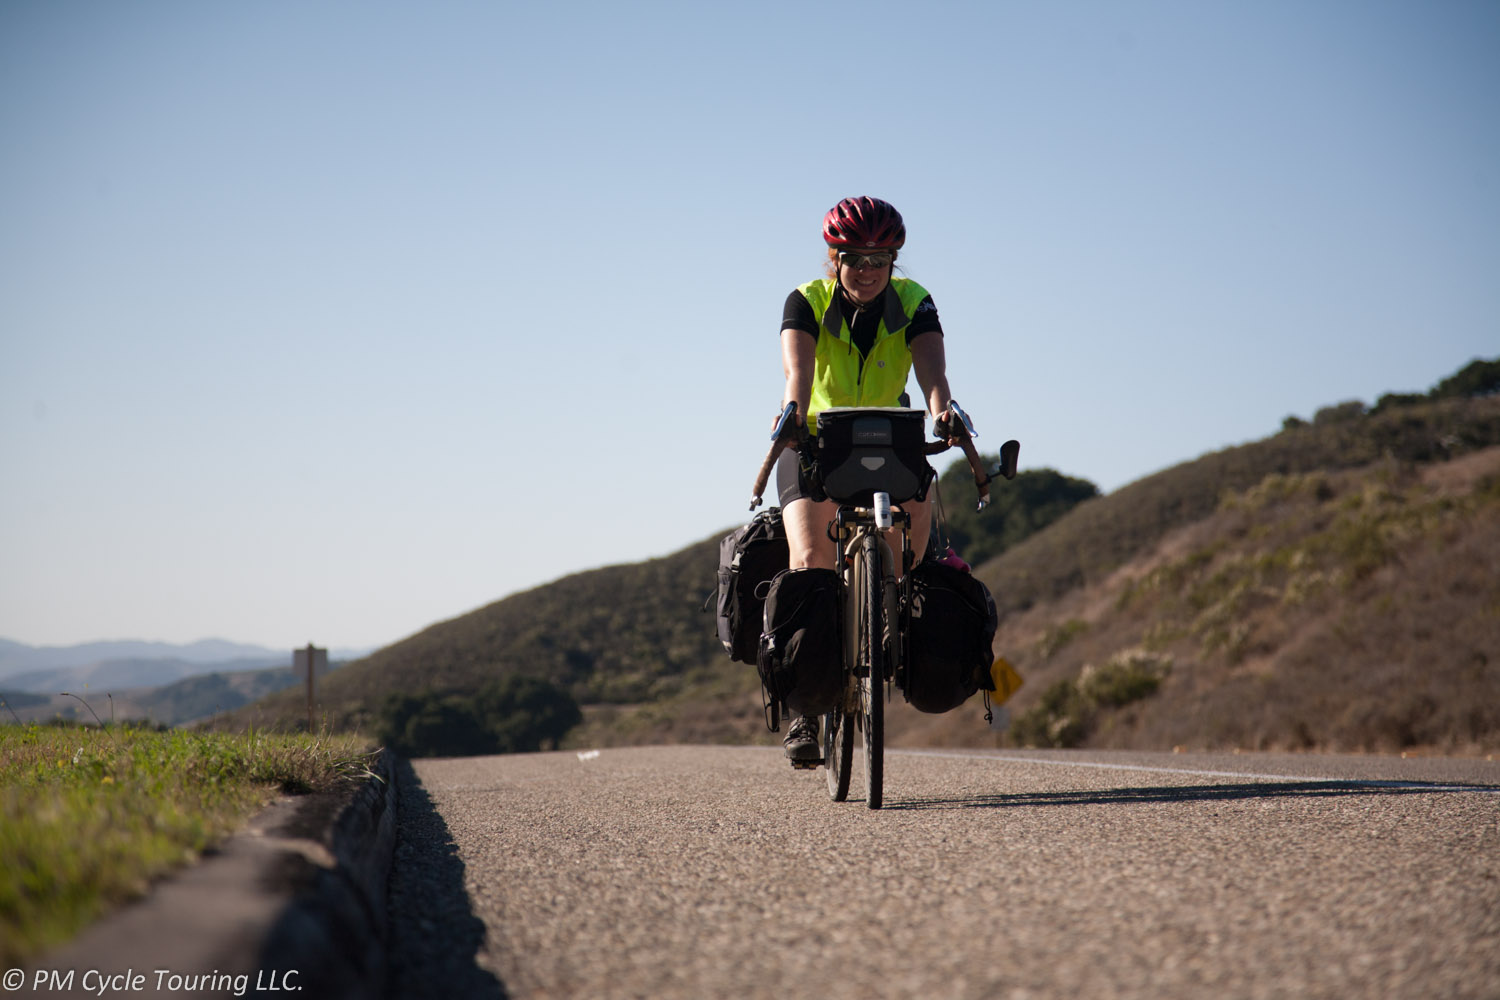
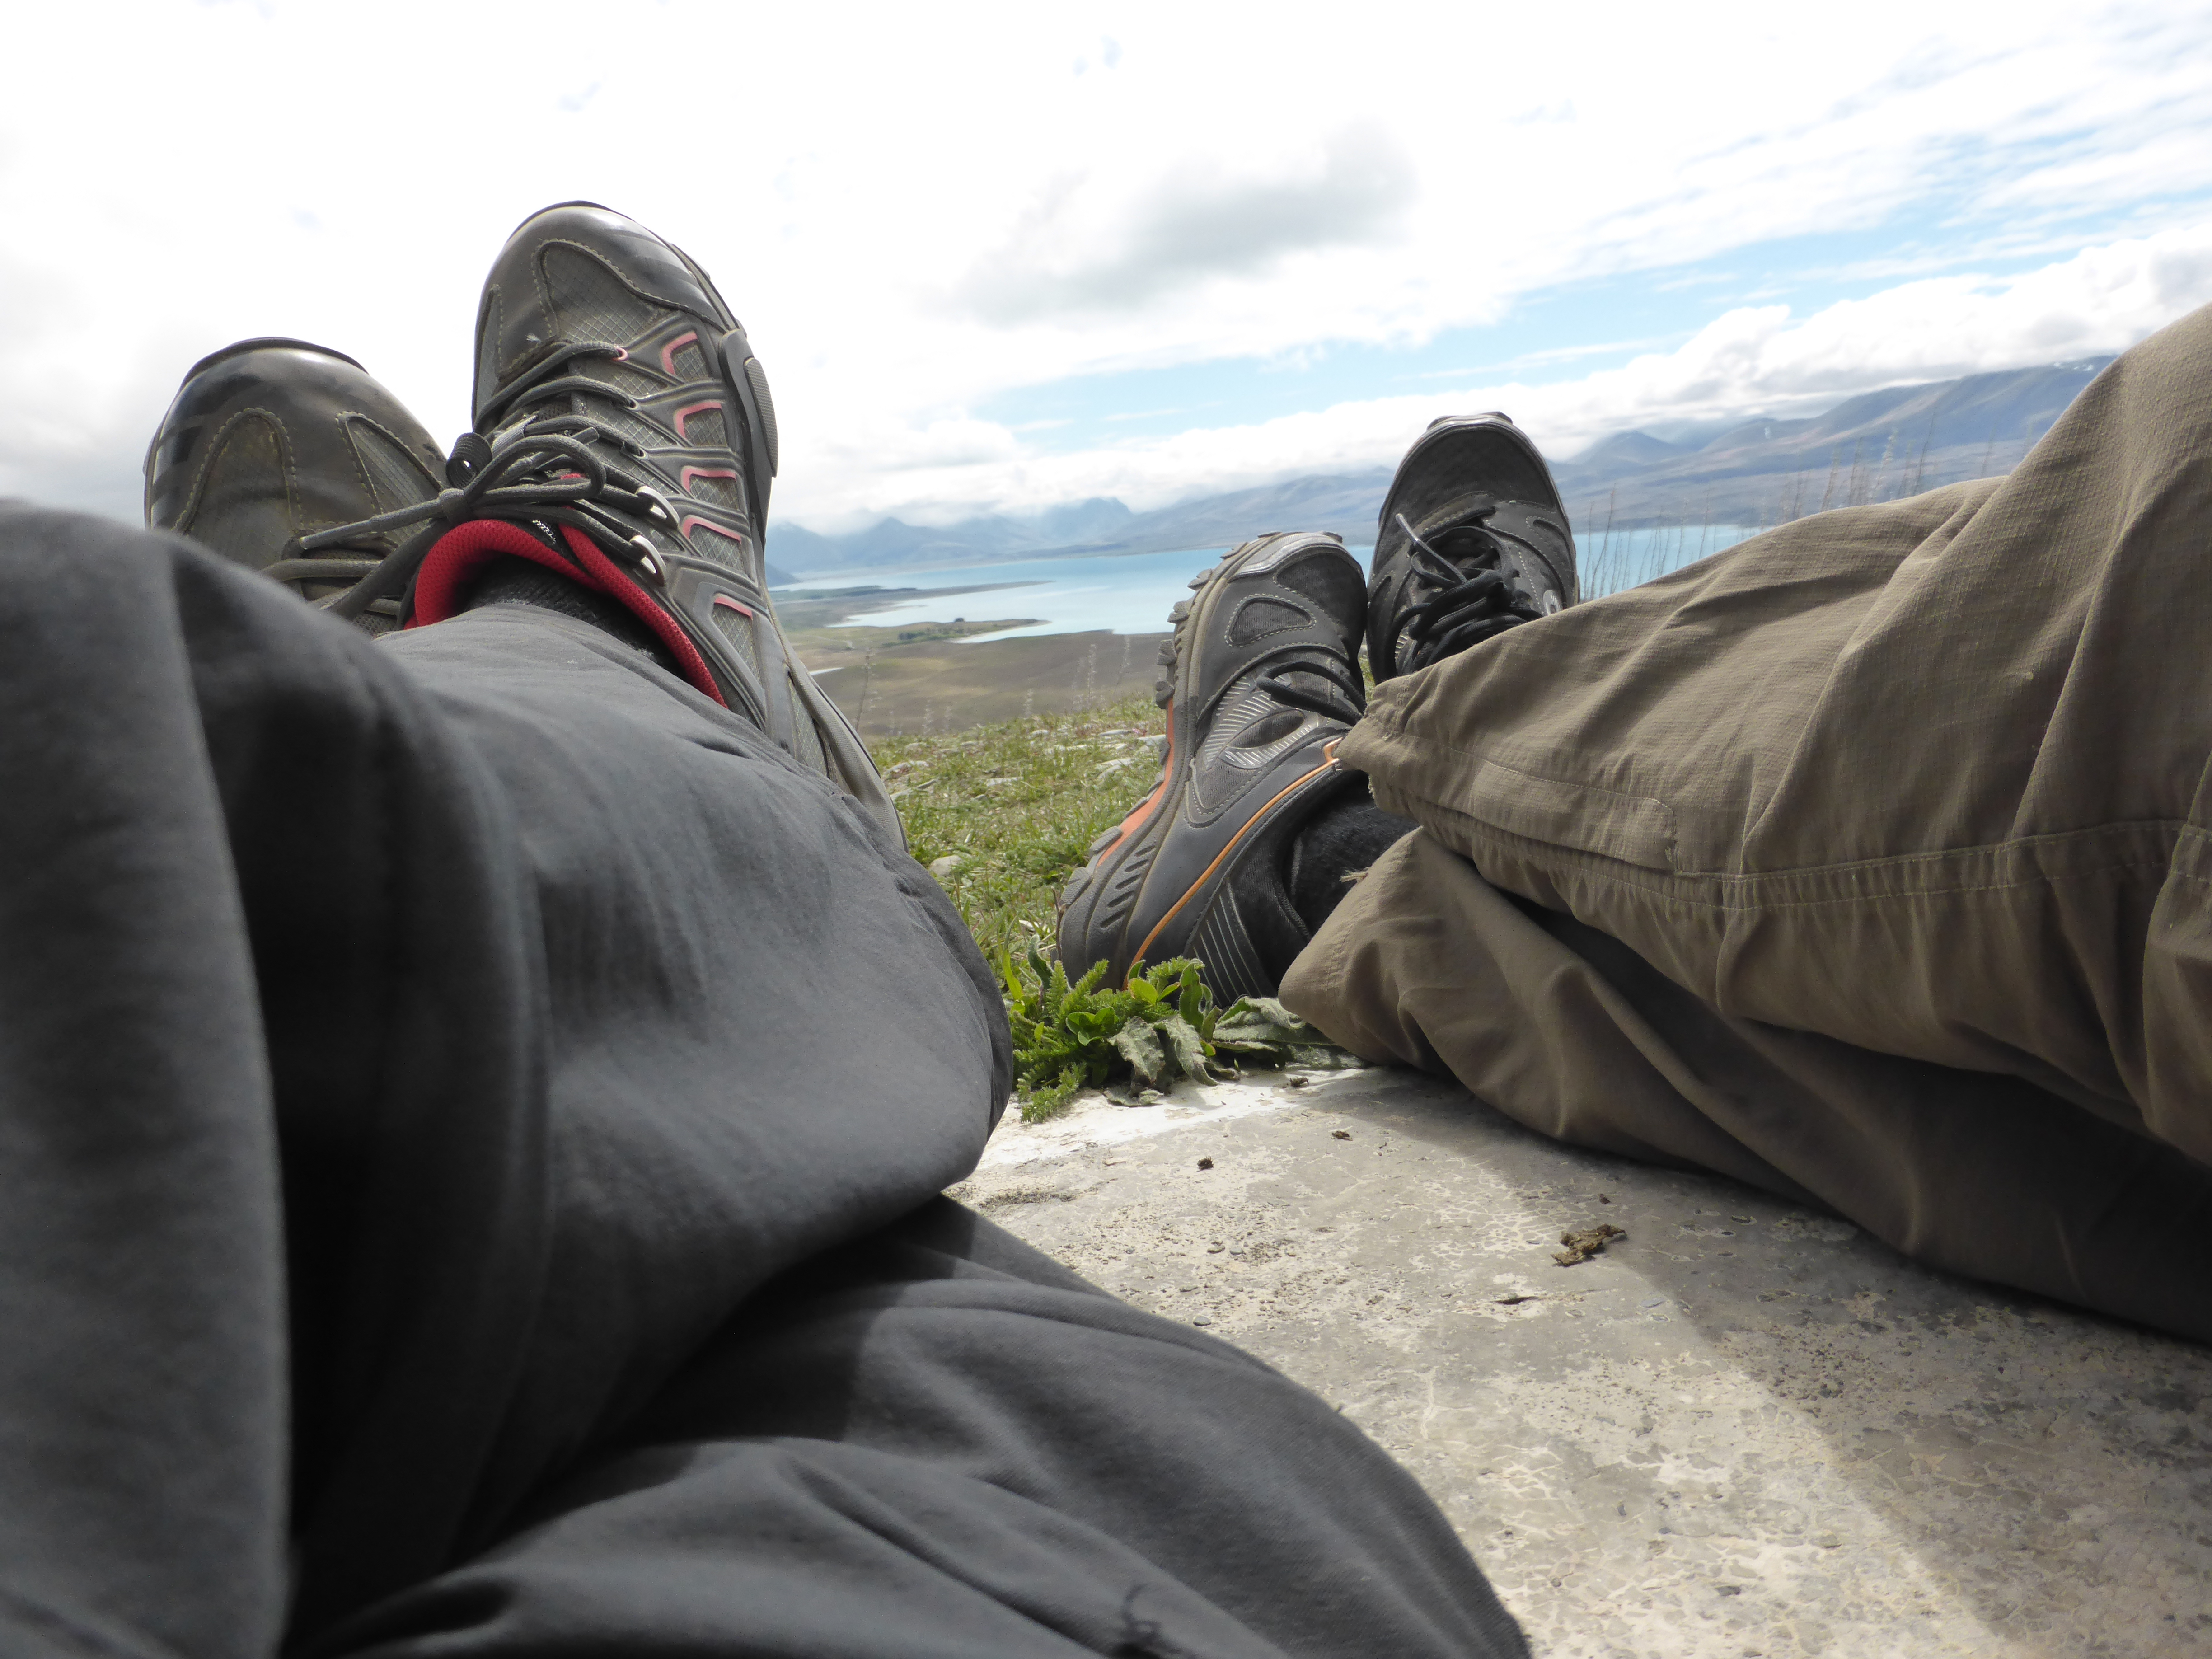
As we made plans for a New Zealand bicycle tour, I decided to purchase a brand new pair (New bike, new shoes? Maybe there’s a theme). This new pair, Shimano SH-WM34, could be easily mistaken for a pair of hiking shoes. Which is perfect, since we plan to spend a lot of time off the bike on this trip. The shoes lace up, and are pretty comfortable to walk around in. The traction is similar to a hiking shoe, and makes hiking up the hills a breeze. The hiking shoe look helps me blend in with all the other outdoor adventurers for those days off the bike.

Update: And now that we’re back from New Zealand, I’m happy to report on how the SH-WM34 performed. On the bike, the shoe performed exactly as needed, providing a solid platform for pedaling. In addition to cycling, we did plenty of “tramping” off the bike, that is, hiking, and the shoe was very comfortable. There was just enough traction to make me feel secure on the moderate hills we hiked. I wouldn’t do very much advanced hiking, however, as this is a cycling shoe, not a hiking shoe. The inflexibility of the sole takes some getting used to, though, as I’m used to a little bit more flex in my hiking shoes. But overall, I was comfortable on our hikes. In the cool weather, I was able to wear thicker socks, which helped keep my feet warm. When it warmed up, I didn’t like how sweaty my feet got, however, so I wouldn’t recommend these shoes on a tour through hot, humid areas.

What kind of shoes do you wear when you ride? Do you go for comfort or style?

ZPacks Sleeping Bag Review

Pam and I love cycle touring, and if you check out our gear list you know that we hate lugging extra weight. Our previous sleeping bags collectively were weighing in at around 4 lbs (1.8kg) each. Considering that our total gear weight was about 50 lbs, the bags accounted for almost 10% of the weight we were carrying. After some research I decided to try to reduce that weight and try out the Zpacks ultralight sleeping bags.

A woman laying inside a green sleeping bag on top of an air pad.
Z-packs sleeping bag


About the company: Zpacks is the brain child of an avid ultralightweight hiker, and they manufacture most of their products in Florida and are currently some of the leaders in the ultralight hiking market. Since Pam and I try to support people who provide good products and pay their employees well so it is easy to support Zpacks.

Spec: Zpacks sleeping bags are available in four temperature varieties: 40F, 30F, 20F, 10F. They come in 5 different sizes based on your height, and 2 widths based on your girth. Either 900 fill or 850 fill water resistant down is available. The outer and inner fabrics are Pertex GL, a durable, lightweight material.

size comparison for xped sleeping pad and z pack sleeping bag
Z-pack sleeping bag and xped sleeping pad

About the bag: The fabric feels similar to other tech materials: smooth, slippery, and thin. This doesn’t bother me at all. Most of the time I do use a silk liner, but that is mainly to keep the bag clean or to sleep on top of the bag during warm nights. The bags are designed to be slept in with the zipper on the ground underneath your back to reduce drafts. While the zipper is small and doesn’t bother me laying on it, I tend to toss and turn all night so I added an optional draft tube to prevent drafts as I do my nightly roll overs.

The bag is shaped so that it is larger at the top of the bag and tapers down to a small foot area. The whole idea is to minimize the space inside the bag which you have to heat up; this will keep you warmer with less extra material and therefore less extra weight. The zipper extends to about ¾ down the length of the bag which is plenty for climbing in and out.

One of the most amazing things about this sleeping bag is how much you can compress it down. Fully compressed it is downright tiny and as soon as you pull it out of the bag it starts inflating back up to full size. With a little fluffing it is perfect every night. The second amazing thing is Matt’s bag only weighs ONE pound. A one pound, 20F rated bag has kept Matt plenty warm even on a 15F night.

Durability: Initially I was very concerned about how the bag would hold up to continuous use on a bicycle tour. In hindsight this is probably a silly worry as a bicycle tour is not any more taxing on equipment than 3 months of hiking which is what this bag was designed for. Through 45 days of bicycle touring on the southern tier, this bag performed like a champ, and continues to perform as expected.

Overview: The Zpacks sleeping bag comes highly recommended by me. The weight and comfort are amazing. This is a great place to spend a little extra money to ensure that you get a warm comfortable night’s sleep and slash a few pounds that you have to carry around on a tour.

Disclaimer: This review contains my personal opinions. I have not received any compensation for this review. This review is for informational purposes only.

Bicycle Helmets for Women

Ok, I don’t know about you, but it drives me crazy when gear manufacturers try to tap into the female market by changing nothing about the product except the color. Like making something in a pink color suddenly makes me want to buy it. No thank you! There are some differences between men and women, and color preference (while maybe a somewhat important consideration) is not the only one. I’ve been thinking about bicycle helmets lately, and one key difference between men and women could have a big impact on whether a helmet is perfect, or unusable.

Hair. Yep that’s right, hair! Bet you didn’t see that one coming, did you? I’ll tell you why hair is such an important consideration when choosing a helmet. My hair is of medium length right now. That means there are about 5 different ways I can style my hair before I put on my helmet. Each hairstyle adds a different amount of bulk to my head. Which in reality means my head could be a different shape each time I ride. In order for a helmet to do its job, it needs to fit snugly. If the helmet has no easy way to adjust the fit, it’s pretty much useless in my book. It needs to fit right, every time.

At the moment, I’m riding with a Lazer Genesis helmet. It has a knob on the back of the helmet that I can turn to tighten (or loosen) as needed. This ensures a good fit every time, regardless of how I decide to do my hair. (Within reason, ladies. Obviously a pony tail right on the top of the head is not a good idea when you’re putting on a helmet.) So, the next time you’re in the market for a new helmet, don’t get drawn in by style. Make sure the helmet has everything you’re looking for. And don’t forget to look for those micro-adjustment knobs. You won’t be sorry.


Disclaimer: This review contains my personal opinions. I have not received any compensation for this review. This review is for informational purposes only.

Santini Women’s Fiery Short Sleeve Jersey Review

I recently purchased a Santini Fiery cycling jersey (size Small), and wanted to share my experience and thoughts about this jersey. The manufacture Santini designs and produces their clothing in Italy. The description provided for this particular model describes it as a “short sleeve jersey for women in a soft fabric with Resistex Bioceramic thread”. The fancy Resistex Bioceramic thread claims to reflect far infrared rays generated from your body back to your body to aid with micro-circulation. With that in mind here is my take on the jersey.

A woman wearing a short sleeve, white, full zippered cycling jersey
Pam wearing a Santini Fiery S/S Jersey

Starting with the positives: the jersey is very well designed with stylish stitching and details. The fabric used over most of jersey feels amazing, it is very smooth and pleasant on the skin. On the back and near the underarms are small sections of micromesh fabric which breathes very well. All seams are smooth, with no stitches rubbing. Overall the jersey looks and feels very high-end. The back pockets are large enough to fit my cell phone and some snacks with no problem.

A woman wearing a short sleeved, white cycling jersey, the back side.
Pam wearing a Santini Fiery S/S Jersey

The jersey fit very well in almost every respect. However, the arm holes are too small. I have average-sized biceps, measuring 12 inches. The jersey sleeves are only 9 inches in circumference. The elastic cuts off the circulation in my arms and is uncomfortably tight.

2014-09-07 0811 Santini Fiery Jersey
Santini Fiery S/S cycling jersey
A close-up of the sleeve of a short sleeved Santini cycling jersey
Santini Fiery S/S Jersey

According to the sizing guide on the website, I ordered the appropriate size jersey for the chest measurement (33.5 inches). Unfortunately nowhere does Santini mention that the sleeves are sized so small. I would suggest that you either order another size up (I am unsure of the increase in the sleeve measurement for a medium) or find another jersey.

Recommendation: This jersey is a stylish, high quality garment. Verify that the sleeves will not be too tight before ordering.

Disclaimer: I have not received any compensation for this review. This review is for informational purposes only. I have not been in contact with the manufacturer. However, if they were to send me a size Medium jersey to try, I wouldn’t turn it down!

Exped Air Pillow M Review

Pillows can be considered a luxury for short tours, but for more than a night or two you probably want something to lay your head on. At 3 ounces the Exped Air Pillow M is lightweight (also available in a 2 ounce Ultralight version). Because it is an inflatable pillow it packs down extremely small, smaller than a can of soda.2014-03-03 1718 ExpedPillow

The pillow has two valves similar to all other Exped products. One for inflation which has a flap to prevent air leaking out between breaths and the other to allow for deflation. Both of these have a hole approximately the size of a quarter to allow for rapid inflation and deflation.2014-03-03 1713 ExpedPillow

To inflate it we use our Schnozzle Bag which takes about 15 seconds to completely fill the pillow. If you elect to fill it manually it takes between 4 and 6 breaths. Inflation pressure can be tweaked by keeping the inflate valve cover open and pressing on the flap to release small amounts of air. Deflation is nearly instant due to the large opening uncovered when you open the deflate cap.

The Pillow is constructed of polyester; this material feels somewhat like a very fine tightly woven nylon material. It doesn’t stick to skin like plastic, but Matt prefers wrapping his down vest around it for increased comfort; Pam prefers to just sleep on it bare. There are two small loops of extra material designed to allow you to use some clips to hold the pillow in place, however we never utilized them.2014-03-03 1715 ExpedPillow

Overall we were very pleased with these pillows and used them for our entire Southern Tier tour. There were no problems on the tour and they continue to work well; we plan to continue to use them for all our future tours. We highly recommend this pillow.

 Name  EXPED Air Pillow M
 Weight  Pillow: 75 grams
Packsack: 5 grams
 Packed Dimensions  5 in x 2 in
 Deflated Dimensions  38 cm x 27 cm
 Inflated Dimensions  38 cm x 27 cm x 11 cm
 Approximate Cost  MSRP: $39.00
 Other Similar Products  EXPED Air Pillow UL

Disclaimer: This review contains my personal opinions. I have not received any compensation for this review. This review is for informational purposes only.

Ultralight Bicycle Touring – Part Two

In my previous article I discussed some ideas for reducing your weight and embarking on the ultralight bicycle touring lifestyle. This time I am going to talk about some specific pieces of equipment that weren’t mentioned in the last article. As always our current personal tour packing list is available for you to reference.

Dry Sacks: These are terrific for keeping your clothes dry and organized. You will probably even see the compression version of these with straps for really cranking down the size. However you need to be aware of the weight penalty of these compression straps; I found that each bag weighed 100grams more than a lightweight, roll-tight dry sack. Additionally, with the compression sacks you may be inclined to take more clothing and thus more weight. For ultra-light it may be beneficial to actually have less room, which will force you to take less clothes. With Pam and me carrying 4 sacks, getting rid of the compression dry sacks saved almost a pound of weight!

Sleeping Bags: When shopping for a sleeping bag keep weight in mind, as weight can vary from 1 to 7 pounds. The lightest weight bags will be more expensive, but remember that you have to pay for the food to fill the calorie requirement of pushing the weight of the bag around the world. Thus, it may pay for itself to get a lighter weight bag. Once you get the bag make sure you care for it properly and it should last you for many years.

Camp Stoves: This is one area that you don’t necessarily have to spend an arm and a leg for some improvements. If you search the internet for a soda can alcohol stove you will find the cheapest lightest stove that you can use. If the soda can stove is a little too adventurous for your taste take a look the gas stoves which screw directly on to the top of a canister or don’t have much structure to them. Some examples are this generic stove top or if you prefer a name brand the MSR Whisperlite is a popular option. Carrying around a giant Coleman stove is just silly with all the options available these days.

Tent: Very similar to sleeping bags, the cheapest will not be the lightest. For less than $200 you can get the Kelty Grand Mesa 2 Backpacking 2 Person Tent which weighs in at ~5lbs. If you can spend a bit more we use the Big Agnes Copper Spur UL 2 Person Tent (2014) which weighs in at ~3lbs but has 2 doors and vestibules which is very nice for partners. Be mindful that a light weight tent will be more fragile that a heavy tent, but we have had no problems using the same tent for multiple tours.

By reducing the weight on our bicycles we have more energy during the day and put less stress on our bodies. If you are at all like us you probably aren’t doing your training rides fully loaded. In fact, before our most recent tour we didn’t even do a fully loaded ride until right before we left. When you strap 40lbs of gear on your bicycle and try going up those hills it may come as a rude awakening how much effort it takes to keep going. At some point you may decide that ultralight is the way to go. If you have any tips or questions, leave them in the comments below.

Ultralight Bicycle Touring – Part One

Touring is blissfully simple: you hop on your bicycle and pedal from where you are to some new place. Life doesn’t get more straightforward. However, I often see people struggling with way too much gear on their bikes. In fact, for my first tour I suffered myself. I inappropriately carried heavy books, a pasta strainer, an extra Camelback, and a few more things which I had to send back home.

Since that first tour I have become a believer in ultralight bicycle touring. With modern technology and modern industry there are now extremely lightweight products that perform with enough durability for use on even the longest of tours. On our last 2,500 mile tour of the Southern Tier my wife and I managed to pack 41lbs of gear between the two of us including the weight of the panniers (click here for our packing list). When planning to shed weight there are a few high return areas: unneeded equipment, sleeping bags, camp stove, and tent, as well as substituting single-use items with multiple-use items.

Unneeded Equipment: First and foremost lay out all of your items and ask yourself if you need each one. The chances are good that there are several things you think will be useful but after consideration you may change your mind. Remember that you will have to carry these items for hundreds (or thousands) of miles. A few common offenders are:

  • Hammers for tent stakes
    • Trust me. There will almost always be a rock or tree branch that you can use to drive your stakes into the ground. If nothing is available at the campsite you can always tie a string from the tent to a bicycle. If you’re in a campground, a fellow camper will probably let you borrow his.
  • Excessive amounts of clothing
    • Not only does excess clothing add weight to your total, it adds bulk to the packs. You can easily get by with 2-3 pairs of shorts and shirts for an extended tour. Rinse in the sink or shower as needed, and hang in a mesh bag off the panniers while riding to dry. There’s a fine line to walk in this area. See our packing list for specifics on what we like to bring.
  • Lanterns or extra-large flashlights
    • A simple head lamp placed next to a clear plastic water bottle creates an excellent camp light. The head lamp will be light weight and usually satisfies any laws for riding at night. If you are counting grams lithium batteries will be lighter and perform better in cold temperatures.

Multiple Uses: Analyze your equipment that you may be able to get two (or three) uses out of. For example our stove has a plastic insert to prevent the non-stick coating from getting scratched. That insert makes for a handy bowl to eat out of: no need to carry an extra one. Our cycling rain jackets work as camp jackets and wind breakers. Much of our clothing can be used either on or off the bike.

Finally, remember that fancy/expensive is not always the lightest weight nor the most functional. In the next article I will dive in to some specific pieces of equipment that I have found substantial weight savings, including dry sacks, sleeping bags, and tents. If you have any ultra-light bicycle touring tips or tricks let me know in the comments below.

Topeak Turbo Morph Mini Pump Review

When you’re out on a tour (or any ride) you’re bound to get a flat tire at some point. At home, you probably have a floor tire pump to easily get your tires up to pressure. I do. But I can’t carry that pump with me on my rides (I don’t want to). So I use either CO2 or a hand pump. But have you ever tried to pump up your tire using one of those wimpy hand pumps? I like to run my tires at 100 psi, but I have yet to get up to that pressure using a typical hand pump. I’ve tried CO2, but without a gauge, I don’t know what pressure I can get from a cartridge.

Enter the Topeak Turbo Morph Mini Pump. Here’s what makes this pump stand out from the rest:

  • Compact
  • Lightweight
  • Foot Stand
  • T-handle
  • Gauge
Miniature Hand Bicycle Pump with handle, foot stand, and gauge
Topeak Turbo Morph Mini Pump with T-handle, Foot Stand and Gauge

First of all, it is super compact. It easily attaches to any bike frame with the mounting bracket. It’s lightweight, at just 9.9 oz. (280 g). (Ok, so it’s not as lightweight as some other hand pumps, but the extra ounces are worth it, trust me!)

Using the foot stand and t-handle, it’s easy to get the leverage to pump your tire up to pressure. And the gauge lets you know when it gets there. There’s adapters for Presta, Schrader, and Dunlop valves, so no matter your valve type, you’re covered.

We got this pump midway through our latest tour, and we won’t go anywhere without in the future. Highly recommended.

Disclaimer: I have not received any compensation for this review. This review is for informational purposes only, and reflects my own opinion. I have not been in contact with the manufacturer.

Rear-View Mirrors For Bicycle Touring

There are several variations of mirrors available to cyclists these days. As a tourist I’ve personally tried three kinds: clamp-on, bar-end, and helmet. There are pros and cons to each, but ultimately I use a helmet mirror, and want to share my experience with each:

The bar end mirror

  • Pros
    • Permanently attached to bicycle
    • Ability to make slight adjustments.
    • Easily moved from left to right side for changes in traffic patterns.
  • Cons
    • May not be able to see around panniers on a loaded touring bike.
    • Only slight adjustments can be made.
    • Susceptible to road vibrations. {the chip seal of Texas made the mirror unusable}
    • Cannot use on bike with bar-end shifters.

The clamp-on mirror

  • Pros
    • Easily removable; can be moved from bike to bike.
    • Easily adjustable to see past panniers on loaded bicycle.
    • Easily moved from left to right side for changes in traffic patterns.
  • Cons
    • Highly susceptible to road vibrations.
    • Can get knocked about.
    • Needs frequent adjustments depending on how tightly it’s clamped on.

The helmet mirror

  • Pros
    • Not susceptible to road vibrations.
    • Easily adjustable
    • Can easily see past panniers.
  • Cons
    • Needs frequent adjustments
    • Takes getting used to: it does block a small portion of your field of view.
    • May not be easily moved from left to right side for change in traffic pattern.
    • Glass models can be fragile and crack if dropped

After trying all three types of mirrors, I decided to go with the helmet mirror. Unfortunately, the Tiger Eye I have is not able to be switched to the right side of the helmet, which I’ll need for our tour in New Zealand. However, the helmet mirror gives the best view behind, which is so important. Any time I need to see what’s coming up behind, I simply glance up, turn my focus to the mirror, and then my eyes are back on the road. Simple, efficient. Just how I like it.

Bicycle touring without a spare tube

One interesting component of running a website is seeing how people get to your site and take a look at what they are searching for. Low and behold there are quite a few people out there wondering about how to bicycle tour without a spare tube. I have been thinking about this for some time and wanted to share my advice / opinions on this topic.

While touring you must assume that you are going to get flat tires. That being said that does not necessarily imply that you must carry a spare tube. While we are touring we have stopped using the glue and patch kits to fix holes in our tubes. Instead we are using the sticker kits available from Park. In our experience these little stickers work just as well if not better than the glue variety and they can be applied and pumped full of air without delay. If I were to not carry a spare tube I would make sure I have plenty of sticker type patches.

Location, Location, Location. If you are touring in a populated area, nearby friends or family, near public transportation, then you may be able to get away without carrying a spare tube. If something were to happen that a simple patch can’t repair at least you would have options for getting back home.

When considering what could possibly happen that a patch won’t fix let me share with you our experiences. One time while we were going to pump up the tube we just patched the entire Presta valve simply fell off of the tube. The point where the metal bonded to the rubber just gave up, no amount of patching can save you there.

Another time we were changing Pam’s tire in a muddy area and some mud got in the rim, preventing the hook from seating properly. We didn’t notice and pumped the tire up. Right around 65 psi the tire started slipping off the rim and before I could release pressure the tube stretched out the hole and burst with a sound like a gun shot. Of course it was a slime tube and it was 7 in the morning in a crowded campground. I was left standing in a fog of green slime as every single camper nearby looked out their tent to give me the evil eye for waking them up. No patching that hole.

For our first tour we took along two spare tubes. Down the Pacific Coast we managed to have just one flat tire! Next tour was the Southern Tier, going west to east. We started again with two spare tubes, but after two weeks we were up to two patches on each tube and had two failures. At that point we started carrying four spare tubes and all of them had patches by the end of the tour. The Southern Tier took its toll on us with a total of 15 flat tires between the two of us.

So while it is possible to tour without a spare tube I suggest that you bring at least one. You never know what you are going to manage to run over on the road, if your tube is going to fall apart, or how long it will be until the next car drives by. Have you a done long tour without a spare tube? Any suggestions for those that want to try it? Leave a comment below.