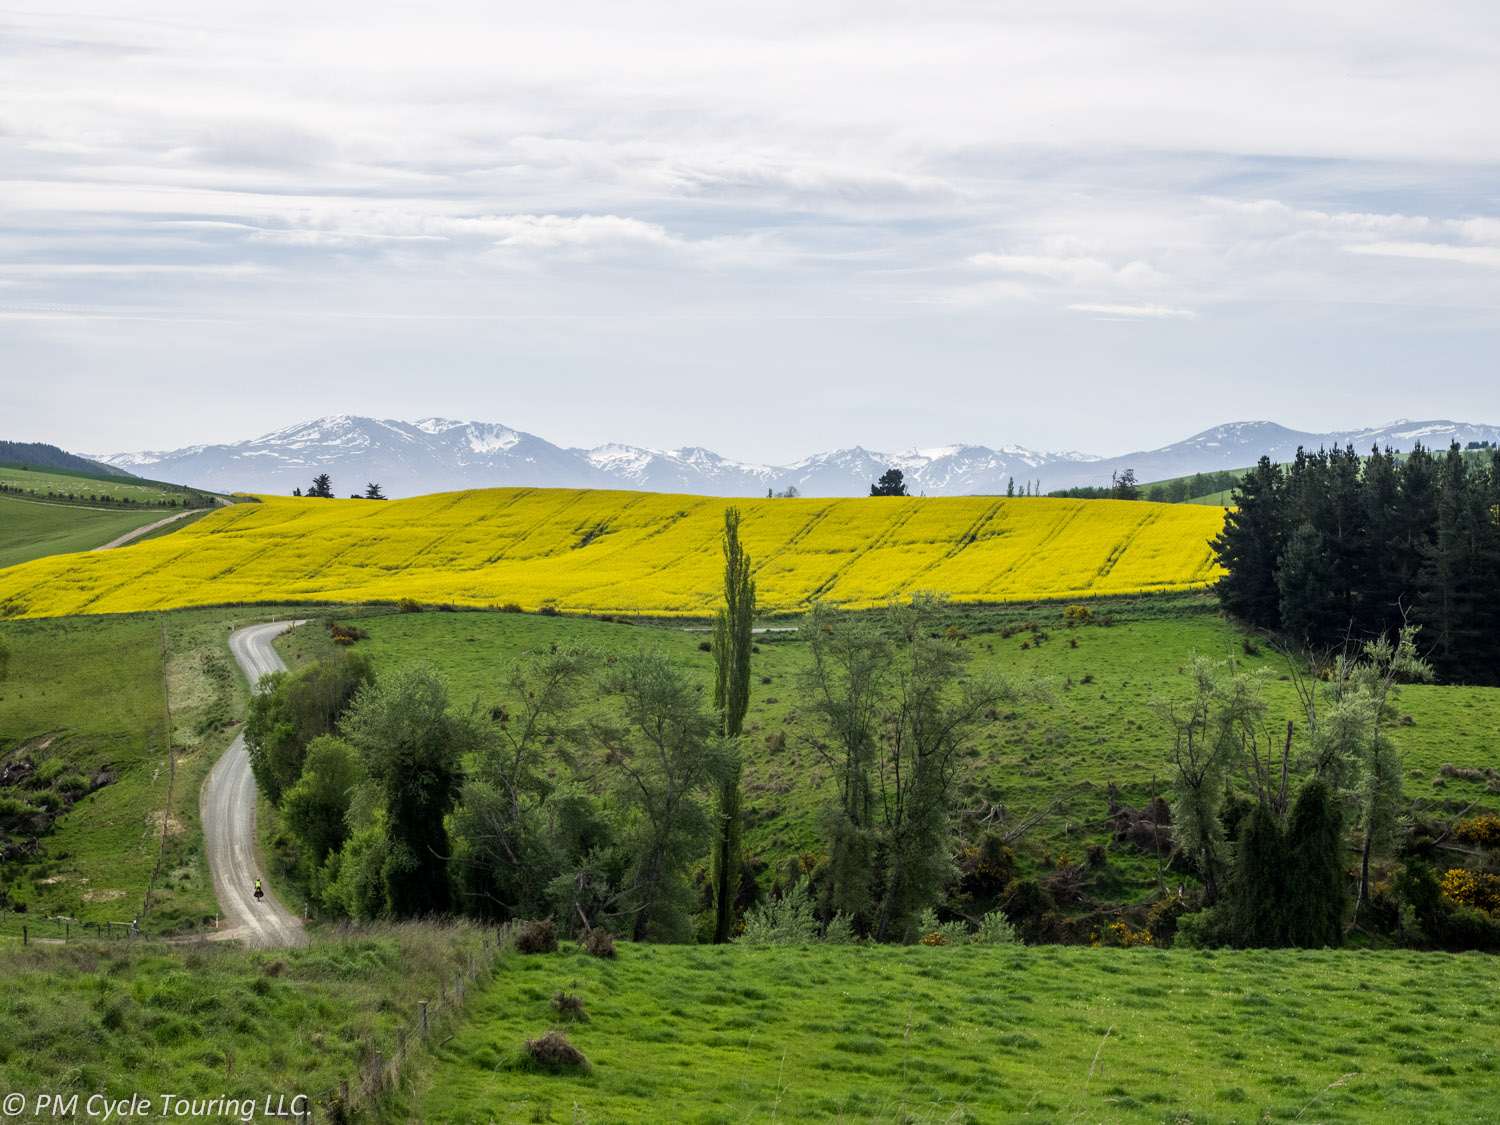
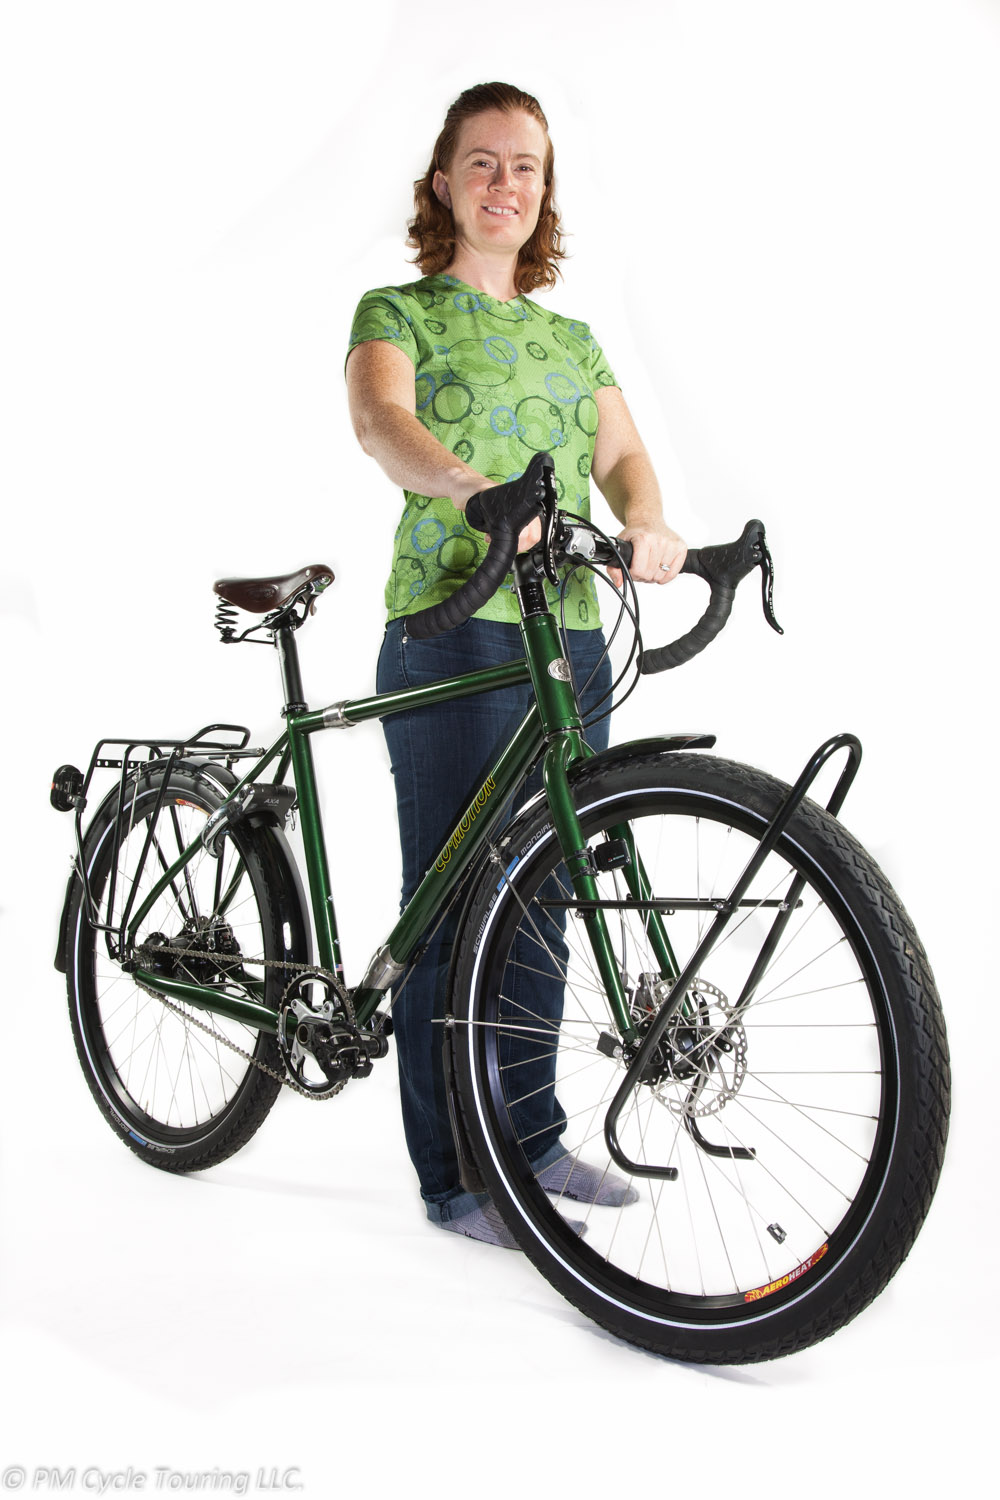
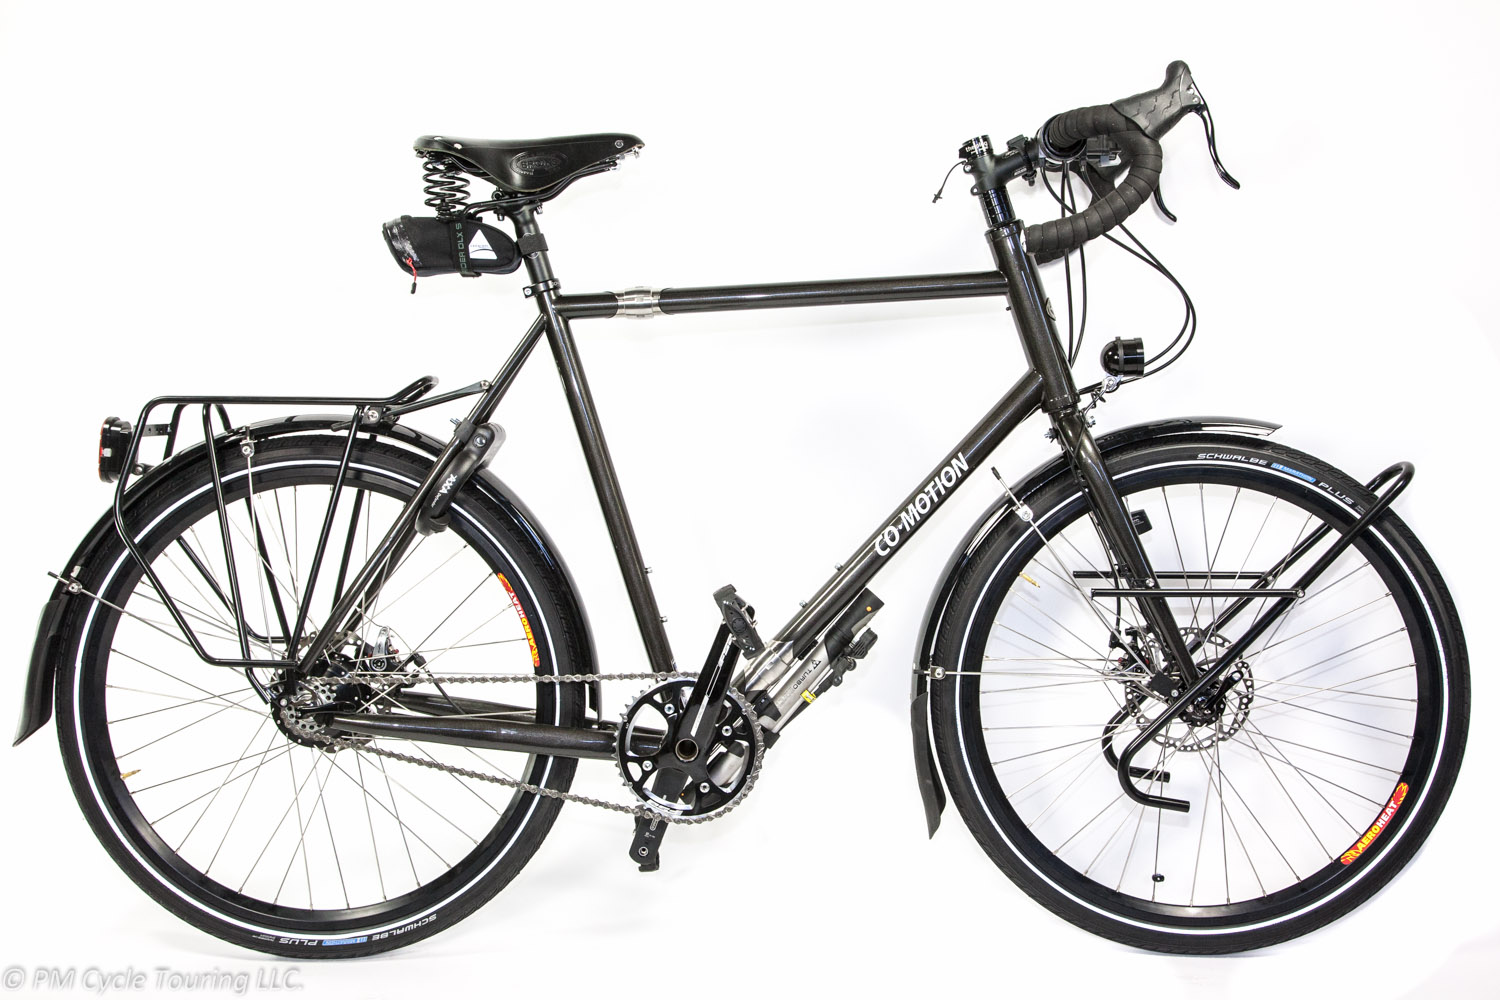
About a year ago I purchased my Co-Motion Pangea after an exhaustive search for the “dream” touring bike. Post-purchase I decided that a break-in tour was needed, to put the bike to the test. We began preparations for a tour of the South Island of New Zealand, which proved to be an amazing test of my Pangea. During our tour we experienced a little bit of everything you can throw at a touring bike: rain, gravel roads, river fording, snow and ice, mud, steep hills, and high winds.
Travel:
To get from sunny Los Angeles to New Zealand involved a 13 hour direct flight. Air New Zealand has a reputation for being very strict on their baggage policy and the Co-Motion suitcases dimensions are pretty much at the limits of allowed baggage sizes.
However the real issue ended up being weight. The suitcases themselves weigh near 14 lbs., and you only get 50 lbs. per bag. We packed the bikes and added the cages, bottles, pedals seats to the suitcase only to find that we were over the limit. After some re-arranging and putting all the extra bits into our other luggage, we managed to get the bikes under the weight limits.
Assembly:
Putting the bikes back together was exactly as we practiced at home; please make sure you practice at home before you tour. No issues to report, everything worked as expected. It was a half-day event getting two of them together and tuned up.
Touring:
So, how is it to tour on a Pangea? I can sum it up in three words: I love it! The ride is very smooth and responsive. We started off on paved roads for the first few days and had no issues with any kind of pavement. The Brook’s saddles with springs, 26×2″ Monodial tires, and thick steel tubes make for a supremely comfortable ride. Even on gravel roads, the Pangea continued to ride very smoothly. My butt has never felt so good and the saddle wasn’t even broken in yet.
Speaking of gravel roads, we found that New Zealand roads aren’t graded like American Roads. It was rather common to find ourselves going up 11-14% grades that are a rarity in the US. We found that the gearing of our Pangea’s may be a little higher than we would like for such steep roads, especially dirt or gravel. However, there may have been another factor. We hardly trained for the tour. So I am uncertain how much of the gearing issues was due to our weak bodies.
As we progressed through New Zealand there were very few bicycle problems. About two weeks in I started noting that my chain was clicking a bit as I pedaled. I found that the tension was very loose and the chain was flopping a bit. I busted out the best multi-tool for a Pangea and adjusted the chain tension using the eccentric bottom bracket. This brought the chain nice and tight eliminating the noise from the drive train. Pam’s right handlebar brake lever started to get loose but that was probably a bike assembly error. Pam was missing one gear of her 14MW on Rohloff, once again likely bike assembly error (seeing a theme here? I am wondering about the shop we used to get the bike). We had to adjust chain tension several times. The Brook’s saddles with springs produce a tiny bit of noise every now and then. The stainless steel drops require a lot of force on the quick removal skewers to keep quiet.
My biggest disappointment was the SON generator and USB outlet. Riding along on flat roads it wouldn’t charge my battery pack or phone reliably. It would turn on, with the green LED lit, then the device would start to charge, then it would shut off, and repeat. If going downhill it would charge for a bit, but as any tourist knows the downhills are always too short. Finally we went through a particularly remote 4×4 track through the mountains that involved fording knee high water 40 times. The SON generator stopped working the next night and never turned on again.
After the generator stopped working I wanted to troubleshoot it, but as a cycle tourist I was carrying nothing I needed. I had no multi-meter or method to test if the hub was producing and the USB outlet failed, or if the hub failed. I unplugged the hub and we made use of our touring techniques for maintaining electric power for devices. New Zealand campsites usually had power available, so we were never more than two days without have an outlet. As any cycle tourist knows, you just make do.
Final Thoughts:
I am very happy with my bicycle, and I was recently asked if it was worth $7,000? For me it is. It feels great to ride, and I spend my time enjoying the ride not worrying about a derailleur tuning, or wondering if my bike could be just a little bit better. If I were to do it again I would skip the generator hub, but I stand by my decision to get a chain instead of the belt drive; the Rohloff itself is amazing.
I know that the Pangea will take me anywhere in the world I want to pedal; it is built like a tank. All that being said, you don’t need a fancy expensive bike to tour, the sites and views look the same, just get out there and ride! If you want the best bike money can buy I would put my money towards a Pangea.
*Note: I was not compensated in anyway for this review, just my two cents on a bicycle I purchased with my own hard earned money.


