3 Ways to Consolidate Your Gear on Tour

Thinking of going on a bicycle tour? Each time we go, we find new ways to streamline our gear list. Here are three tips for how to multiply the uses of your gear on your next tour.

Turn a water bottle into a lantern. This works with the clear water bottles. Simply fill your water bottle at least halfway with water, turn your flashlight or headlight on, and shine the light into the side of the bottle. This improvised lantern provides a surprising amount of light, without the added weight of an actual lantern.

Use an emergency blanket as your tent footprint. Emergency blankets are really handy. They’re lightweight, and help reflect your body heat back toward your body in an emergency. Save weight by leaving your tent’s footprint at home (or don’t even bother to purchase one, since most tents these days don’t have one included). The blanket might even prove to be more puncture-proof than the footprint, which will save your air pad, as well. Bonus! We love this one.

Use hair elastics to keep your air pad/mattress rolled up. We found an easy way to keep our air pads tidy is to use hair elastics. This gives me the benefit of having a few extras on the trip, as I have a tendency to lose my hair bands at some point on tour. Sure, you could use rubber bands, but I can’t use rubber bands in my hair.

Bonus: Have you heard of Tenacious Tape? Great for fixing everything from tents to rain gear, this is a must-have on tour.

Sometimes if you step a little bit outside the box, you can save weight and energy on your tour. What are some inventive weight-saving ideas you’ve had? Let us know in the comments below! Also, check out our post on reducing your gear weight on tour for some more ideas.

Gear Review-Big Agnes Copper Spur UL 2 Tent (2013 version)

Restful sleep is essential to putting on the miles day after day. Ever noticed how it takes a while to get used to falling asleep in a new place? That definitely happens to me. But one thing I have observed during my bicycle tours is that even though the tent I’m sleeping in is in a new place each night, the tent itself doesn’t change. Having that consistent environment makes up for new locations each night. So, for me, this makes the tent is one of the most important purchases for a bicycle tour.

I did a lot of research before deciding on the Copper Spur UL 2 tent for our touring tent.

a tent set up in a field with a forest surrounding it
Big Agnes Copper Spur UL 2


First off, the pros:

  • Two “rainbow” doors, one on each side. This means that we each had a side to enter and exit the tent, and weren’t crawling over each other to get in and out. This turned out to be even better than I thought it would.
    • The one person tent only has one door and vestibule.
  • The tent, rainfly, and poles weigh in at 1400 g. and the 2014 version coming in 125 g. lighter. This tent is truly lightweight.
  • Easy to set up and take down (even with just one person). At the end of the day, this tent went up quickly with either one or two of us setting it up.
  • Head space.
    • Matt is 6’2” and I’m 5’6” and there was plenty of headroom for both of us to sit up in the tent. Previous lightweight tents that we’ve had skimped on headspace to save weight, but the Copper Spur left more than enough room for comfort.
  • Adequate ventilation.
    • Nothing is worse than waking up to bedding that is saturated with condensation. We found no problems with this tent throughout our entire tour.
  • Durable.
    • Stood up to 60+mph winds on our most recent tour.

Cons:

  • Footprint
    • Does not provide protection against thorns
    • Not included with the tent/needs to be purchased separately
  • Color
    • The bright orange doesn’t lend very well to stealth camping.


What’s changed on the 2014 model: The 2014 model is very similar to last year’s model, only slightly lighter. We have not had a chance to try the new version out.

We highly recommend this tent for bicycle touring. The Big Agnes Copper Spur comes in a single person as well as three-man and four -man versions. The single might be a bit small for a larger (taller) person, so keep that in mind. What are some things you look for in a tent? Let us know in the comments below!

Disclaimer: This review contains my personal opinions. I have not received any compensation by the manufacturer for this review. This review is for informational purposes only. If you click the Amazon link and make a purchase, we will receive a small commission.

ZPacks Sleeping Bag Review

Pam and I love cycle touring, and if you check out our gear list you know that we hate lugging extra weight. Our previous sleeping bags collectively were weighing in at around 4 lbs (1.8kg) each. Considering that our total gear weight was about 50 lbs, the bags accounted for almost 10% of the weight we were carrying. After some research I decided to try to reduce that weight and try out the Zpacks ultralight sleeping bags.

A woman laying inside a green sleeping bag on top of an air pad.
Z-packs sleeping bag


About the company: Zpacks is the brain child of an avid ultralightweight hiker, and they manufacture most of their products in Florida and are currently some of the leaders in the ultralight hiking market. Since Pam and I try to support people who provide good products and pay their employees well so it is easy to support Zpacks.

Spec: Zpacks sleeping bags are available in four temperature varieties: 40F, 30F, 20F, 10F. They come in 5 different sizes based on your height, and 2 widths based on your girth. Either 900 fill or 850 fill water resistant down is available. The outer and inner fabrics are Pertex GL, a durable, lightweight material.

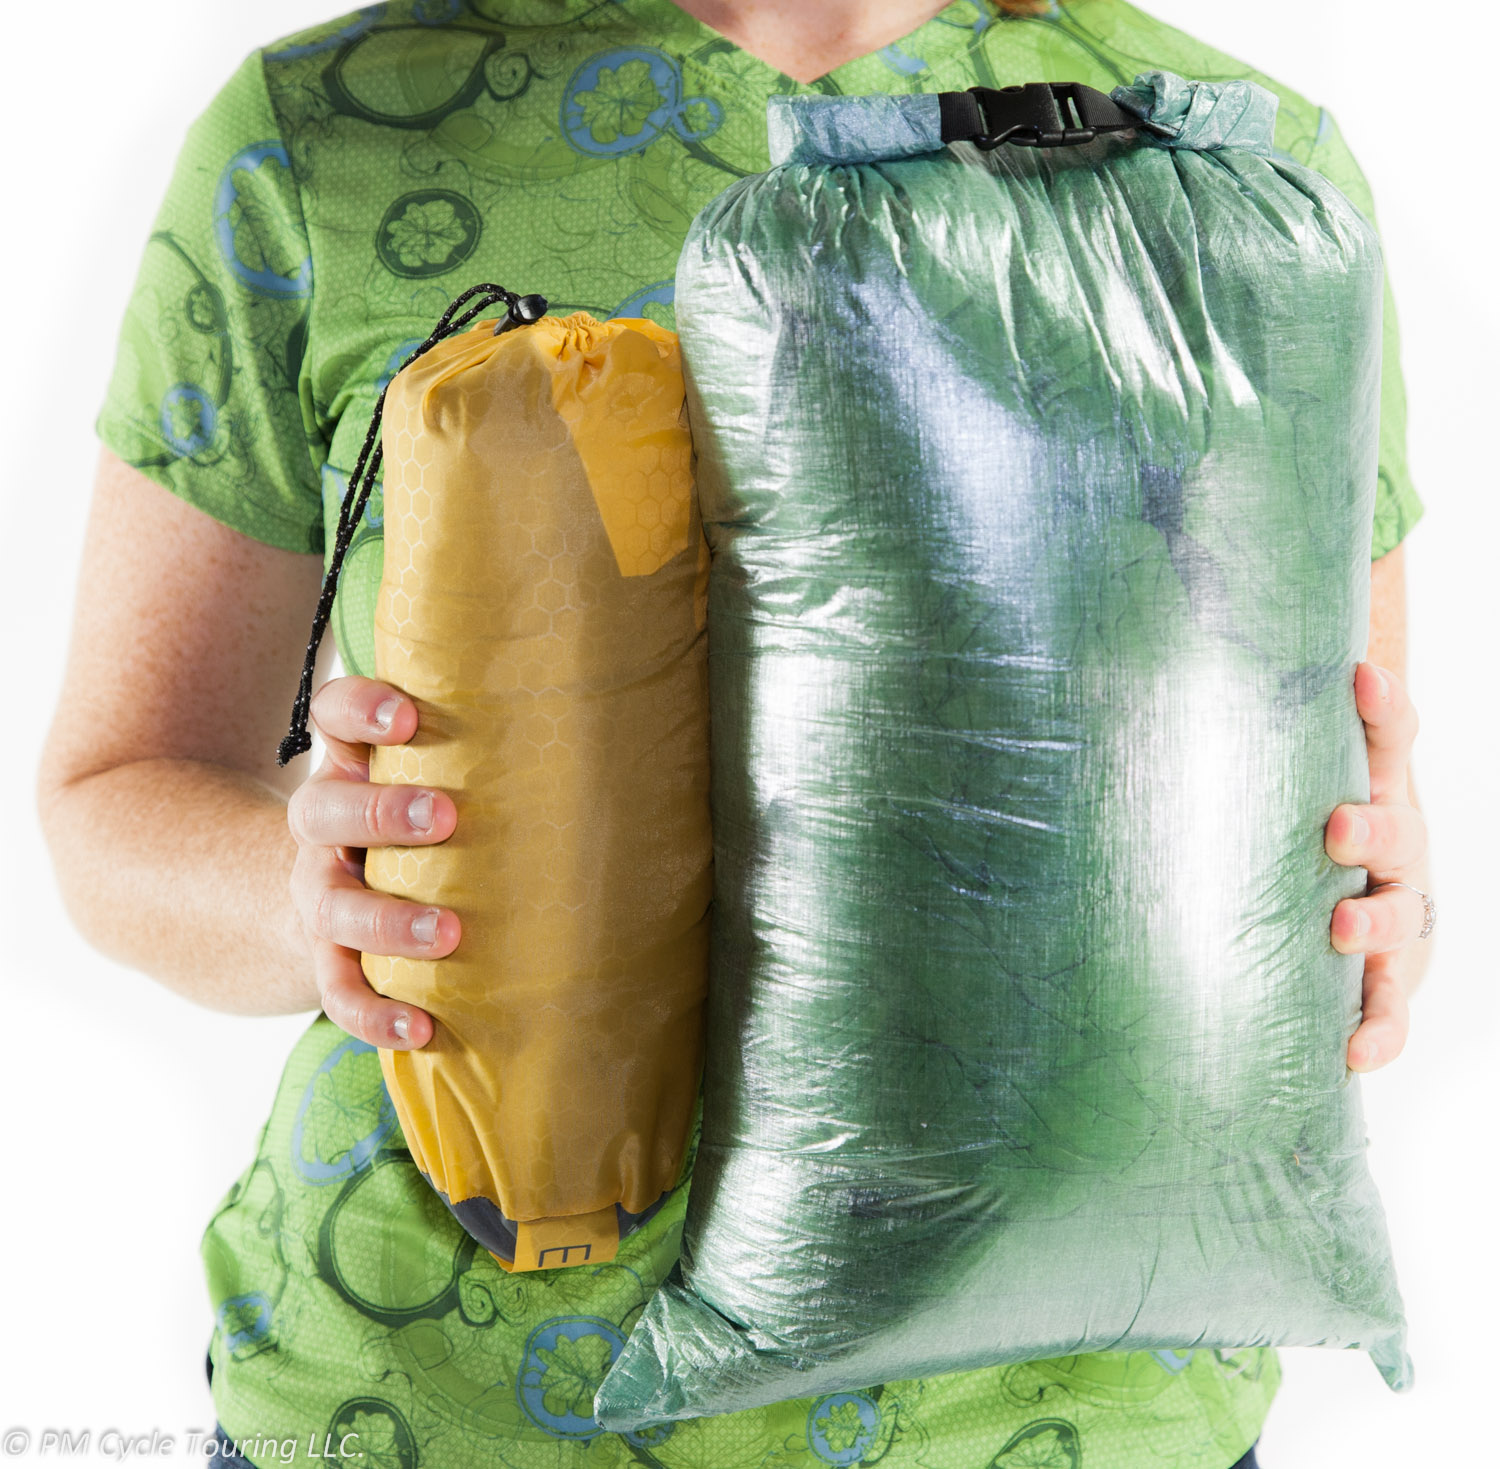
size comparison for xped sleeping pad and z pack sleeping bag
Z-pack sleeping bag and xped sleeping pad

About the bag: The fabric feels similar to other tech materials: smooth, slippery, and thin. This doesn’t bother me at all. Most of the time I do use a silk liner, but that is mainly to keep the bag clean or to sleep on top of the bag during warm nights. The bags are designed to be slept in with the zipper on the ground underneath your back to reduce drafts. While the zipper is small and doesn’t bother me laying on it, I tend to toss and turn all night so I added an optional draft tube to prevent drafts as I do my nightly roll overs.

The bag is shaped so that it is larger at the top of the bag and tapers down to a small foot area. The whole idea is to minimize the space inside the bag which you have to heat up; this will keep you warmer with less extra material and therefore less extra weight. The zipper extends to about ¾ down the length of the bag which is plenty for climbing in and out.

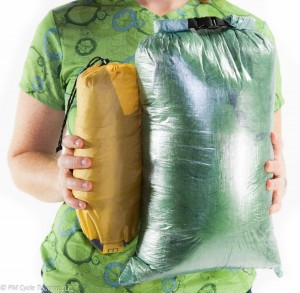
One of the most amazing things about this sleeping bag is how much you can compress it down. Fully compressed it is downright tiny and as soon as you pull it out of the bag it starts inflating back up to full size. With a little fluffing it is perfect every night. The second amazing thing is Matt’s bag only weighs ONE pound. A one pound, 20F rated bag has kept Matt plenty warm even on a 15F night.

Durability: Initially I was very concerned about how the bag would hold up to continuous use on a bicycle tour. In hindsight this is probably a silly worry as a bicycle tour is not any more taxing on equipment than 3 months of hiking which is what this bag was designed for. Through 45 days of bicycle touring on the southern tier, this bag performed like a champ, and continues to perform as expected.

Overview: The Zpacks sleeping bag comes highly recommended by me. The weight and comfort are amazing. This is a great place to spend a little extra money to ensure that you get a warm comfortable night’s sleep and slash a few pounds that you have to carry around on a tour.

Disclaimer: This review contains my personal opinions. I have not received any compensation for this review. This review is for informational purposes only.

Hiker/Biker Campsite: Refugio State Beach, California

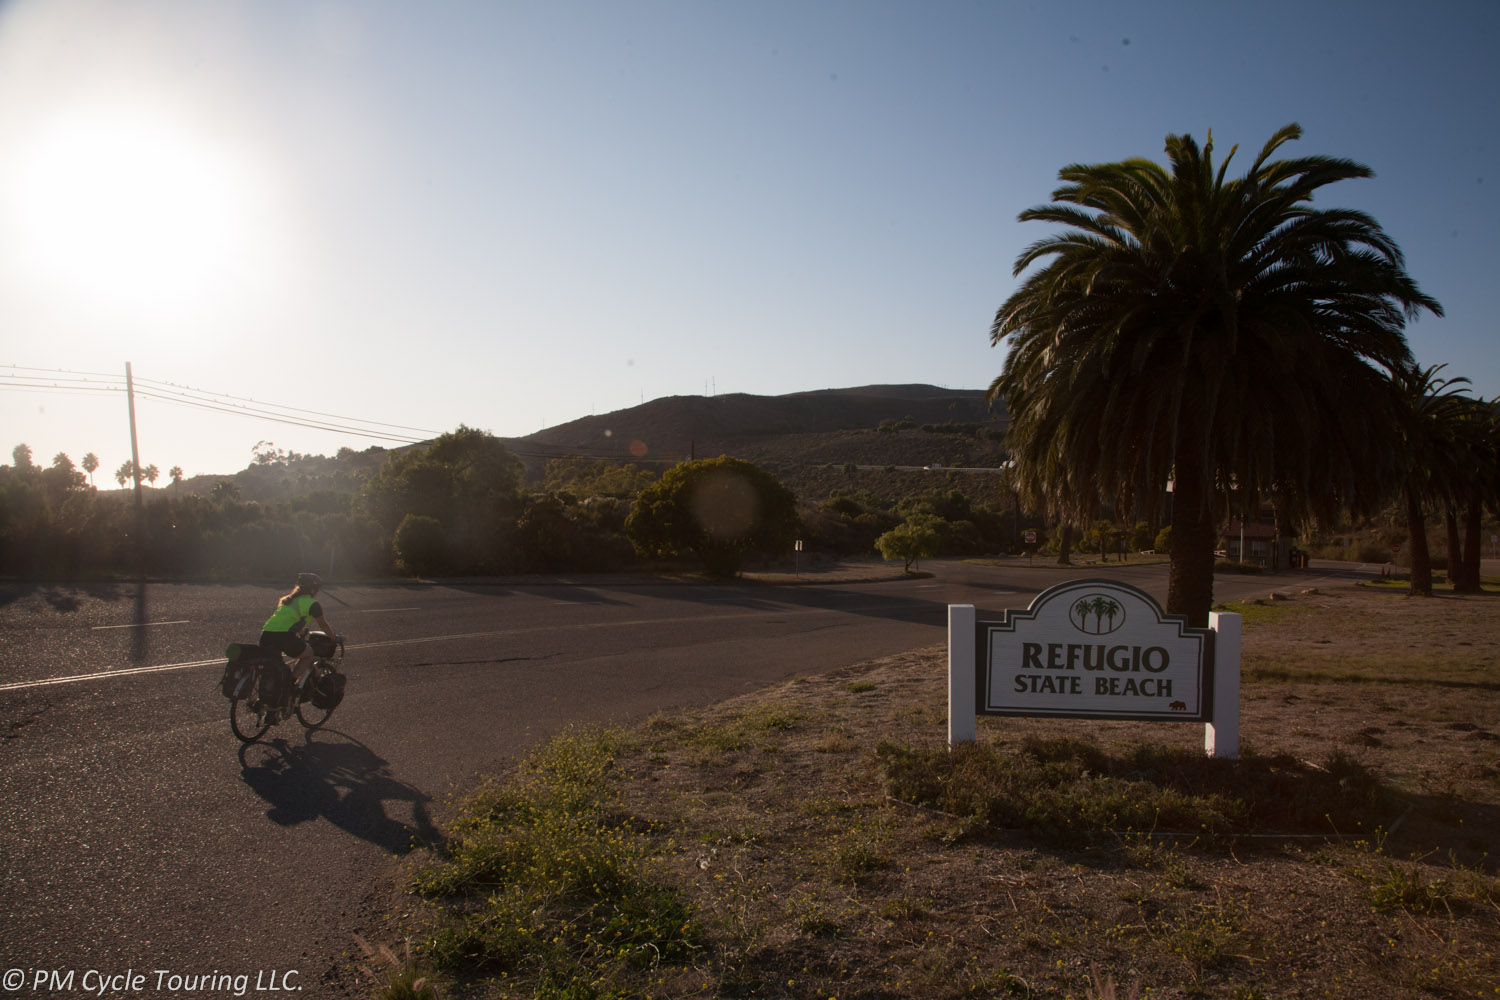
The Hiker/Biker (HB) site in Refugio State Beach is one of our favorite HB sites in the United States and is better than the nearby El Capitan State Beach sites. This site has it all, bathrooms, views, nice camping surfaces, and the sound of the waves crashing. However this campground is rather remote, there are no stores or food once you get out of Lompoc if heading southbound or Goleta if heading northbound. Plan accordingly.

Cost: $10 per person per night.

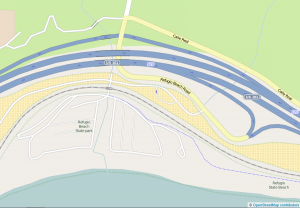
Getting To Refugio: Coming from the North or South on US101 take exit #120 Refugio Rd. Turn towards the ocean and follow the signs to the entrance to Refugio State Beach. If manned the ranger station will take your payment, otherwise immediately past the ranger station is an automated payment station.

HB Site: After entering the park take the first left and first right. Follow the loop around towards the beach and the HB sites will be on the left side of the road near the playground. The site consists of mostly flat grassy areas with some trees with a standard wooden bench.

Amenities: Bathrooms including warm showers (tokens required) are in sight of the HB sites. The beach is across the road, positon your tent right and you will get to see the sunset over the beach. There is a small camp store open on the weekends with extremely limited supplies; no grocery stores are within a 10 mile radius.

Off Bike Activities: Number one on this list is the beach. Be aware that natural tar deposits are present and walking on the sand will likely result in tar spots on the shoes/feet. However you can walk a reasonable distance enjoying the little caves and coves; the coast here is beautiful and worth exploring. Check the tide tables for high tide, and stay away from the crumbling bluffs.

There is a bike path heading east from Refugio toward El Capitan State Beach. The path used to extend all the way to El Capitan, however sections of it have been closed due to storm damage, so it is no longer possible to travel the entire way. Still, the bluff-top path gives amazing views of the ocean, and is worth a little hike or bike.

RefugioThe bottom line is: you’ll have a great stay at Refugio State Beach.

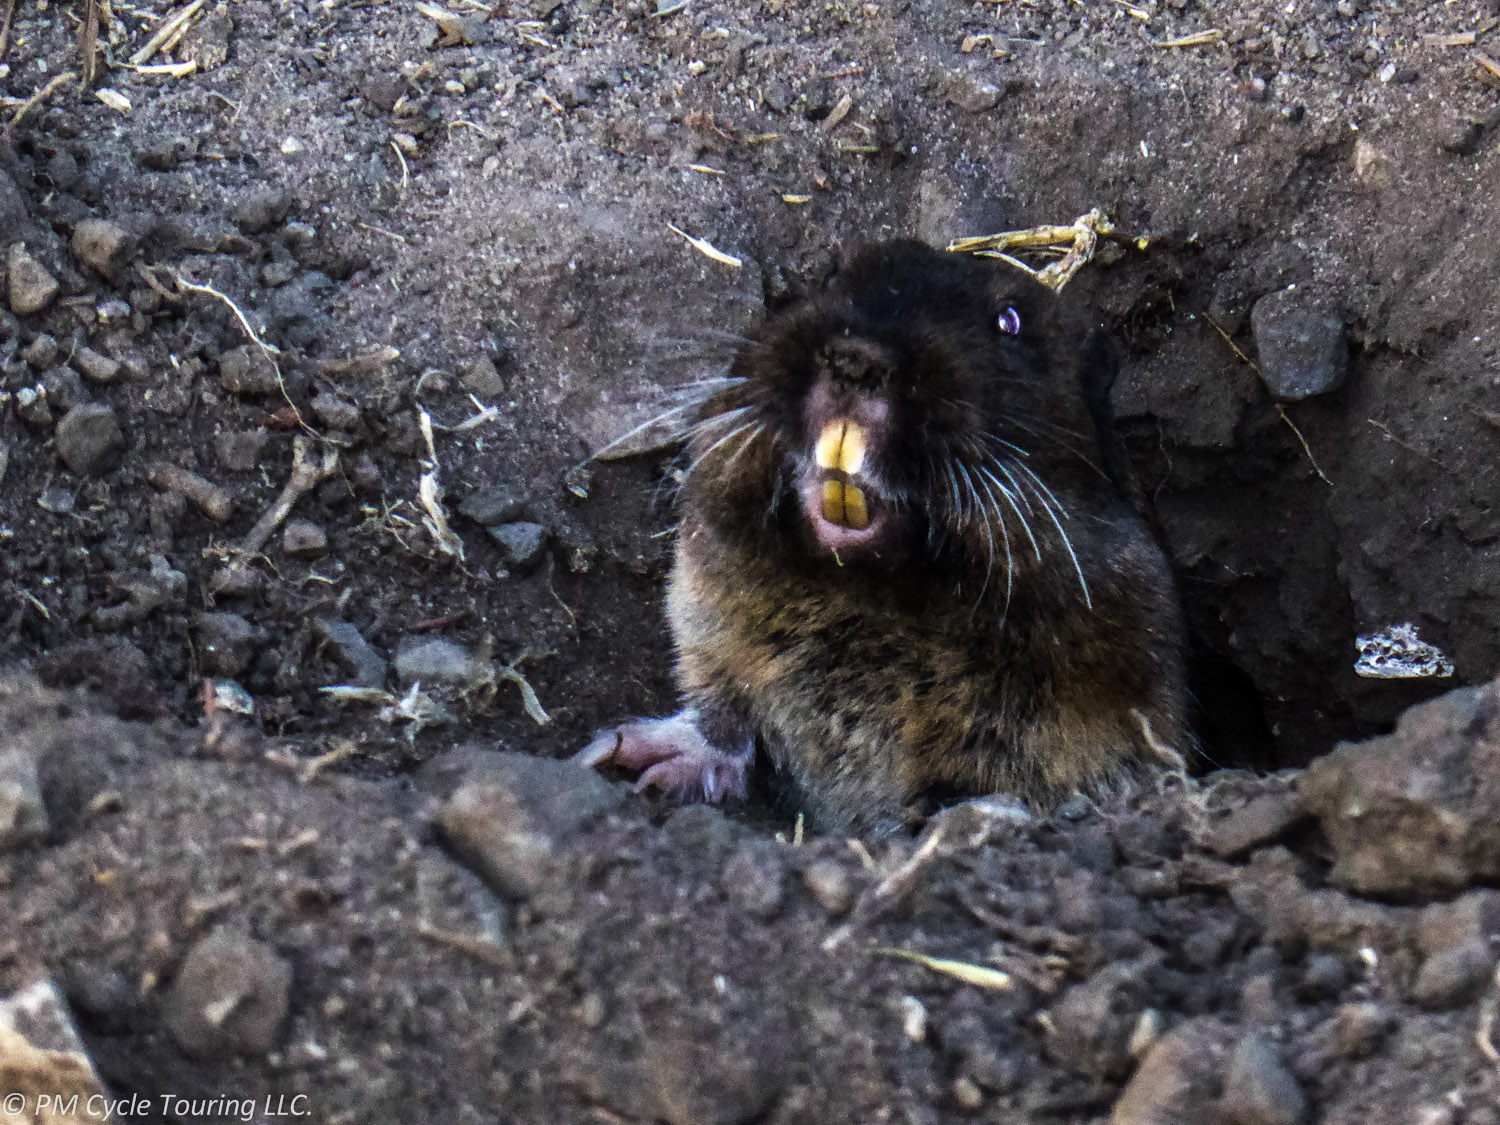
Don’t feed the wildlife

Two weeks into our first bicycle tour, we set up our camp the same way we had the previous 13 nights. We put all of our panniers tied together hanging from a tree limb. Moments after we crawled into our tent for the night, we heard a commotion outside. Matt investigated, only to find raccoons fighting over our panniers and the food inside. They were vicious! He had to fight them off, and with no better option, we brought the panniers into the tent with us for the night, terrified the raccoons would come clawing through our tent. There had to be a better way!

One of the joys of bicycle touring is getting back to nature. Bicycle tours can take you to remote places, where it’s just you and nature in all its glory. Unfortunately, wildlife encounters can turn an enjoyable tour into a nightmare. There’s a few things you can do before you set out that can make all the difference.

Bear can: We found this is the most convenient method of keeping the critters out of your food. Raccoons, rats, skunks, possums, and other nocturnal animals can be very persistent when it comes to going after food, and in some areas bears can be a huge problem. Keep in mind that smells from any food items will linger on your belongings and tempt the animals. Panniers are not animal resistant! A bear canister will prevent any animals from getting your food (and may even be required depending on where you’re going). You should keep everything that smells (toiletries included) in the bear proof container. On our latest tour we used the Bearikade (the Weekender size), and highly recommend it.

At night, place the bear can at least 100 yards from where you’re sleeping (if there’s bears) and make sure it’s in a safe place-that is, it won’t roll off a cliff or into a river or other natural hazard. The bear proof container won’t keep the critters from smelling the food, it will just make it impossible for them to get to it. They will invariably check it out, and maybe even claw at it for a moment; after some time they’ll probably get tired of it, and your breakfast will be safe for the morning.

We found it to be very convenient and easy to use the bear can. It kept our panniers from getting smelly or dirty, and the food was always easy to access. When we came it camp we could just leave our panniers on the bicycles and not have to worry about anything clawing at them. It made camping very simple and less stressful.

Bear box: Some campsites will have bear boxes to put your food in. Again, don’t limit what you put in it to food; put all toiletries into them as well. This means all sunscreen, lip balm, toothpaste, etc. If there is no bear box available, but there have been critter sightings, check to see if it would be ok to leave your panniers in the restroom. A lot of times the door will be enough of a deterrent to the smaller animals. Be careful in some bear areas, though, because they are smart enough to get in. Check with the ranger or camp host to find out the best thing to do with your food.

Smell proof bags: These can be a deterrent, however they should not be your only protection. Smell proof bags are a great place to put your snacks for the day in. This can help you reduce the smell of food in your panniers or handlebar bag. We used these bags on our latest tour and had no issues with animals.

Bring your food in your tent: This is one of the oldest trick in the books and many people swear by this method. Make sure that the food is only in your tent while you are in the tent with it, if you leave food unattended animals may claw through your tent. While we have done this in the past, I hesitate to do this now. It could teach animals that a tent means food and seems risky versus our positive experiences with our Bearikade.

Bottom line: be smart. Think about your food and what you’re going to do with it. Make it as difficult as possible for animals to get it. You’ll be glad you did and sleep better if you aren’t worrying about it.