Hydration and Touring

It’s very important to stay hydrated throughout all aspects of your life. Some people think that lack of adequate hydration is the reason for many health problems. While the scientists are still trying to piece it all together, I do know that I function much better as a bicyclist when I’ve had enough water to drink.

When you’re out there on the bike, exposed to the elements, you’re bound to encounter many different climates, even in a single day. Trust me, you’ll never have a problem where you’re carrying too much water (actually, I take that back. Once, while touring the southern tier, we prepared for a 70 mile ride with limited services by stocking up on water. At the halfway point, a stranger-turned-friend gave us plenty to eat and drink, and we had no need of the extra water we carried. We dumped it out to lighten our load. But that’s rare). More often you’ll wish you had more. You must plan ahead!

So let’s talk about different methods of carrying water. First, water bottles. Most bikes have space for one or two bottle cages. My recommendation is to use both, if possible. Also, get the largest bottle you can that will fit the cage. Don’t mess around with the small bottles. And we find the insulated ones are a waste of money. They tend to hold less water with the promise of keeping your water cool for a minute, but by the time the sun rises there won’t be a noticeable difference.

For rides that will be a bit longer, think of carrying a canteen or platypus. We like to carry two 96 fl. Oz. Nalgene Wide-Mouth Canteens when we ride. They fold flat and take up minimal space, but carry enough water for both of us if we really need it. We have to be careful, though, because if we fill both of them up, it adds about 12 pounds to our weight for the day. That’ll slow you down a bit before you drink it!

Want to go super lightweight? You make use of surface water as you go. If you want to do this, you’ll need either a filter, an ultraviolet pen, or iodine, or a combination of all three. There are a few different filters on the market, but some are pretty bulky. Some water bottles come with charcoal filters, which can help filter out sediment or other impurities, and could be a good first step to clean water. Iodine is very effective at killing all nasties in water, but makes the water taste horrible. I’ve heard there are tablets you can get that make it taste better. But when you’re desperate, you’ll drink anything, regardless of taste. Might be a good idea to carry a bottle of iodine, just in case. Make sure to wait the requisite time before drinking the iodine treated water.

If you’re not into surface water, where else can you fill up? Of course, gas stations and grocery stores carry bottled water, but before you buy a bottle, ask the clerk if you could fill your bottle from the soda machine. Some restaurants will fill your bottle for you. Bathrooms have faucets in the sink. We’ve filled up using an irrigation hose outside a church. As a last resort, you could stop at a house and ask for water. The worst they could say is “no.” Many people will take pity on you if you’re polite, and help you out.

Keep in mind that you’ll need water for things other than drinking, such as cooking and sanitation. That’s why sometimes a bottle just won’t cut it. Think about how you’ll be using water on your tour, and make sure you have a receptacle that will hold as much as you need, without adding more weight than you’re willing to carry.
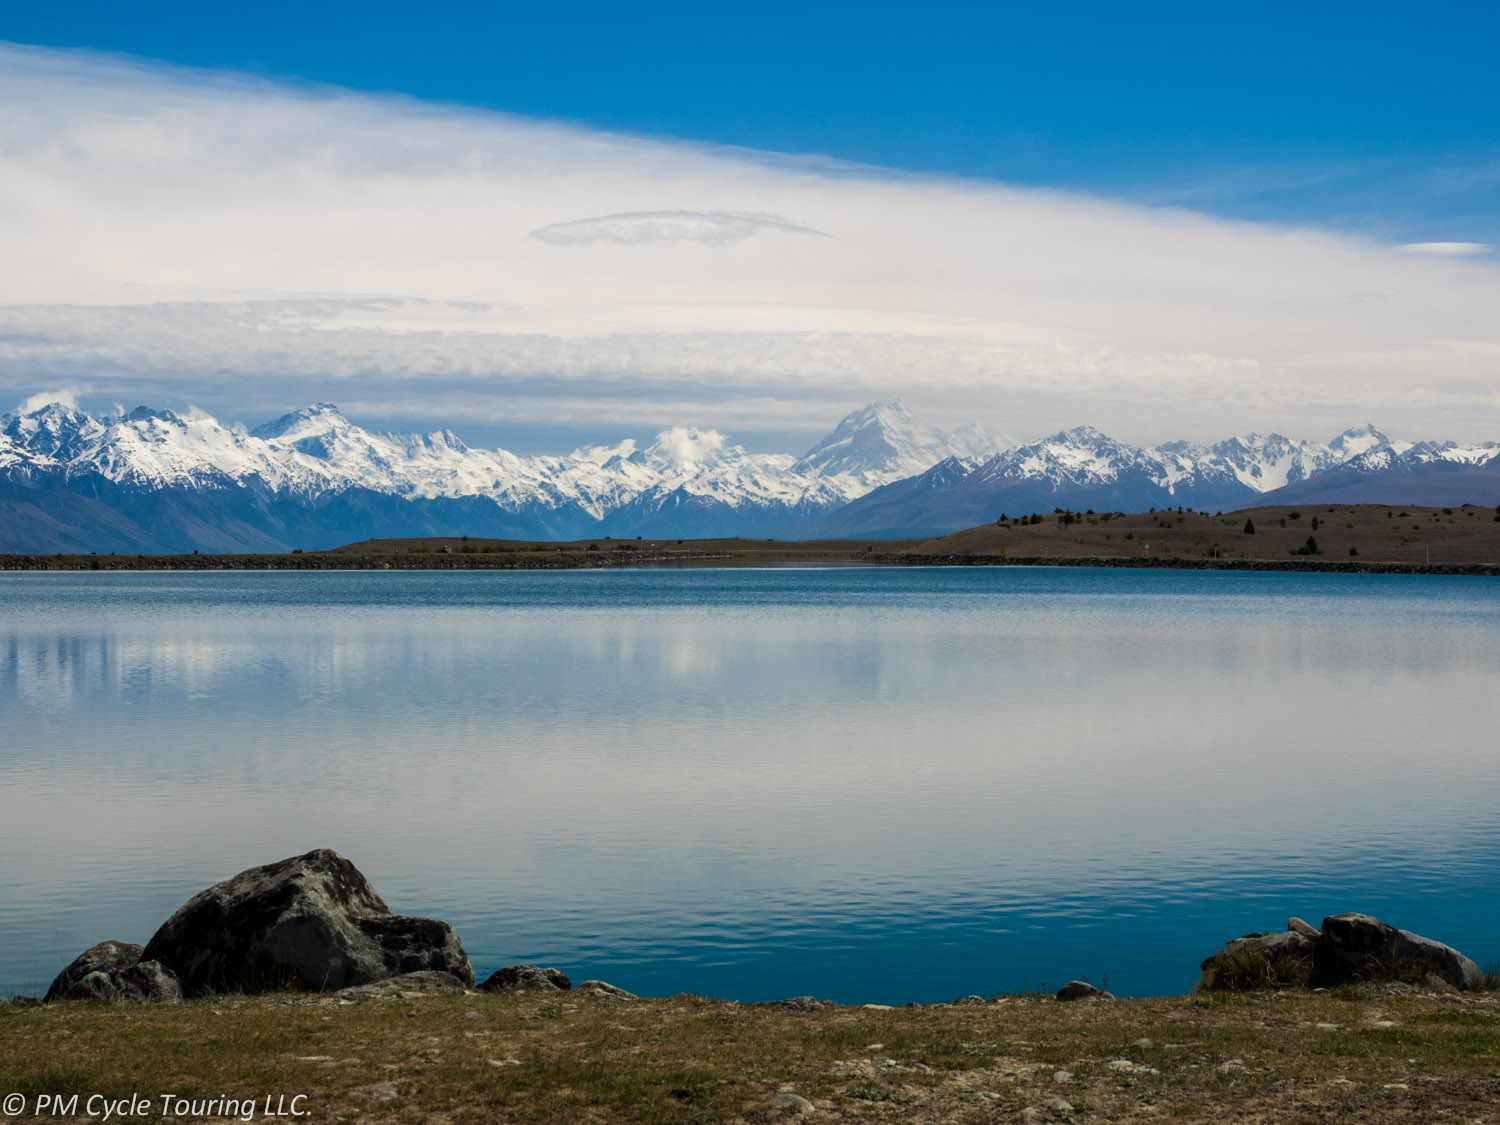
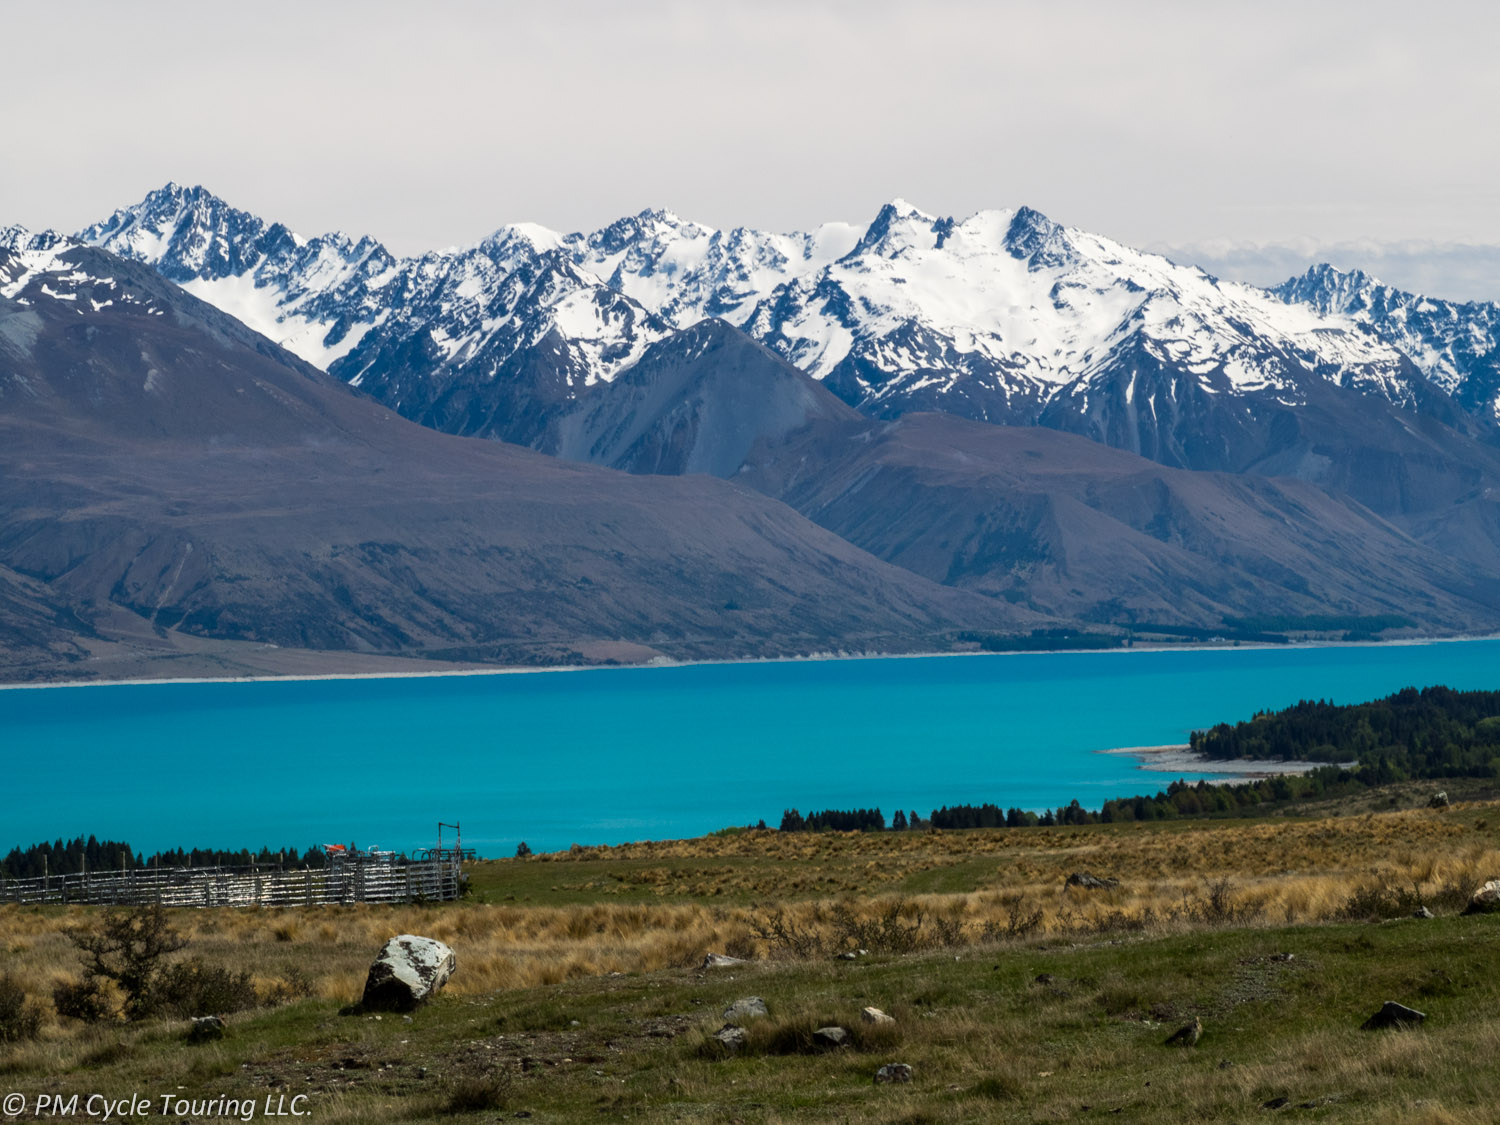
Lost in Translation: Kiwis say it otherwise

For our first tour outside the United States, we decided to make things easier by traveling somewhere with a common language. We had read about New Zealand’s beauty, the friendliness of its people, and how pleasant a place it is to stay, as well as its claim to speak English.

Upon arrival, we found that even though we spoke the same language, sometimes it didn’t feel that way. Some things still got lost in translation.

For example, for dessert one night, we decided to try a New Zealand milkshake. And not just any kind of milkshake, a “thick shake.” Here in the US, a thick shake is, well, thick, usually requiring a spoon to enjoy it properly.

When our thick shake arrived at the table, we were a little disappointed to find that not only was there no spoon, but it was liquid! It was mainly milk, with flavoring, and a scoop of ice cream. I guess that’s where the “thick” comes from. Ah, well. It tasted good regardless.

Bacon in NZ is not necessarily what Americans would call bacon. I ordered a “bacon burger,” thinking it would be a hamburger with slices of bacon. Nope. It was basically a ham sandwich, on a hamburger bun, not even including a hamburger patty. Slightly disappointing. If you are looking for proper American style bacon, the Kiwis call it “streaky bacon.”

On our last day in NZ, I needed a late afternoon pick-me-up, and we popped into a coffee shop. They advertised “iced” drinks, so I ordered an iced coffee. I expected to get coffee, with ice. Instead, the waitress served me a coffee milk shake, complete with ice cream, milk, and chocolate syrup. It was delicious, and even better than the aforementioned thick shake, just not what I had expected.

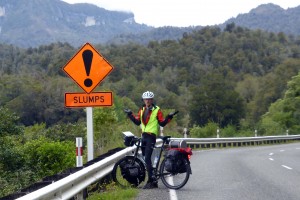
A bicyclist stands next to a road sign which reads "slumps"
Matt puzzles over a New Zealand road sign

As we rode our bicycles around New Zealand, we were constantly amused at the differences in road sign wording that our two countries use. Over time, we became used to the differences, but every once in a while one would stand out. We actually came across a sign that we still have no idea what it could have meant: A hazard sign (orange with a black exclamation point), and underneath the word “Slumps.” We’re still puzzling over the meaning of that sign. And, sometimes the road signs were polite to the point of ridiculousness. For example, a sign in Christchurch read: Buses and heavy vehicles to use High St one way system as Manchester/Taum intersection not suitable. Seems like a much more polite way to state: Large Vehicles Prohibited.

The longer we were in New Zealand, the more we found ourselves adopting the local words for various activities and things. In a small way, we were able to pick up a little bit of the culture of New Zealand, even in the short time we were there. We had a fantastic time, and look forward to traveling to many more exciting places in the future.

Gear Review-Joe Blow Sport II Floor Pump

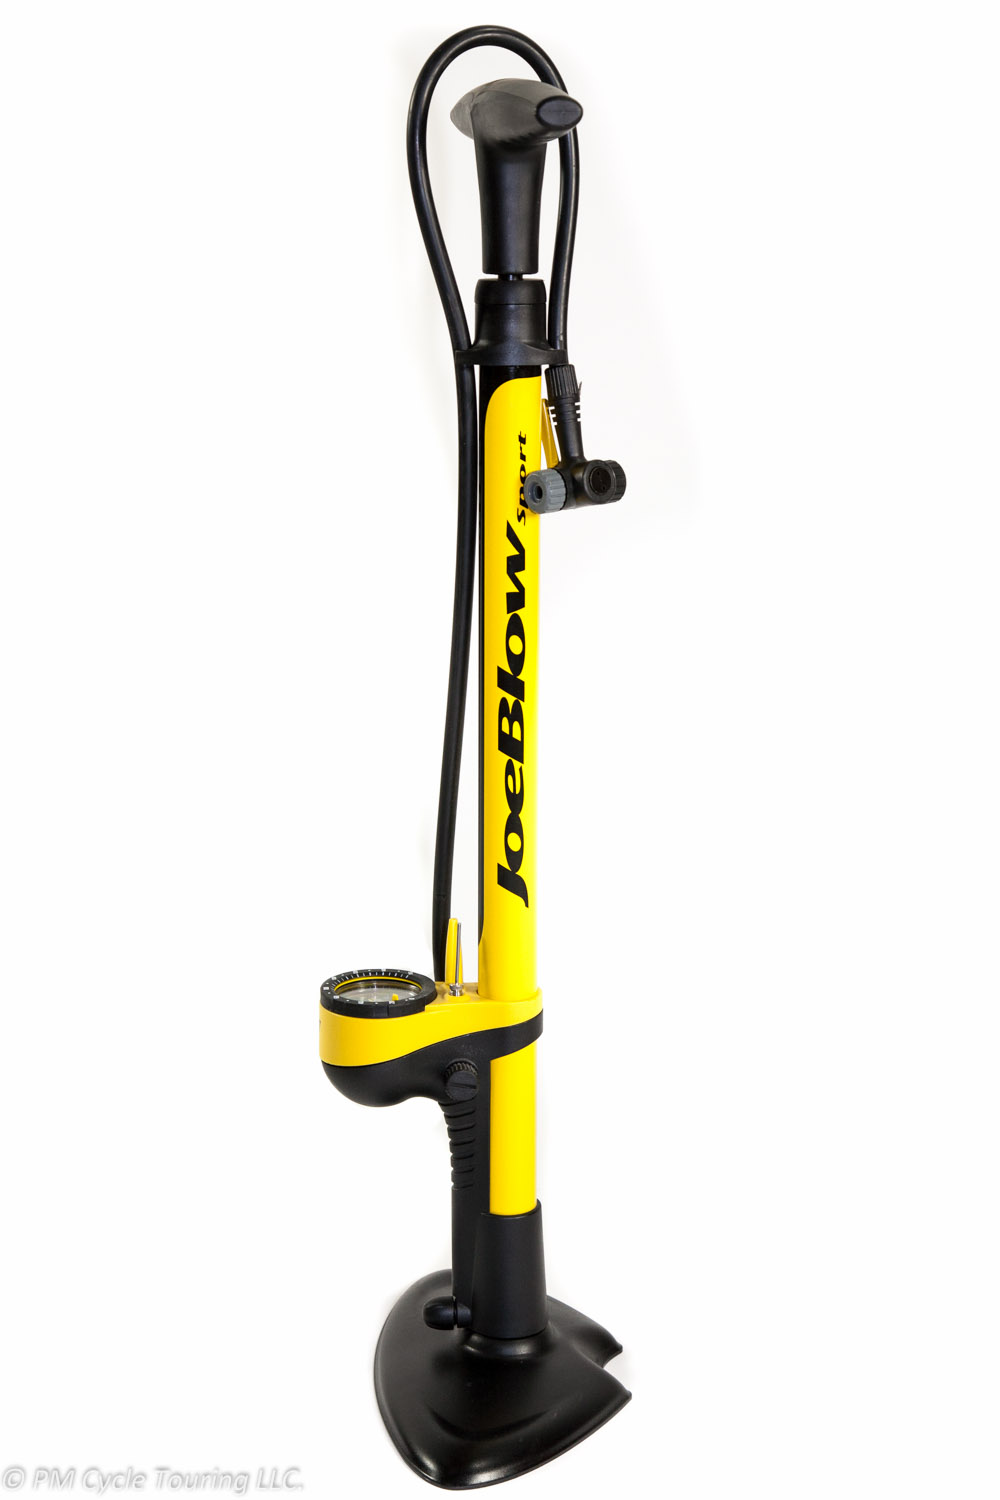
An essential item for any lover of riding bicycles is a tire pump. We’ve already talked about our favorite hand pump. However, it’s a good idea to have a floor pump handy as well. With a floor pump, you can pump your tires more quickly, with less effort. Obviously, you won’t be taking this one with you on your rides (although I once saw a kid with one strapped to his back as he rode along a bike path. I’m sure there was a story to go along with that). We’ve tried a few different floor pumps over the years. Our favorite by far is the Topeak Joe Blow Sport II, which we like so much that we even purchased a second one when we misplaced the first. This pump has it all: it’s easy to use, it’s durable, and its color stands out even in the messiest of garages (I’m speaking from experience, trust me). Here’s what makes this pump special.


Yellow floor tire pump
Topeak Joe Blow Sport II Floor Pump


No need for an adapter. Presta valve and Schrader valve on each side of the pump head, so you don’t need an adapter. It’s right there, on the head.

Pressure gauge. Large analogue pressure gauge, easy to read. This makes getting the right pressure in your tires a breeze.

Hose. 28 inch / 71.5 cm flexible hose, makes reaching tire valves easy, even when on a bike stand.

Color. Yellow color helps it stand out and makes it easy to find in a messy garage.

Handle. Large, padded handles add comfort to your pump.

Base. Large steel base makes for a stable foundation.

Extras. Need to pump up a basketball? A ball needle is included. Also included is a bladder head, which you can use to pump up anything from air mattresses to exercise balls.

Price. You can get this one for a little over $40, which is a great value.

Specs.
Weight: 1.4 kg / 3.09 lbs
Height: 67.5 cm / 26.6 in
Capacity: 160 psi / 11 bar

Bottom line. We love this pump. It does everything we need it to do, and then some. Highly Recommended.

Disclaimer: This review is for informational purposes only. All opinions about any products mentioned in this article are my own.

Happy Valentine’s Day!

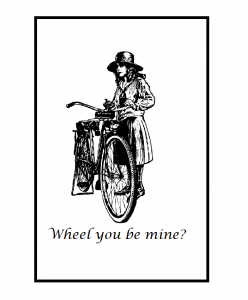
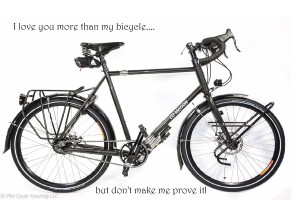
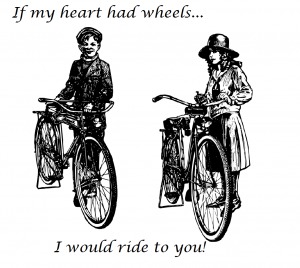
Ah, Valentine’s Day. One of those holidays where you either love it or absolutely hate it. There’s really no in between. We don’t celebrate many holidays, but we usually try to make Valentine’s Day special. We’re not big on chocolate or roses, so we usually just make sure to spend some quality time together. This year, I thought I’d put together some special bicycle themed Valentine’s for my Valentine.

A girl with a bicycle

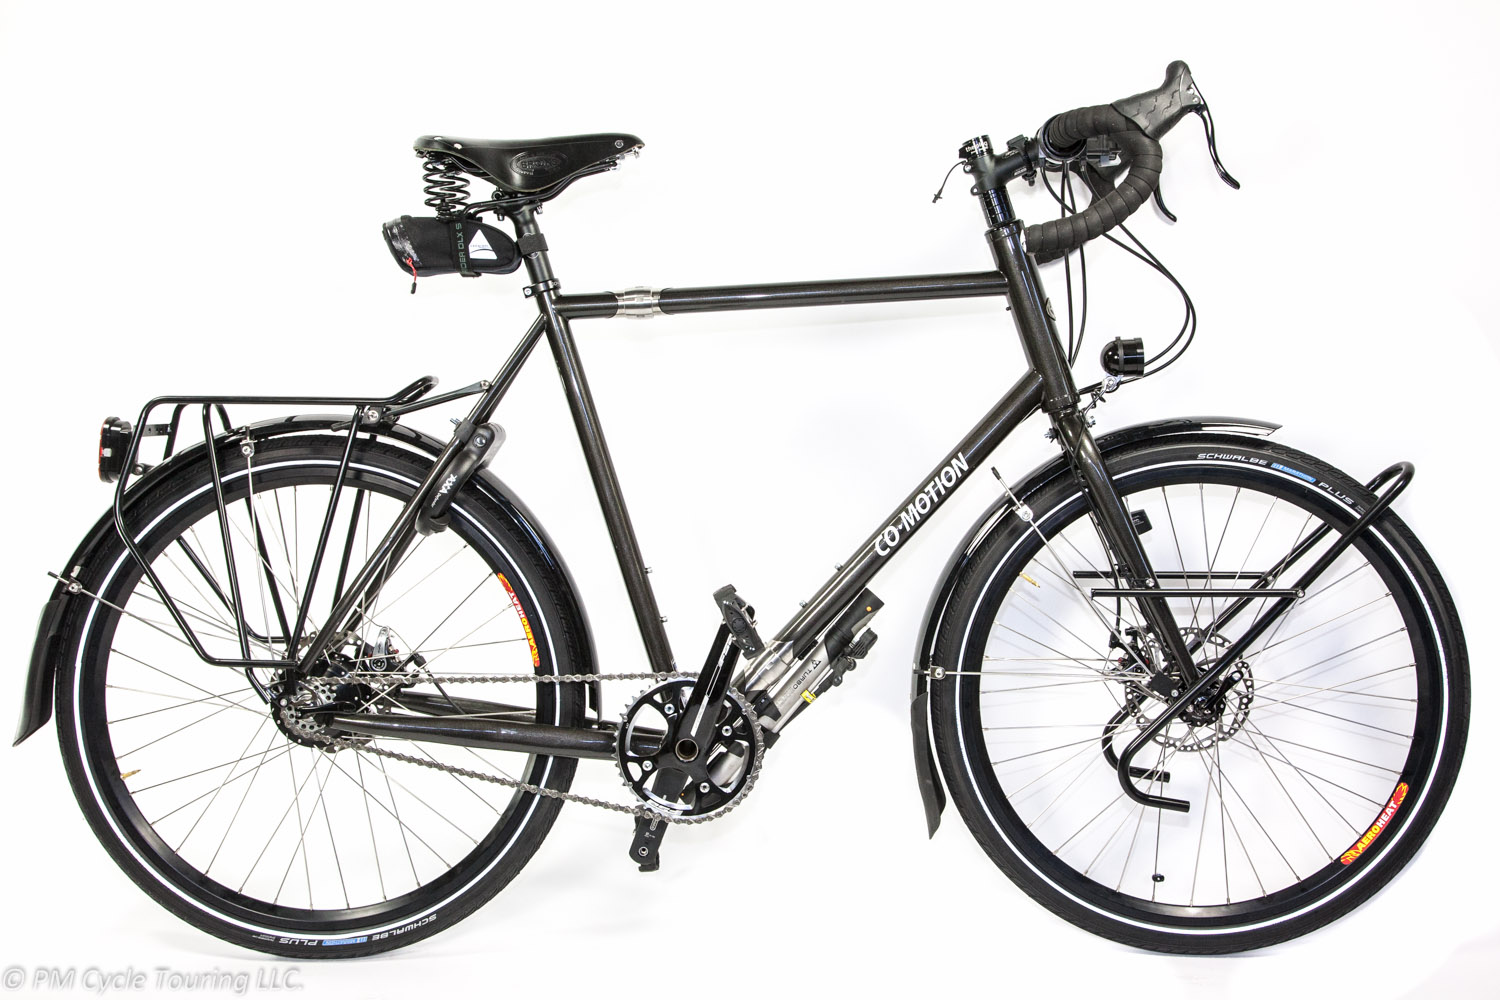
co-motion bicycle

bike route signtwo kids with bicycles

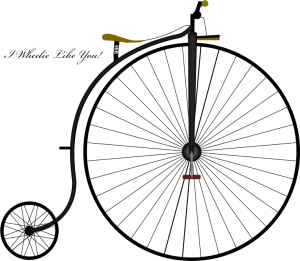
a penny farthing

a bicycle with hearts for panniers

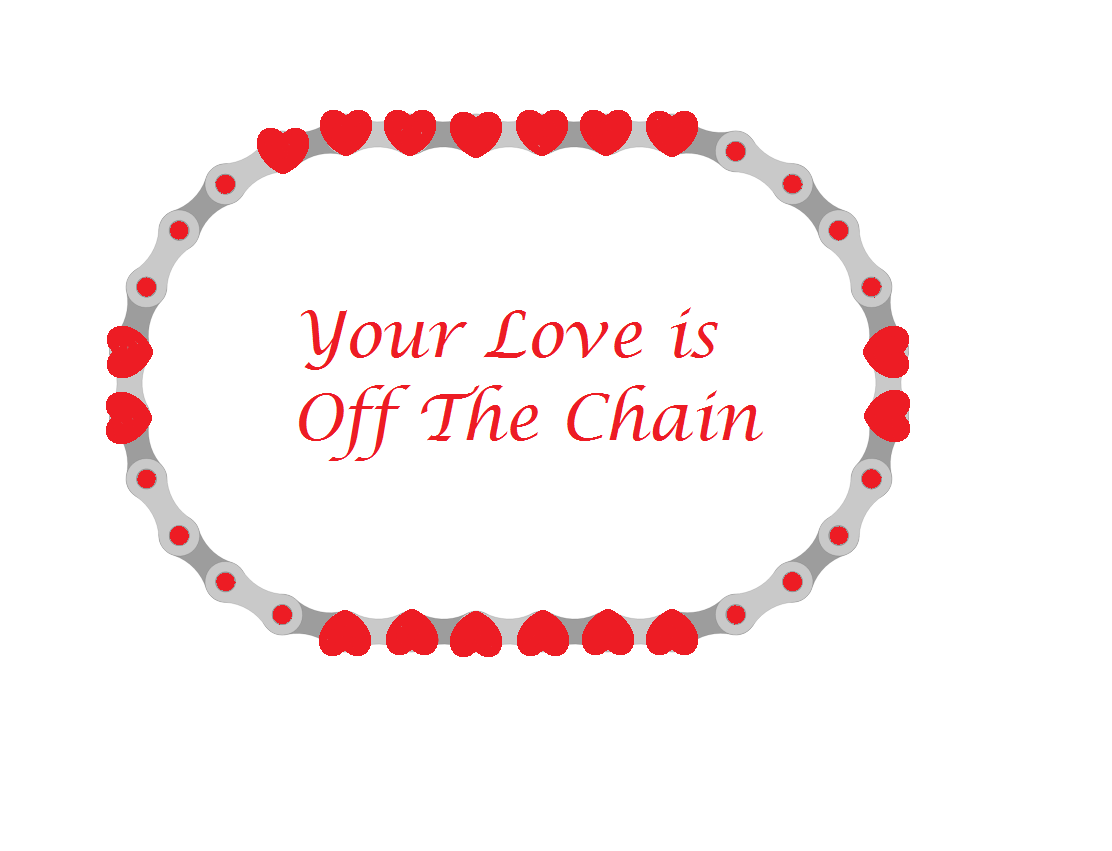
A chain with heartsWhat do you think? What are you going to do with you Valentine this holiday?

Co-motion Options

As big of a fan as I am of the Co-motion bicycle, (see this post, here) the company website could use some refinement. When I started researching my dream touring bike I found that there were several options available that had little to no description. I spent a little bit of time trying to educate myself about the varying options and I wanted to share what I learned.

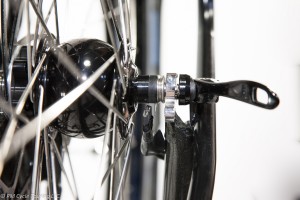
Stainless Steel Dropouts: The dropouts are the points that the wheel axles attach to the frame. Typically these are made of steel similar to the rest of the frame, so if you select this option they use stainless steel at these points. There are two distinct benefits of this option.

First, the stainless steel dropouts are not painted, leaving beautiful shining stainless steel which looks very sharp.

Second normal steel dropouts get all of the stress of you riding the bike put on them, and are prone to becoming slightly worn over time making it harder to get the wheel perfectly aligned. Additionally as you remove and re-install the wheel on a steel dropout you will likely chip the paint from clamping the wheel to the frame and will see rust building up. Since stainless steel is stronger than normal steel the stainless dropouts will not rust and will be less likely to get worn.

A close-up of stainless steel dropouts on a front wheel
Co-motion Pangea Stainless Steel Dropouts

If you are looking at having the bike for a long time or just love the look, my recommendation is to get this option.

Pathfinder Package: This replaces the front hub with a Schmidt SON 28 generator, includes a Schmidt Edelux LED headlight, and a “the plug” stem cap with a built in USB charger. For a serious tourist getting off the beaten path this is a great way of giving you the ability to charge your electronics on the road. The headlight is top-notch, plenty bright for night time riding, and is a nice convenience to have.

The two downsides are that adding a generator to your bike does increase the amount of power required to pedal the bike. However this drag is relatively small being about 1 Watt at 5mph, and 6.5 Watts at 20mph. Considering that an unloading bicycle going up a 5% hill at 13mph takes ~320Watts, and pedaling on a flat surface with no wind at 13 mph takes about ~80Watts this generating hub and light are a small load.  This package does add some complexity to the bike. However given our modern electronics this option is increasingly becoming more and more necessary, and I sprung for it on my bike.

If you look at the above picture, you can see the hub inside the wheel.

Co-pilot: Do you need your bicycle frame to be able to broken into two pieces to allow for packing of the bicycle? Yes? Then you need S&S couplers. These mechanical stainless steel joints have teeth between the joints and screw together to couple the two pieces of the frame together.

These couplers actually stiffen the frame a little bit and have been proven to be very reliable in service. To separate/tighten the couplers you do need a special spanner wrench (included with purchase). The only maintenance required is a dab of Teflon lubricant every now and then.

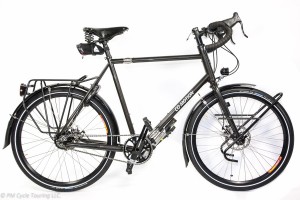
Matt's Co-Motion Pangea Rolhoff in Metallic Black.
Matt’s Co-Motion Pangea Rolhoff in Metallic Black.

You can clearly see the two sets of S&S couplers on the frame, one on the crossbar and one on the downtube.

Co-pilot Padding Kit: When packing your bicycle you need to wrap padding around the frame to keep the paint nice and prevent any metal parts from rubbing against each other (bare metal rusts and can be a potential weak spot). If you are trying to save money you could just use some generic foam padding or rubber insulation material. However, the Co-pilot provides sewn padding kits with a nice fabric and Velcro closure to keep the padding attached to the frame. The time you save using this kit may be worth it if you plan on packing the bike a lot versus trying to wrap it yourself every time, or making your own padding.

Co-pilot Case: At $400 this is a significant amount of money. What you get is a very well built bicycle-packing specific suitcase. There are 4 exterior pockets, 3 interior pockets, reinforcements where the wheel axels will poke the bag, heavy duty zippers, and compression straps to ensure you can meet the airline size requirements. Additionally it is built with telescoping handling and wheels to make transport a breeze. The case appears and feels very well made, and I think you would be hard-pressed to find a better alternative, but let me know in the comments if you have heard of or found a suitable alternative.

Hopefully this sheds some light on to a few of the options that I found little information on, if you have any more information or questions let me know in the comments!

Gear Review-Big Agnes Copper Spur UL 2 Tent (2013 version)

Restful sleep is essential to putting on the miles day after day. Ever noticed how it takes a while to get used to falling asleep in a new place? That definitely happens to me. But one thing I have observed during my bicycle tours is that even though the tent I’m sleeping in is in a new place each night, the tent itself doesn’t change. Having that consistent environment makes up for new locations each night. So, for me, this makes the tent is one of the most important purchases for a bicycle tour.

I did a lot of research before deciding on the Copper Spur UL 2 tent for our touring tent.

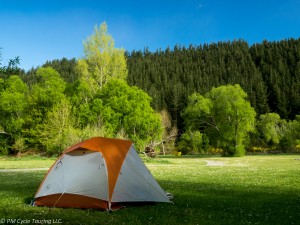
a tent set up in a field with a forest surrounding it
Big Agnes Copper Spur UL 2


First off, the pros:

  • Two “rainbow” doors, one on each side. This means that we each had a side to enter and exit the tent, and weren’t crawling over each other to get in and out. This turned out to be even better than I thought it would.
    • The one person tent only has one door and vestibule.
  • The tent, rainfly, and poles weigh in at 1400 g. and the 2014 version coming in 125 g. lighter. This tent is truly lightweight.
  • Easy to set up and take down (even with just one person). At the end of the day, this tent went up quickly with either one or two of us setting it up.
  • Head space.
    • Matt is 6’2” and I’m 5’6” and there was plenty of headroom for both of us to sit up in the tent. Previous lightweight tents that we’ve had skimped on headspace to save weight, but the Copper Spur left more than enough room for comfort.
  • Adequate ventilation.
    • Nothing is worse than waking up to bedding that is saturated with condensation. We found no problems with this tent throughout our entire tour.
  • Durable.
    • Stood up to 60+mph winds on our most recent tour.

Cons:

  • Footprint
    • Does not provide protection against thorns
    • Not included with the tent/needs to be purchased separately
  • Color
    • The bright orange doesn’t lend very well to stealth camping.


What’s changed on the 2014 model: The 2014 model is very similar to last year’s model, only slightly lighter. We have not had a chance to try the new version out.

We highly recommend this tent for bicycle touring. The Big Agnes Copper Spur comes in a single person as well as three-man and four -man versions. The single might be a bit small for a larger (taller) person, so keep that in mind. What are some things you look for in a tent? Let us know in the comments below!

Disclaimer: This review contains my personal opinions. I have not received any compensation by the manufacturer for this review. This review is for informational purposes only. If you click the Amazon link and make a purchase, we will receive a small commission.