- Realize your tire is flat and stop your bicycle. Look for a safe place off the side of the road to change the tire. You don’t want to be doing this on a blind curve.
- Take off all your panniers and water bottles, otherwise your bicycle will be too heavy to flip and/or you will have things falling off your bicycle.
- Turn your bicycle upside down, and remove the wheel from the bicycle.
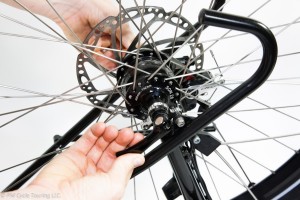
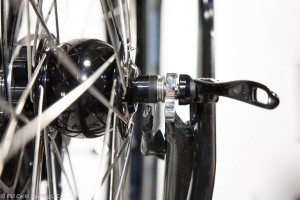
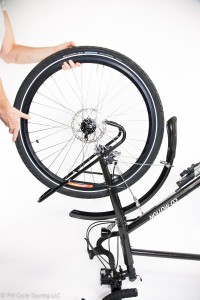
- Visually inspect the tire. You may find the culprit. If you do find something, don’t assume that’s the only one. There could be more than one hole in the tube.
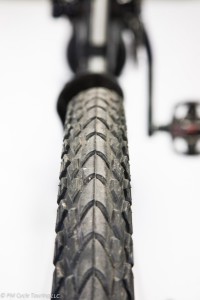
- Release any air left in the tube.
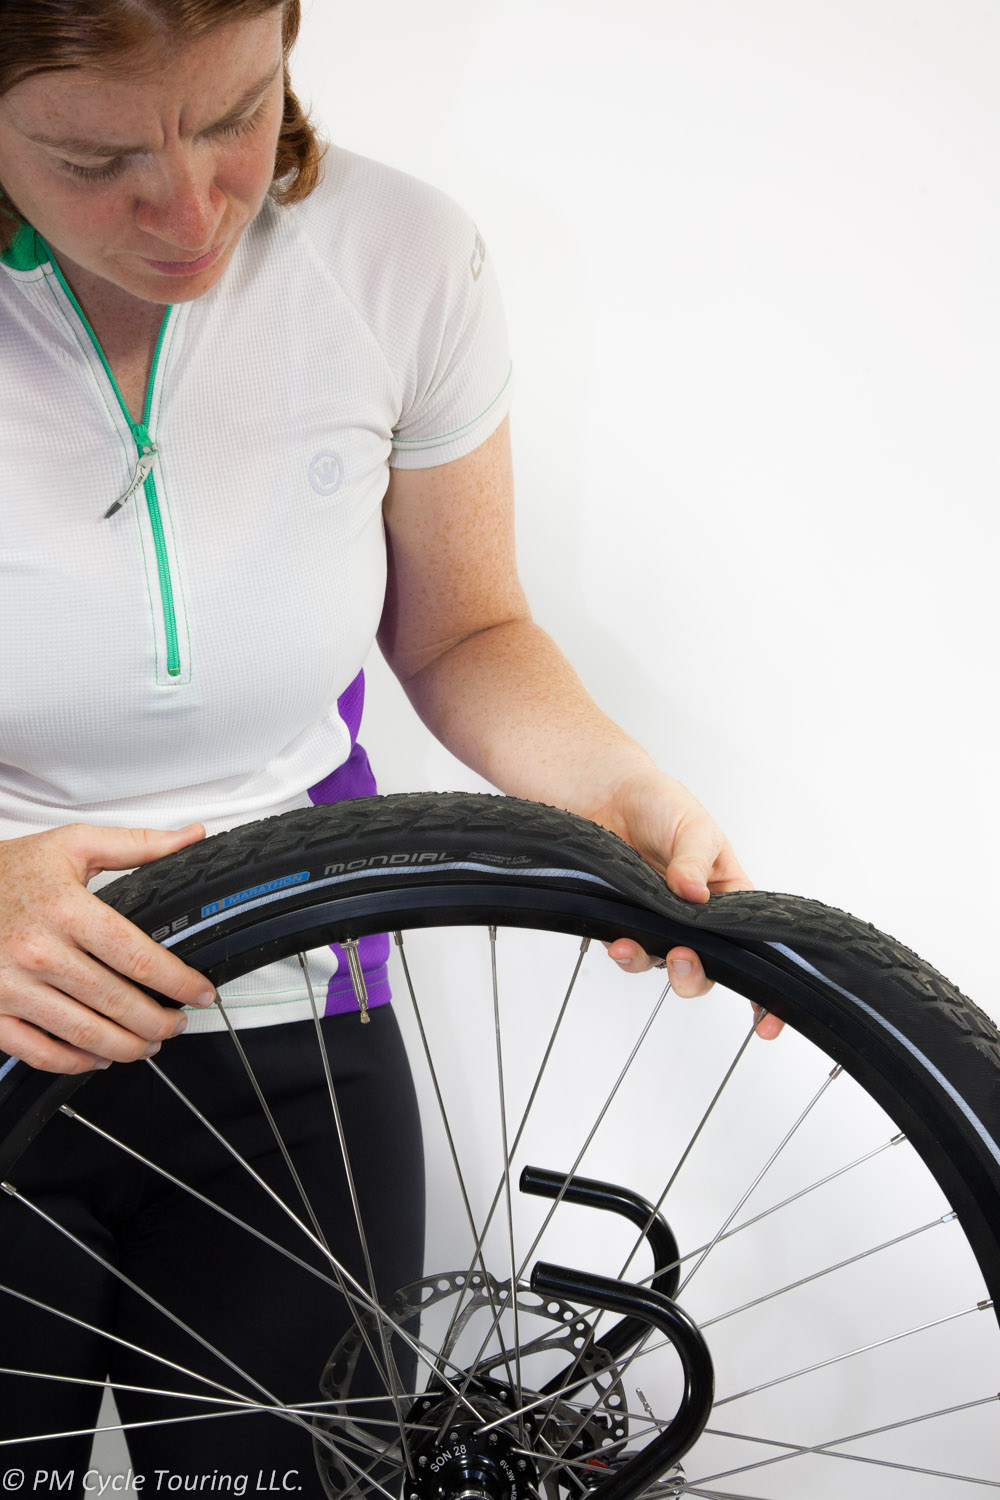
- Using tire levers, lift up one side of the tire to remove it from the rim, all the way around.
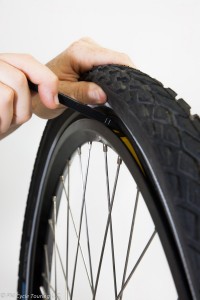
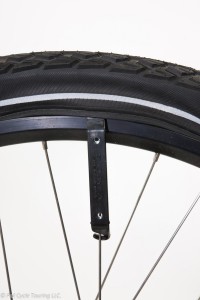
- If present, unscrew the nut on the valve so it can be removed from the wheel.
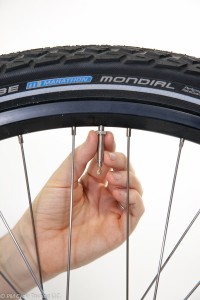
- With the leak located, patch the tube. Follow the directions on your patch kit. We prefer the patches that are peel and stick, they work just as well as glue and are easier to apply and get pedaling.
- Decide if you are going to replace the tube or reuse the just patched one. Put one side of the tire back onto the wheel, and lay the tube inside. Make sure the tube is not twisted. I like to inflate it just slightly here.
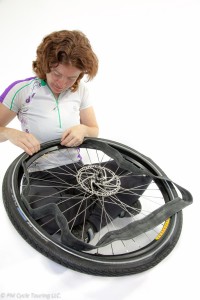
- Using tire levers, or your hands, reseat the tire onto the wheel.
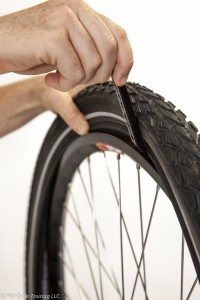
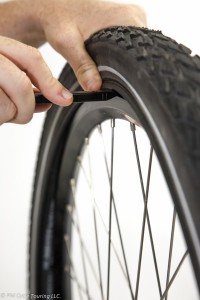 Make sure the tube is not pinched between the tire and the wheel, and that the bead of the tire is seated properly in the hook of the rim.
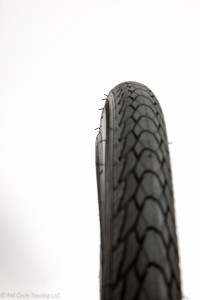
- Re-inflate the tube halfway watching for any signs of the wheel slipping off the wheel.
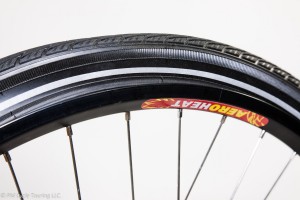 Make sure the tire is seated on the wheel all the way around. Bounce the tire on the ground a few times to settle the tire on the seat and the tube inside the tire.
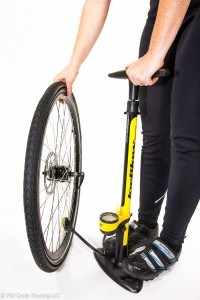
- Inflate the rest of the way and replace the wheel on the bike. Turn the bicycle upright, replace all panniers and water bottles, make sure your light is on, and congratulate yourself on a job well done.
On a related note, what if the flat tire is caused by damage to the tire itself? For example, the tire has been damaged and is now rubbing the tube, causing constant flats. One great remedy is using a dollar bill. Place the bill inside the tire, next to the tube. This creates a barrier and protects the tube until a more permanent solution can be found. Another thing that could help is rotating the tires. If the damaged tire is the rear, which is carrying most of the weight, you may want to rotate the tire to the front where it will be subject to less stress than the rear. That might save you from having to change it a few times, at least.
Do you have any tips or tricks you want to share? Feel free to leave a comment below!
One thing that made it a lot easier for me to detect a leak is by removing the tube, and rotating it under a shallow tub of water. The bubbles will show exactly where it’s coming from 🙂 Granted, it’s difficult getting the tire back on, but I’m getting better at it each time.