Pros and Cons of Carbon Fiber Touring

For long distance touring you might think that heavy, steel framed bikes are the only way to go. Not so! I recently completed a 2500 mile bicycle tour on a carbon fiber “light touring” bicycle. I want to share why I chose a carbon fiber bike and my experience riding 2500 miles of the Southern Tier. Let’s take a look at some of the pros and cons:

Pros.

  • Speed. I could go so much faster!
  • Exertion. I was not as tired at the end of the day.
  • Weight. I was forced to choose lighter gear

Cons.

  • Limited on how much I could carry.
  • Worried about durability
  • Repairabliliy

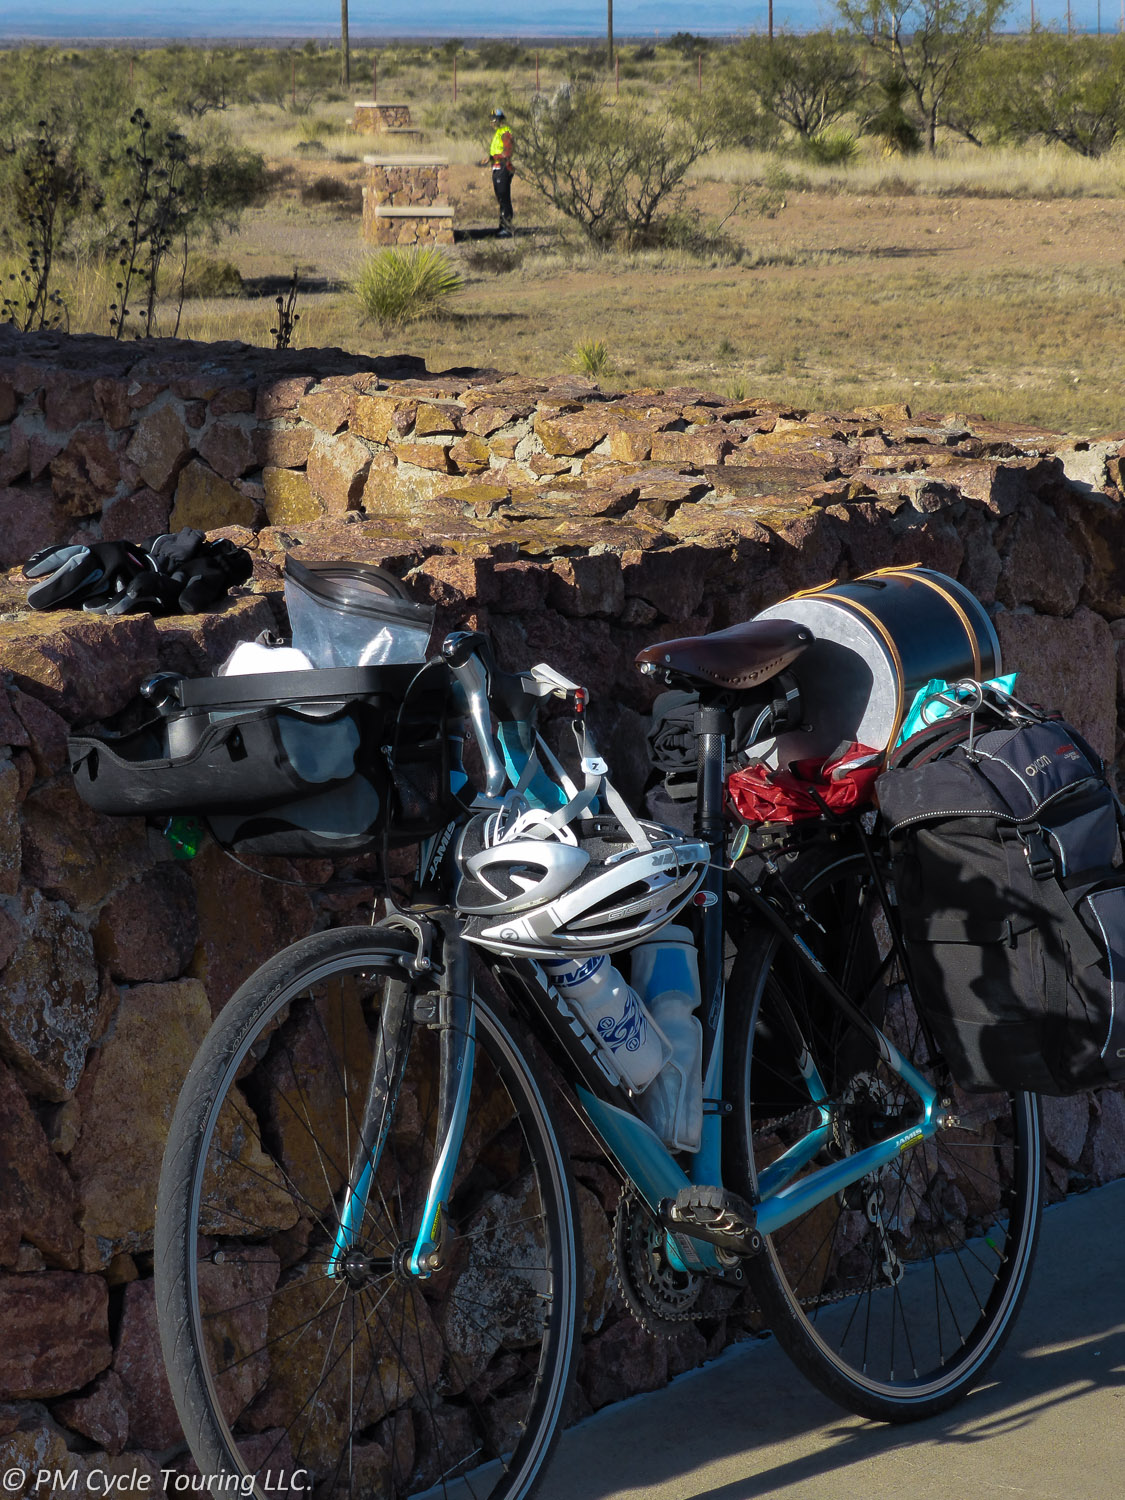
Weight Limit. Let’s address the cons first. My Jamis Xenith Endura Sport Femme was rated to carry ~40 pounds of gear. Most of the gear I had from previous tours was heavy so I was concerned about putting too much weight on the bike. To address this concern, I purchased new, lighter, more compact gear.

Durability. Additionally I was worried about the durability of carbon fiber. I rode 2500 miles over various road surfaces. This including about 1,000 miles of rough Texas chipseal! If any surface was going to vibrate my bike to pieces it would have been the rough Texas roads, which are some of the roughest surfaces in the United States! I even did a little bit of off-roading, riding on dirt, mud, and gravel.

Repairablility. I was pretty nervous that something would happen to my bicycle along the way. If any damage were to happen to the frame, it would involve a new bike instead of a simple weld like with steel-framed bikes. However, I had no issues in over 2500 miles of loaded touring and the bike is still going strong.

Speed. Now for the pros. My bike weighed in around 17 pounds and my gear weighed 25, my total weight came in just over the unloaded weight of my steel-framed Raleigh Sojourn. By reducing my overall weight, I was able to travel much faster and my average speed went through the roof!

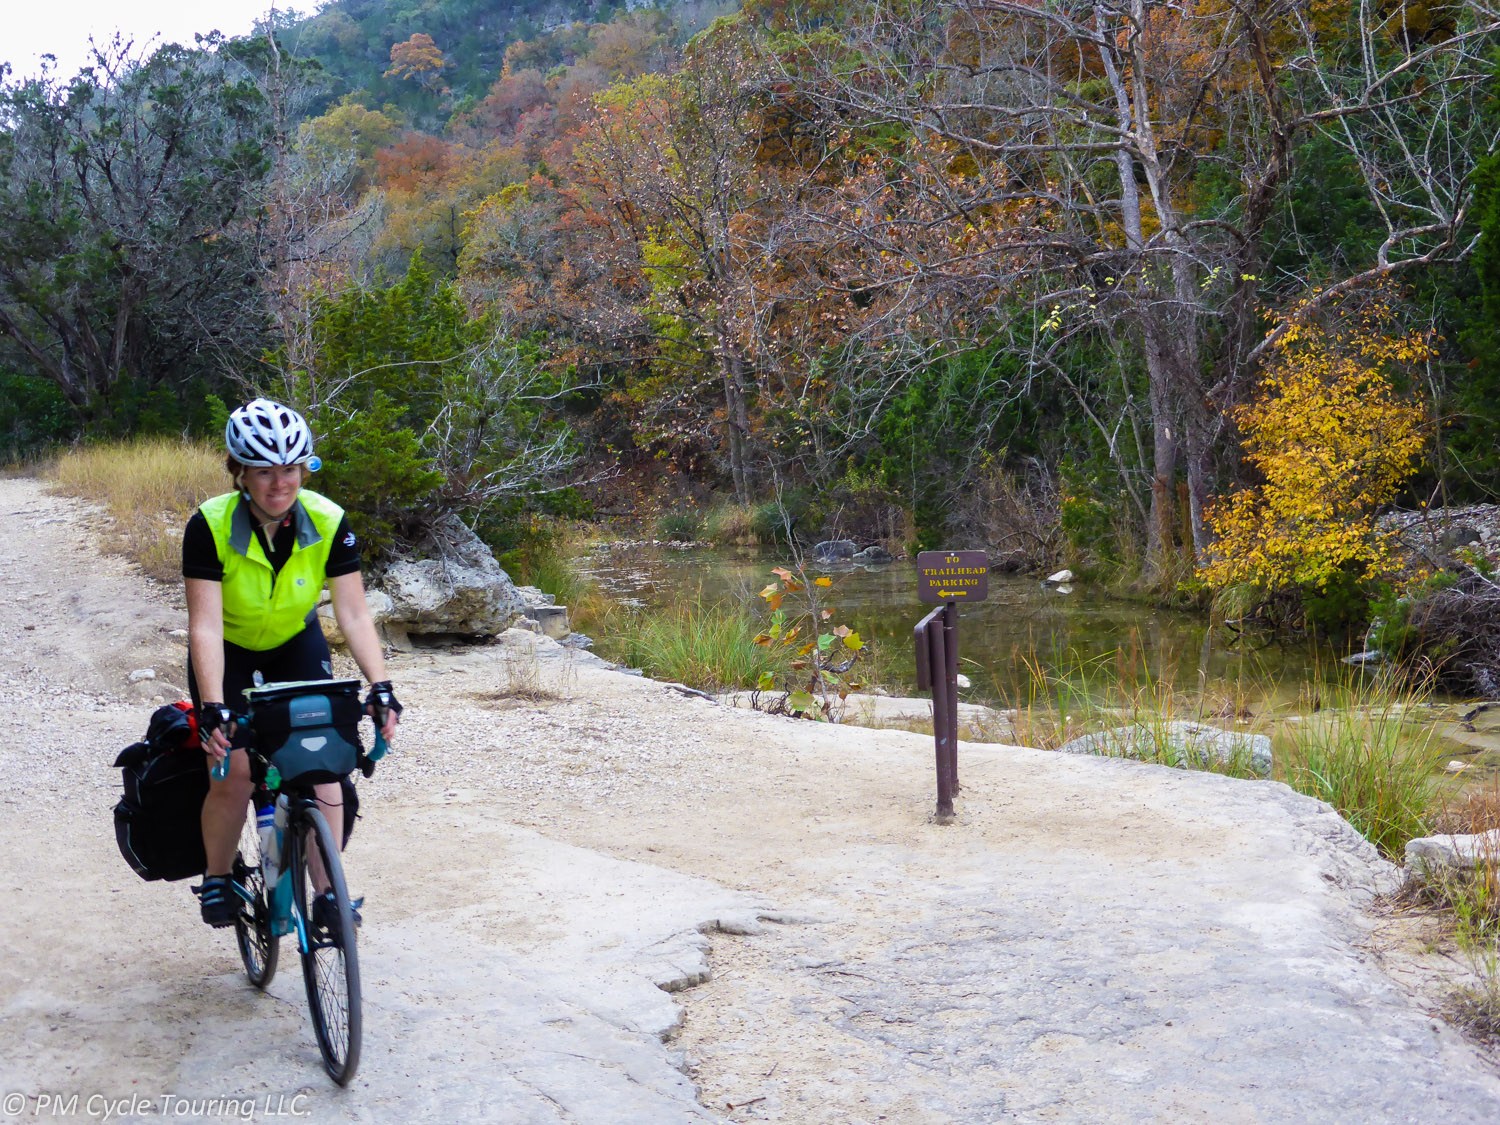
Enjoyable. At the end of the day I wasn’t nearly as tired because I wasn’t pushing as much weight. While I had less space to pack gear, this is also a benefit, because you can’t over pack if you don’t have room. If you sum all of this up I found that with my carbon fiber touring bike, self-supported touring was much more enjoyable. My days felt lighter and easier allowing me to enjoy the views and travel much more.

Some bike manufacturers are experimenting with creating carbon bicycles which are definitely suitable for touring: the rims can take wider tires, the gearing is better suited for climbing hills, the rack mounts are already there. When you’re planning your next tour, don’t discount the carbon. You could find your next favorite touring bike, just watch out for the price tag!


The Perks of Ultralight Touring

Before our latest bicycle tour, I attended a class at a local sporting goods store. The class was all about the ultralight movement as it related to hiking and backpacking. While they didn’t address bicycle touring, the principles taught easily converted to touring. We applied some of those principles on our tour, and here’s what we found to be the best benefits of going ultralight.

Energy. As a bicycle becomes more and more loaded with gear, it becomes more and more challenging to ride. It simply takes more energy to pedal. As you reduce the weight of the bicycle and gear, you reduce the energy required for pushing the bike and increase the amount of energy you have left over at the end of the day. This means you can enjoy your time off the bike even more. For me, it meant I had the energy to explore the campground or the town after the day’s ride. I found my bicycle tour was much more enjoyable because of this.

Pace. Another advantage of ultralight touring is a faster average pace. This might seem like a small thing, but it meant less time overall riding. Which meant I had more time for other things (like sleeping or exploring). Plus, with a higher average speed, I felt like I could take more detours and pause more often without adding a lot of time to the day’s ride. This was key since we were riding while the days were at their shortest and we needed to maximize the daylight we had.

Less Stuff. When you completely convert to the ultralight mindset, this means your gear, all of your gear, becomes lighter and more compact. You reduce the number or size of your panniers. This in turn limits the amount of stuff you can bring, which brings your weight down even more. It self-perpetuates in a very cool way!

Hill climbs. My favorite thing about ultralight touring is how much easier it is to climb the tough hills with less weight. Sure, over time your legs become stronger and hills become less challenging. But starting off with less and lighter gear means those first hills of the trip aren’t your downfall.

Yes, there are some cons to going ultralight. Converting your gear can be costly, since “ultralight” is usually synonymous with “expensive.” But, changing out a few key pieces can get you going in the ultralight direction. Later, we’ll be discussing various ways to go ultralight.


Ultralight touring: how to reduce your gear weight

Bicycle touring historically has involved big heavy bikes with big, heavy gear. But carrying all that weight day after day can really wear you down. An alternative is joining the ultralight touring movement. This is gaining in popularity in many sports such as hiking and backpacking, and now cycle touring. The key to ultralight touring is to minimize the weight or your gear as well as have each item serve multiple purposes. Here’s some ideas to get you headed in the ultralight direction.

Panniers. One of the major areas you can save weight is by reducing the number of panniers and racks. Each pannier and weight of the rack adds up. Removing the front rack and front two panniers from Matt’s touring bike removed over 6 pounds! Plus, the fewer panniers you take means less space to carry stuff which forces you to carry less. Considering that most people over pack this will force you to discard unnecessary items. When we tour as a couple we only require two large panniers on each bike.

Camping Gear. Camping gear is also usually easy to target for weight reduction. Modern sleeping bags and tents come in a wide range of weight classes. The only concern is to strike a balance between lightweight and your warmth requirements. For sleeping bags check out some small manufactures like ZPacks. Matt’s 20F down sleeping bag weighs in at just a hair over 1 pound. When selecting a tent going lightweight can easily shed several pounds. Finally that nice memory foam sleeping pad which weighs 10 pounds can easily be replaced by a new inflatable pad measured in grams. Shave ounces, and sometimes pounds, by choosing the right equipment. The weight of the bike is another key place to reduce weight. Steel is the heaviest. Aluminum is intermediate, and carbon fiber is the lightest. While a lot of emphasis is put on the material of the frame, typically the components of the bike and wheels end up adding more to the total weight of the bike than the just the frame. Trimming down the weight of the bike can start off relatively simple, but can get expensive quickly so make sure there aren’t other areas your money can be better spent.

Cooking equipment. As you get into the ultralight mindset, you are going to have to start looking further into your gear list and instead of shedding pounds at a time you will be working on grams. Cooking equipment is a prime place to look at fine tuning your weight. Titanium pots, pans, and stoves are lightweight and durable components which should last for years. There are a lot of backpacking stoves that are measured in grams, with fuel bottles that are much lighter than the heavy Coleman varieties. For eating utensils plastic can be just as light as titanium and much cheaper.

Multiple uses. Another thing to think about is having multiple uses for each piece of equipment you have. For example, instead of bringing a windbreaker, we just brought our rain jackets and used them as windbreakers on and off the bike. Our rain pants added an extra layer for warmth.  Our down vests were used mainly for off-the-bike comfort, but also as an extra layer for on-the-bike warmth. We only brought one extra bowl for meals, using our cooking pot as another bowl.  The Schnozzel Bag acted as a storage sack for the air pads and pillows. Our emergency space blanket had many functions. We used it as a ground cover for our tent as well as a picnic blanket. On our coldest night it covered our tent, keeping us even warmer.

Hopefully this gives you a place to get started with pursuing ultra-lightweight touring. We went from an estimated 75lbs of gear to just 40lb on our most recent tour (Check out our packing list). Remember that every pound of weight that you reduce is a pound you don’t have to carry for the duration of the tour.

To get started don’t feel like you have to change out everything you have. By swapping out a few key pieces of gear you can get started in the ultralight direction. Who knows? You might soon be cutting off tags and weighing each item down to the gram (like Matt did before our last tour). Be careful, it can be addicting and expensive!

Disclaimer:
All opinions about any products mentioned in this article are my own. I have not been compensated in any way by anyone. I will, however, receive a small commission if you choose to purchase the item from Amazon after clicking the link I provide. Use your own discretion.