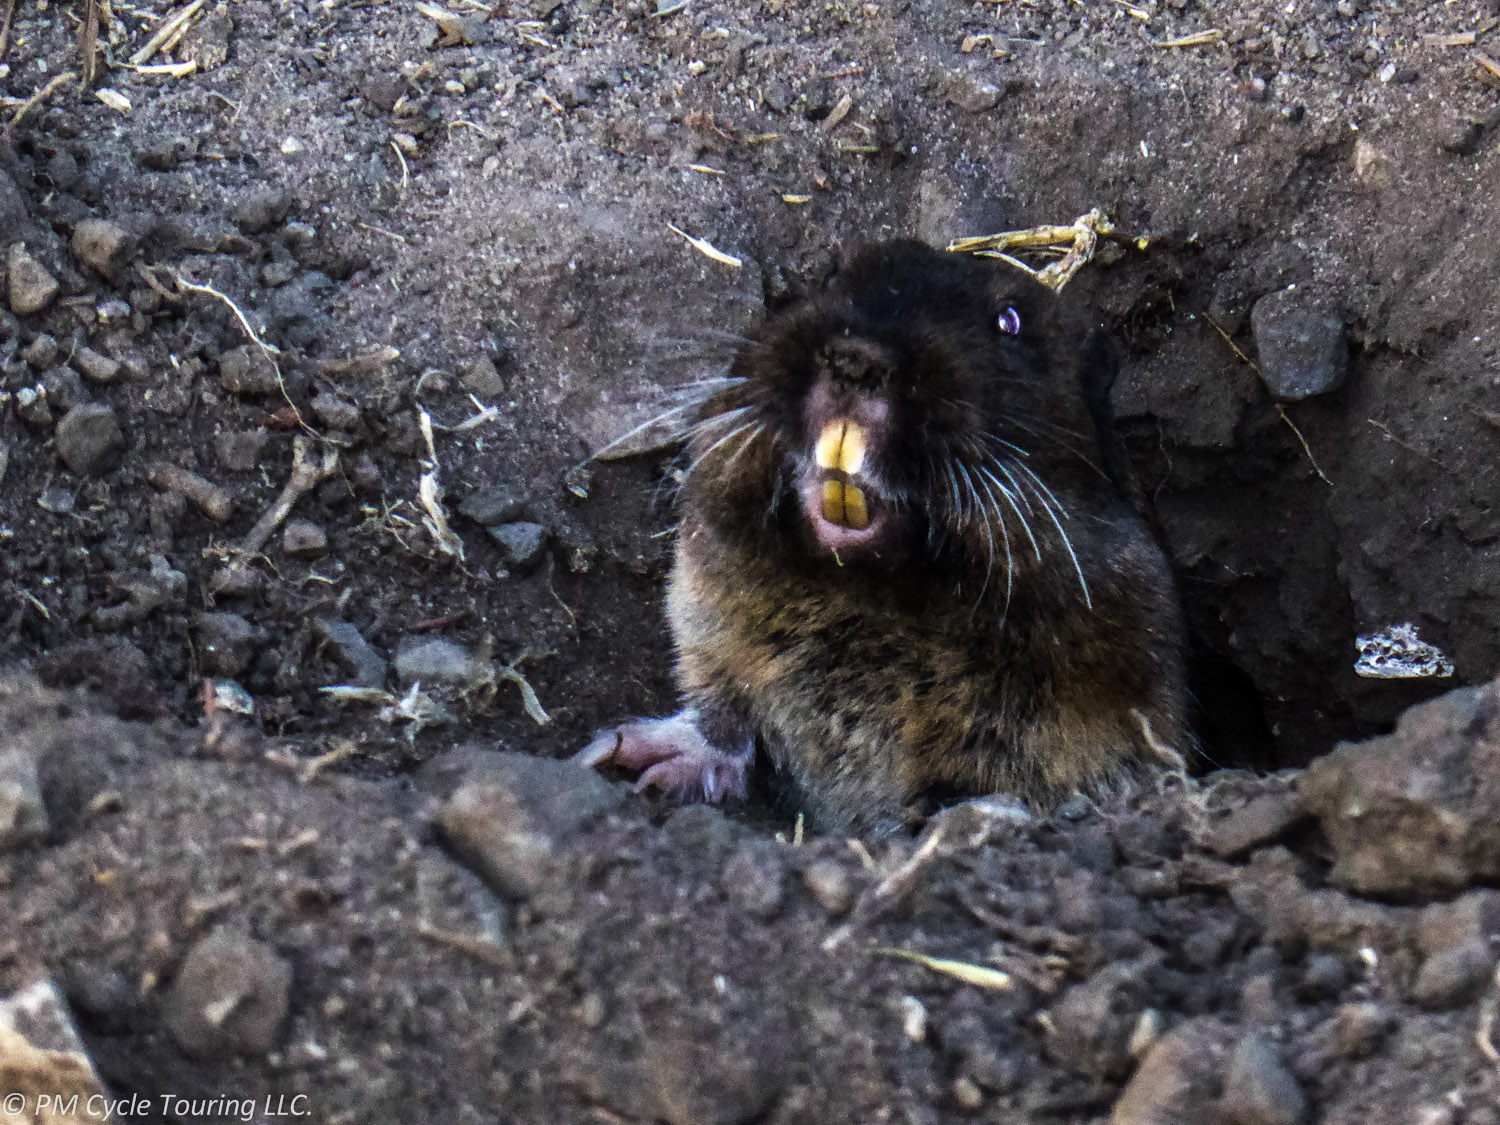
Don’t feed the wildlife

Two weeks into our first bicycle tour, we set up our camp the same way we had the previous 13 nights. We put all of our panniers tied together hanging from a tree limb. Moments after we crawled into our tent for the night, we heard a commotion outside. Matt investigated, only to find raccoons fighting over our panniers and the food inside. They were vicious! He had to fight them off, and with no better option, we brought the panniers into the tent with us for the night, terrified the raccoons would come clawing through our tent. There had to be a better way!

One of the joys of bicycle touring is getting back to nature. Bicycle tours can take you to remote places, where it’s just you and nature in all its glory. Unfortunately, wildlife encounters can turn an enjoyable tour into a nightmare. There’s a few things you can do before you set out that can make all the difference.

Bear can: We found this is the most convenient method of keeping the critters out of your food. Raccoons, rats, skunks, possums, and other nocturnal animals can be very persistent when it comes to going after food, and in some areas bears can be a huge problem. Keep in mind that smells from any food items will linger on your belongings and tempt the animals. Panniers are not animal resistant! A bear canister will prevent any animals from getting your food (and may even be required depending on where you’re going). You should keep everything that smells (toiletries included) in the bear proof container. On our latest tour we used the Bearikade (the Weekender size), and highly recommend it.

At night, place the bear can at least 100 yards from where you’re sleeping (if there’s bears) and make sure it’s in a safe place-that is, it won’t roll off a cliff or into a river or other natural hazard. The bear proof container won’t keep the critters from smelling the food, it will just make it impossible for them to get to it. They will invariably check it out, and maybe even claw at it for a moment; after some time they’ll probably get tired of it, and your breakfast will be safe for the morning.

We found it to be very convenient and easy to use the bear can. It kept our panniers from getting smelly or dirty, and the food was always easy to access. When we came it camp we could just leave our panniers on the bicycles and not have to worry about anything clawing at them. It made camping very simple and less stressful.

Bear box: Some campsites will have bear boxes to put your food in. Again, don’t limit what you put in it to food; put all toiletries into them as well. This means all sunscreen, lip balm, toothpaste, etc. If there is no bear box available, but there have been critter sightings, check to see if it would be ok to leave your panniers in the restroom. A lot of times the door will be enough of a deterrent to the smaller animals. Be careful in some bear areas, though, because they are smart enough to get in. Check with the ranger or camp host to find out the best thing to do with your food.

Smell proof bags: These can be a deterrent, however they should not be your only protection. Smell proof bags are a great place to put your snacks for the day in. This can help you reduce the smell of food in your panniers or handlebar bag. We used these bags on our latest tour and had no issues with animals.

Bring your food in your tent: This is one of the oldest trick in the books and many people swear by this method. Make sure that the food is only in your tent while you are in the tent with it, if you leave food unattended animals may claw through your tent. While we have done this in the past, I hesitate to do this now. It could teach animals that a tent means food and seems risky versus our positive experiences with our Bearikade.

Bottom line: be smart. Think about your food and what you’re going to do with it. Make it as difficult as possible for animals to get it. You’ll be glad you did and sleep better if you aren’t worrying about it.
Unpacking and putting together a boxed touring bike

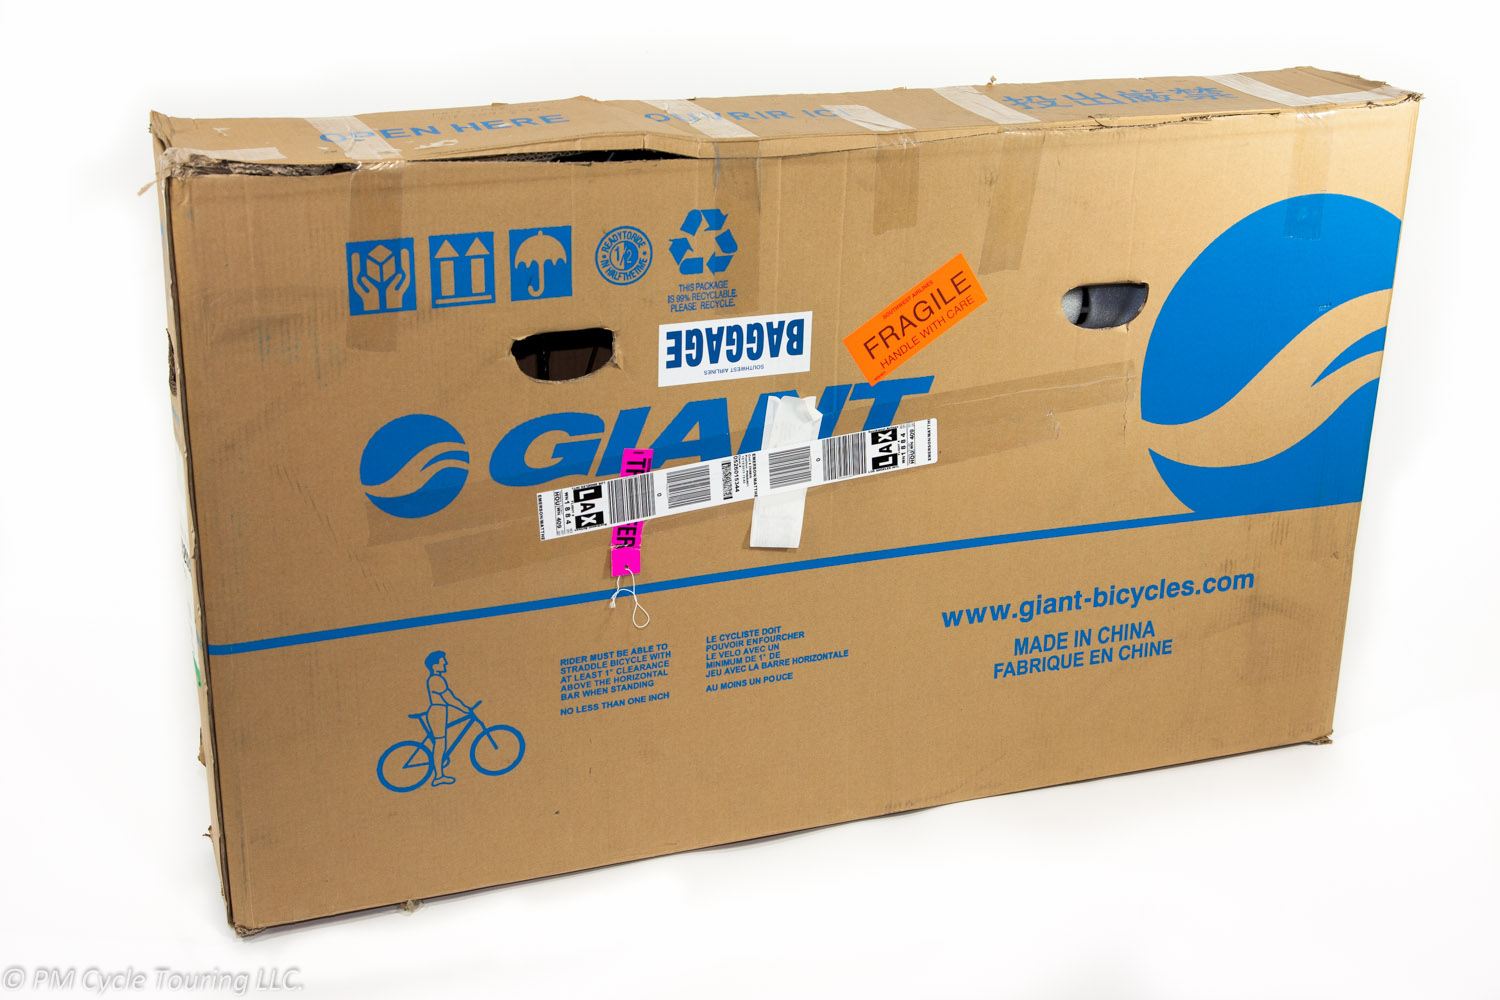
For our first tour we flew from Los Angeles to Seattle and had our bicycles boxed up. We had never really thought about how to put the bicycles back together once we got there. I suppose we just assumed it would be super easy. Thankfully our host had a bicycle stand and some tools to help us get them back together, but it was close to being an unpleasant experience. In response to that here is our guide to taking a bicycle from boxed to ready to ride.

Review this before you leave for your tour and reference if needed during your tour:

  1. Get your boxed bike and an open area to begin putting it together.
  2. After removing your bicycle assess how dis-assembled it is. If you had a shop pack it up some equipment may still be attached compared to our walk through, or it may be further dis-assembled.
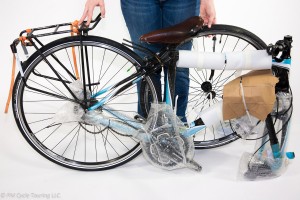
    Bicycle after removal from box, still contains packing material.
  3. Remove any excess packing material
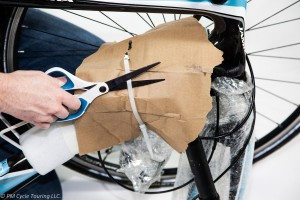
    Hand with scissors cutting zip tie holding packing material on the bicycle.
  4. Attaching the rear derailleur
    1. Shifting to the highest gear on the rear shifter should give you extra slack in the cable.
    2. The chain does not need to be on the f ront cogs, it may be easier with it off allowing free movement of the derailleur.
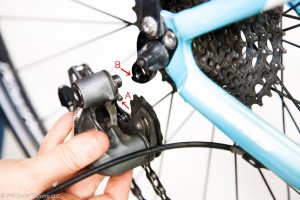
    3. There will be one large screw on the rear derailleur which screws into the frame. Additionally there will be a smaller screw which is perpendicular to the large screw (A in the picture). Make sure this screw ends up resting on the notch of the derailleur hanger (B in the picture). If you aren’t paying attention you may tighten the big screw and bend the smaller screw, so make sure you keep an eye on this while tightening the rear derailleur!
      Hand holding rear derailleur near bicycle frame before attaching it.
    4. Once the rear derailleur is attached you can position the chain properly on the front and back cogs.
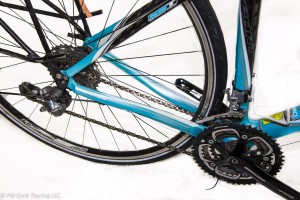
      Rear triangle of the bicycle with rear derailleur attached and chain on.
  5. Positioning the stem
    1. Prior to packing your bike you should use a metallic sharpie to mark the angle / position of your stem/handlebars
    2. Rotate your fork so that it is facing the proper direction.
    3. We find it best to have the fork or front wheel on the ground while working with the stem/fork, if you loosen the wrong part the entire fork may fall out if the bike is on a rack or has the fork unsupported.
    4. If needed loosen the stem and position it so it is pointing in the proper direction, straight away from the bike. Tighten if needed so the stem is firmly attached to fork.
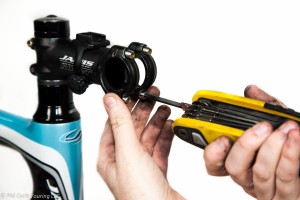
    5. Loosen the handlebar mount portion of the stem.
      Hands unscrewing the front part of the stem prior to attaching the handlebars.
    6. Insert the handlebars and align the marks you made before you left to get the handlebars centered and at the proper angle.
      Rear triangle of the bicycle with rear derailleur attached and chain on.
    7. Tighten all screws firmly.
  6. Attaching the front wheel
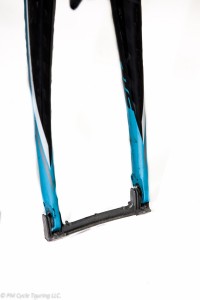
    1. If packed with a plastic spacer, simply remove the spacer. This may require applying gentle pressure to pull the fork a little apart.
      Front fork with plastic spacer to prevent bending during transit.
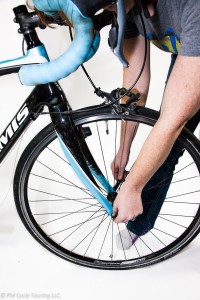
    2. Attach the front wheel as you normally would. You should be familiar with this because you will be needing to change flat tires while on the road.
      Installing the front wheel on to the fork.
  7. Attaching the front caliper brakes
    1. Locate the front brakes and the mounting hole in the front fork.
      Positioning the front brake calipers before attaching to the fork.
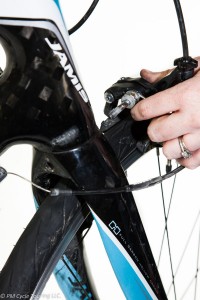
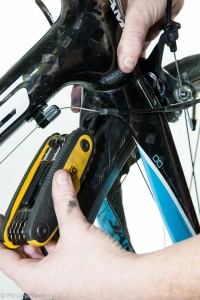
    2. Slide the bolt through the mounting hole and thread the tightening piece from the other side. Use an Allen wrench to tighten, snug but not over tight.
      Tightening the front brake calipers to the fork.
  8. Finishing Assembly
    1. Check all cables to ensure they are in the proper mounting holes. As needed re-guide or re-position cables to their appropriate positions.
    2. For the rear derailleur
      1. Ensure the cable routed properly along or through the frame from the handle bars to the derailleur.
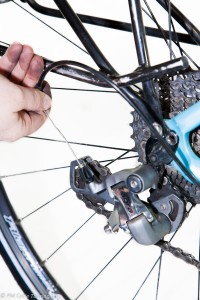
      2. Thread the cable through the derailleur, but don’t tighten it just yet.
        Hand threading cable through rear derailleur on a bicycle
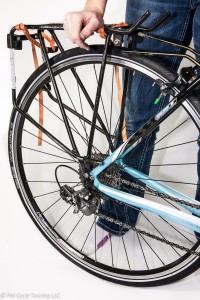
    3. Attach your racks to the appropriate mounting points and ensure all screws are tight, including screws that remained installed during transit. You are about to embark on a tour and you don’t want your bike falling apart because you failed to check a screw tight.
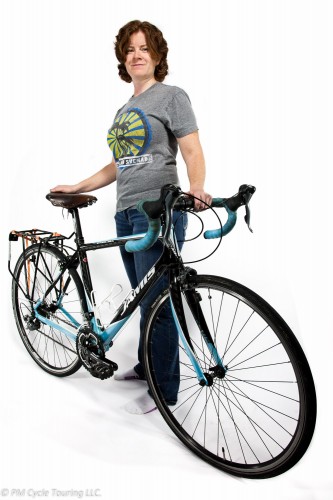
      Girl hold bicycle with rear rack attached to back.
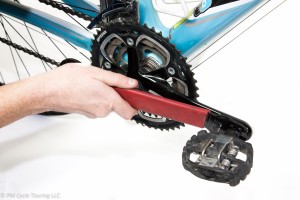
    4. Using a pedal wrench attach the pedals. One pedal is threaded “normal” (tighten by turning clockwise) the other pedal is threaded “backwards” (turn counterclockwise to tighten).
      Pedal wrench attaching pedal to crank.


  9. Adjust the rear derailleur
    1. While this is a necessary part of putting your bike together we have included a separate guide. Look for a future post explaining how to do this!
  10.  Stand back and admire your completed bike. Now get out there and ride!
    2014-03-07 2038 PMCT-6

If you have any questions feel free to leave them in the comments, or if you noticed that I missed something tell me. I hope this helps people get a feel for taking a bicycle from boxed to ready to ride.