Bicycle Repair Equipment: 5 Must-haves for your next tour

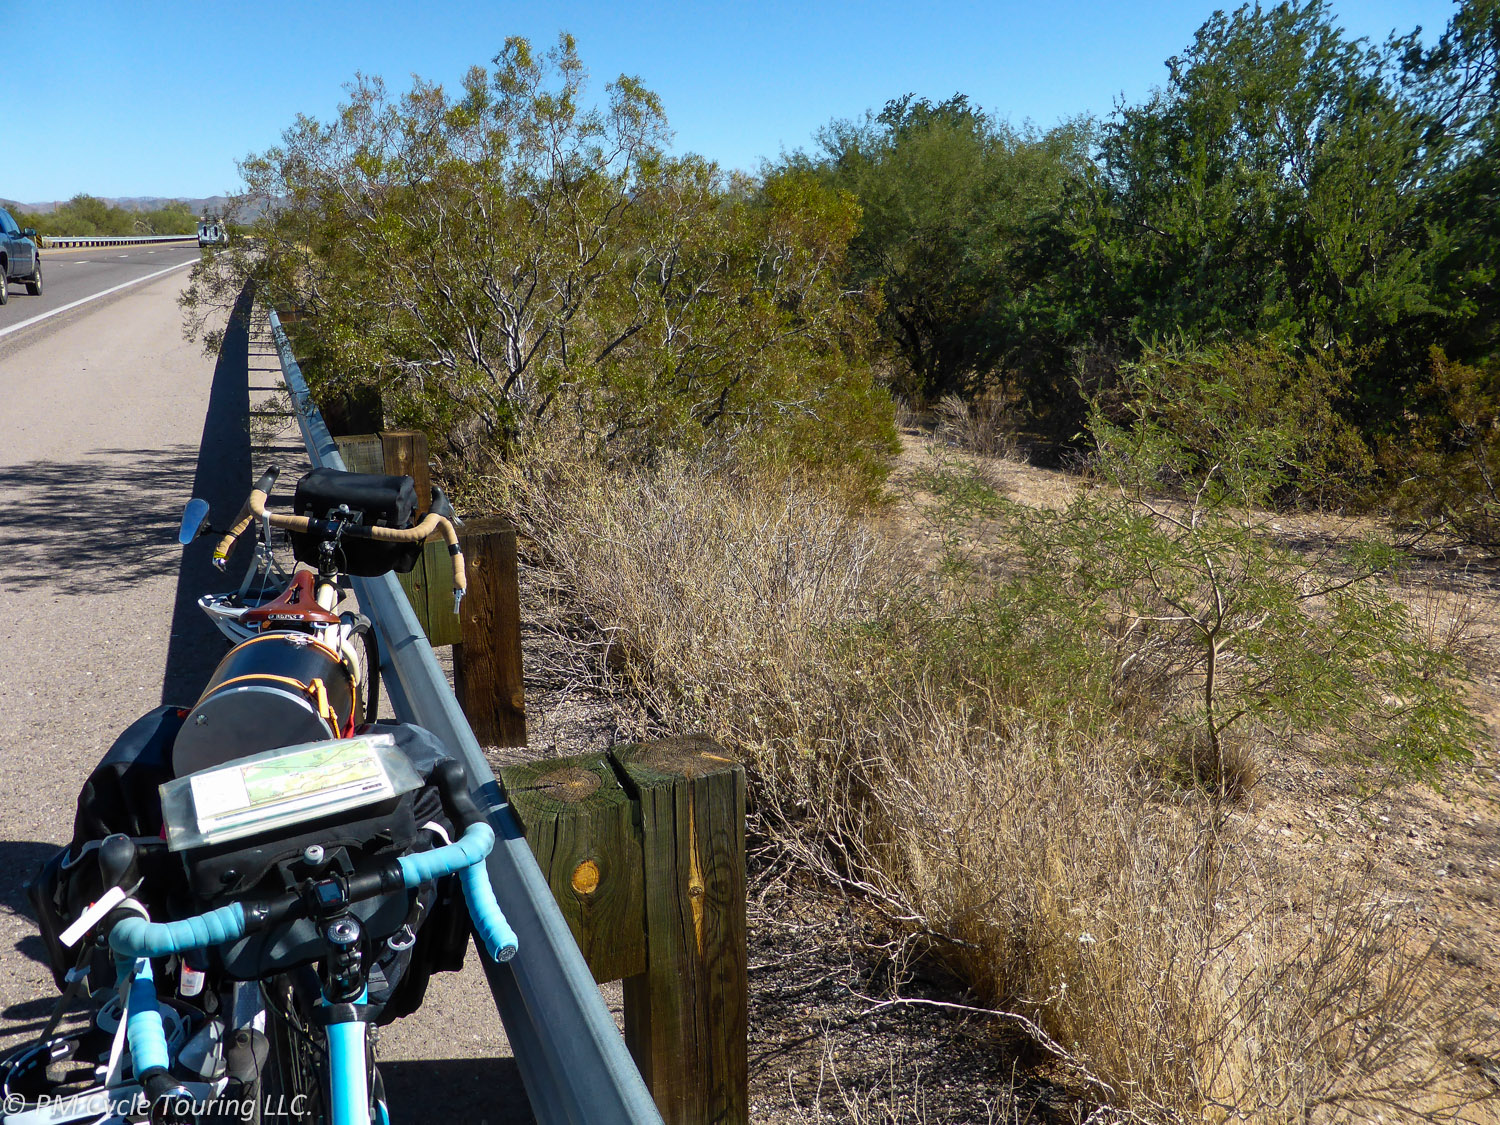
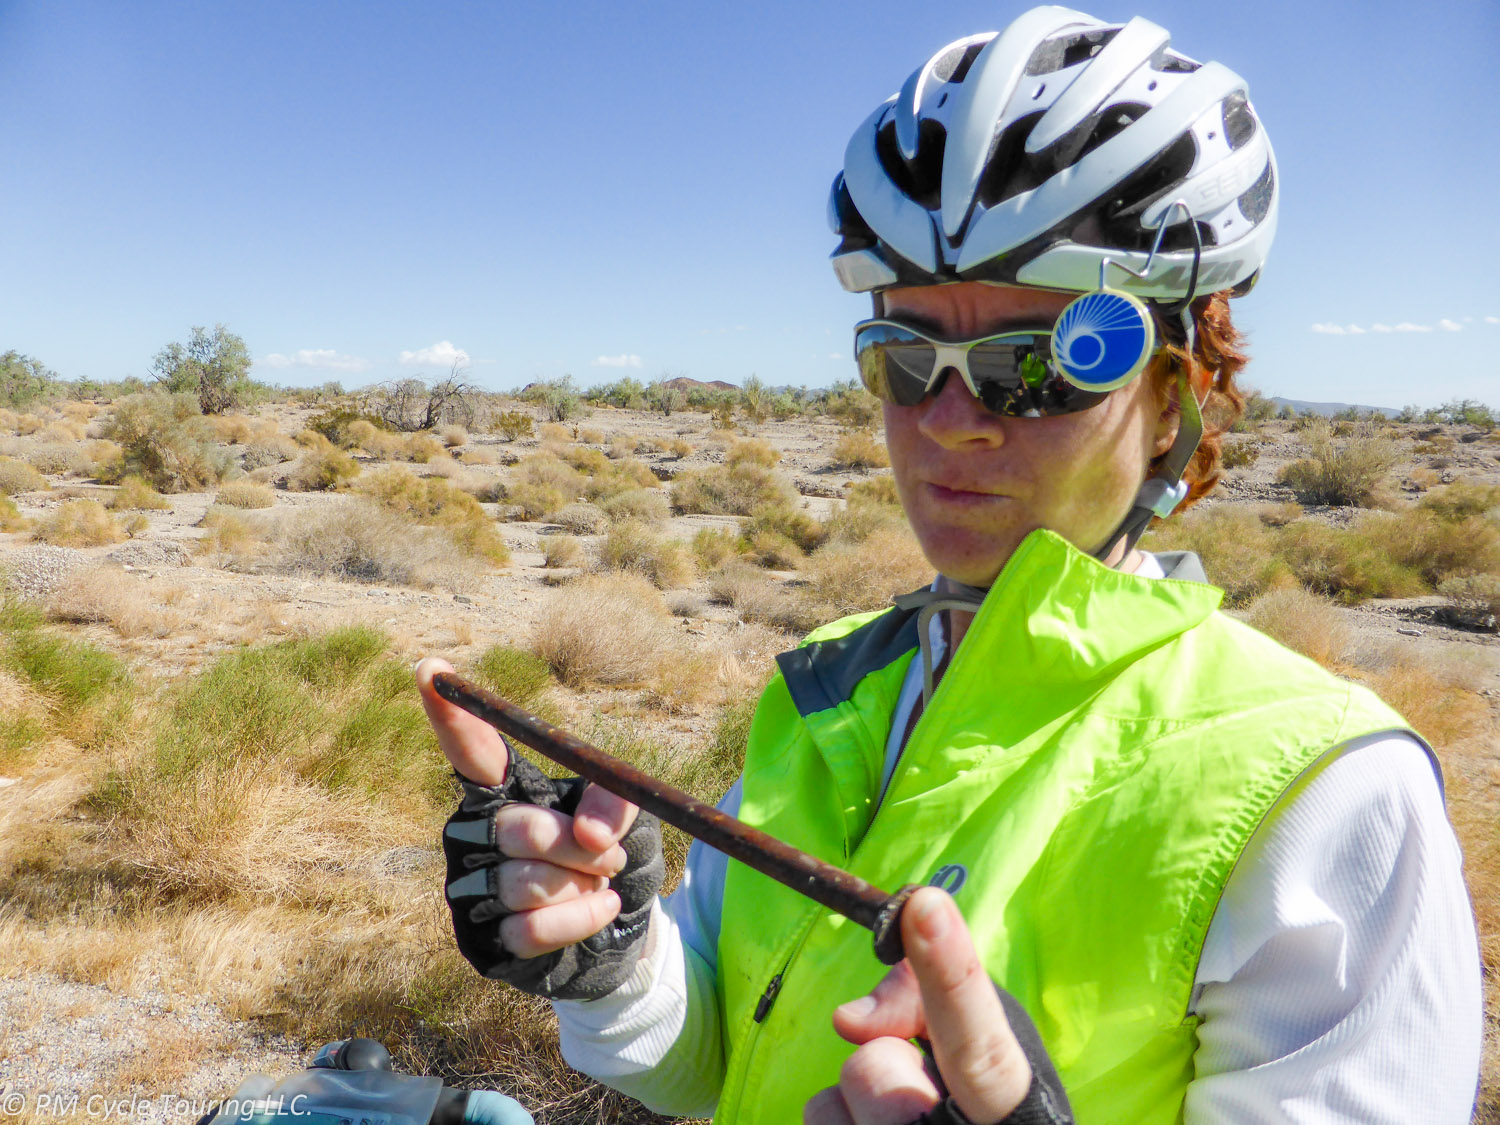
Where you plan to tour and how long you’ll be out there play a big factor in deciding how much repair equipment to bring. If your tour is in the US on highway and state roads, chances are that you can get away with bringing fewer repair items. However, if you are touring in the Siberian Tundra, you might want to bring everything, including a spare bike if you can! Here are 5 things I think every cycle tourist should bring.

  1. Multitool. Do not leave home without it! Instead of having separate tools in varying sizes, the multitool makes it so much more convenient. You will need this at some point on the tour to make adjustments, or to make repairs. A proper bicycle multitool with the appropriate sizes for your bicycle is very, very important. If you are going around the world the Topeak Alien III  has every tool you can cram in. For something simpler try the Avenir Woodsie 10.
  2. Spare tubes. Even with the world’s best, toughest tires, you will have a flat tire at some point on the tour. Road debris or nails or thorns will most likely cause a flat. Make sure you have at least two spares; we have had valves fall off and other oddities that would have left us stranded if we didn’t have more than one spare. Tube manufacturers recommend no more than 2 patches per tube, however we have easily doubled that. Slime tubes can help prevent tiny holes, but are still susceptible to large punctures; we found them less useful than we hoped. Tubeless tire systems are touted as being better, however a common complaint is the difficulty of riding with them. It is easiest to bring along spare tubes and know how to change a flat before you leave.
  3. Tire Levers. It is much easier to change a flat with these. They are usually cheap and you can pick them up at any bike shop or store that sells bicycles. Make sure you get a sturdy pair; the flimsy thin ones will break. They come in packs of three typically however two is all you really need.
  4. Hand Pump with Gauge. Many hand-held pumps are difficult to use and impossible to tell how much air is in the tire. With a gauge, you know you’re putting the right amount of air in. We’ve tried several small pumps and the Topeak Turbo Morph G Mountain Mini Pump  was by far the best. I would recommend it to any tourist.
  5. Duct Tape. When all else fails, duct tape can be the difference between having to walk and being able to hobble to a bike shop for repairs. We like to keep a roll wrapped around parts of our pannier racks for emergencies. You can use duct tape as a tire boot, to patch clothing/tents, an emergency bandage, and much more.

If you are traveling to extremely remote areas, consider bringing along some extra tools. For example, a chain tool, extra spokes, lube, extra tires, cassette removal tool, pedal wrench, and spare derailleur cables might come in handy. These tools all add weight and take up space, but might be necessary if you are hundreds (or thousands) of miles from the nearest bike shop.


Solar Panels and Bicycle Touring: Bushnell Mini Wrap Review

My husband and I were on a short 4 day training ride last summer. As with most bicycle tours, we found ourselves becoming friends with a fellow tourist and the obligatory checking out the different things he brought with him on his tour. We took particular interest in his solar panel for charging his phone and other electronics. This got me to thinking: maybe we should get a solar panel for our next tour. We checked out the various options and found that portable solar panel technology has come a long way.

We wanted a solar panel that was: lightweight, durable, and had a battery capable of holding a decent amount of charge. We ended up going with the Bushnell Mini Wrap solar charger for our 2,500 mile trek across the Southern Tier. The Mini Wrap met almost all of our needs and we were satisfied with the purchase. Here are our takeaways:

Product: Bushnell Mini Wrap

Weight: At just 96 grams, this solar panel is very lightweight. As a luxury item, I didn’t feel like it was too much extra weight to bring along. It also rolls up and takes up very little space.

Durability: Made of a flexible material, I didn’t feel like we were going to break this solar panel. We used Velcro to attach it to the top of our Bearikade can while riding. It laid around the can perfectly. The Bear Grylls version claims to be waterproof as well. We used it for one tour and haven’t really given it any more use since.The Bushnell Solar Mini Wrap laying over a Bearikade cannister

Functionality: This solar charger has a battery that charges up in about 10 hours of direct sunlight. It charges even on a cloudy day, it just takes longer. The battery also comes with a mini-usb in port so you can charge it using a wall outlet. The USB output means you can charge up your phone, camera, e-reader, or anything else that has a USB cord.Bushnell Solar Mini Wrap unrolled next to a 12 ounce can.

Cost: At around $60, this is a great addition to your cycle touring tool bag.

Recommendation: Highly recommended for sunny tours.


Disclaimer:
All opinions about any products mentioned in this article are my own. I have not been compensated in any way by anyone. I will, however, receive a small commission if you choose to purchase the item from Amazon after clicking the link I provide. Use your own discretion.

Cycle Touring Expenses

When you’re thinking of starting a bicycle tour, one of the things to consider is how much money you want to spend. A bicycle tourist can end up spending as much or as little as he or she wants.  You don’t have to be rich to tour; here are some tips to keep your costs down.

Bicycles. Bicycles come in many shapes and sizes, as well as material type. A great touring bicycle doesn’t have to be brand new or expensive. Check the classifieds or Craigslist to find a new-to-you bicycle. Also, your local bike shop might have the perfect second-hand bicycle. Ask your friends: maybe someone has a bike you can borrow. The bottom line is you need a bicycle to get you down the road, you don’t need anything fancy to get started. A simple bike with rack mounts and plenty of gearing will get you from point A to B as well as a custom built Co-Motion.

Lodging. Camping equipment costs, such as for tents and sleeping bags, can add up. You might think it would be cheaper to forgo camping for staying cheap motels, but going that route (also known as credit-card touring) can get quite expensive. Typical campsites (in the US) range from $5 a night to $25 a night for bicyclists. Hotels in popular tourist destinations can be more costly than you might expect, and can be in the $100s/night during peak tourist season. Be ready to spend some money on a quality tent, since it will shelter you from Mother Nature, and can actually help save you money in the long run.

Gear. In addition to camping gear, there’s clothing, bicycle repair equipment, and technology. Stay tuned for more posts on these!

Food. Before you leave, think about how you plan to eat out there on the road. You’ll be eating. A lot. You’ll need to think of meals as well as snacks. When I’m out there, I like to snack at least once an hour, or every 15 miles or so. I also make sure to have a nourishing breakfast, a hearty lunch, and a filling dinner. Cereal grains for breakfast keep me full until that first morning snack. Snacks tend to be much more expensive at convenience stores. Try to buy them at grocery store if you can and always be on the lookout for sales to stretch every tour dollar further.

My go-to lunch is PB&J (peanut butter and jelly sandwiches). It’s difficult to find a more filling, inexpensive meal. Neither jelly nor breads needs to be refrigerated if eaten within a couple days. If you save money on lunch, you may be able to afford to try out that local eatery for dinner without breaking the bank. You should definitely sample the local cuisine, after all, bicycle touring is about experiencing the flavor of an area.

To sum up: The four main things you need to tour are a bicycle, lodging, gear, and food. Touring can be done on any budget. Remember that you don’t have to spend a lot of money to have a great time on your tour. Shop around and find what works for you.