Hiker/Biker Campsite: Refugio State Beach, California

The Hiker/Biker (HB) site in Refugio State Beach is one of our favorite HB sites in the United States and is better than the nearby El Capitan State Beach sites. This site has it all, bathrooms, views, nice camping surfaces, and the sound of the waves crashing. However this campground is rather remote, there are no stores or food once you get out of Lompoc if heading southbound or Goleta if heading northbound. Plan accordingly.

Cost: $10 per person per night.

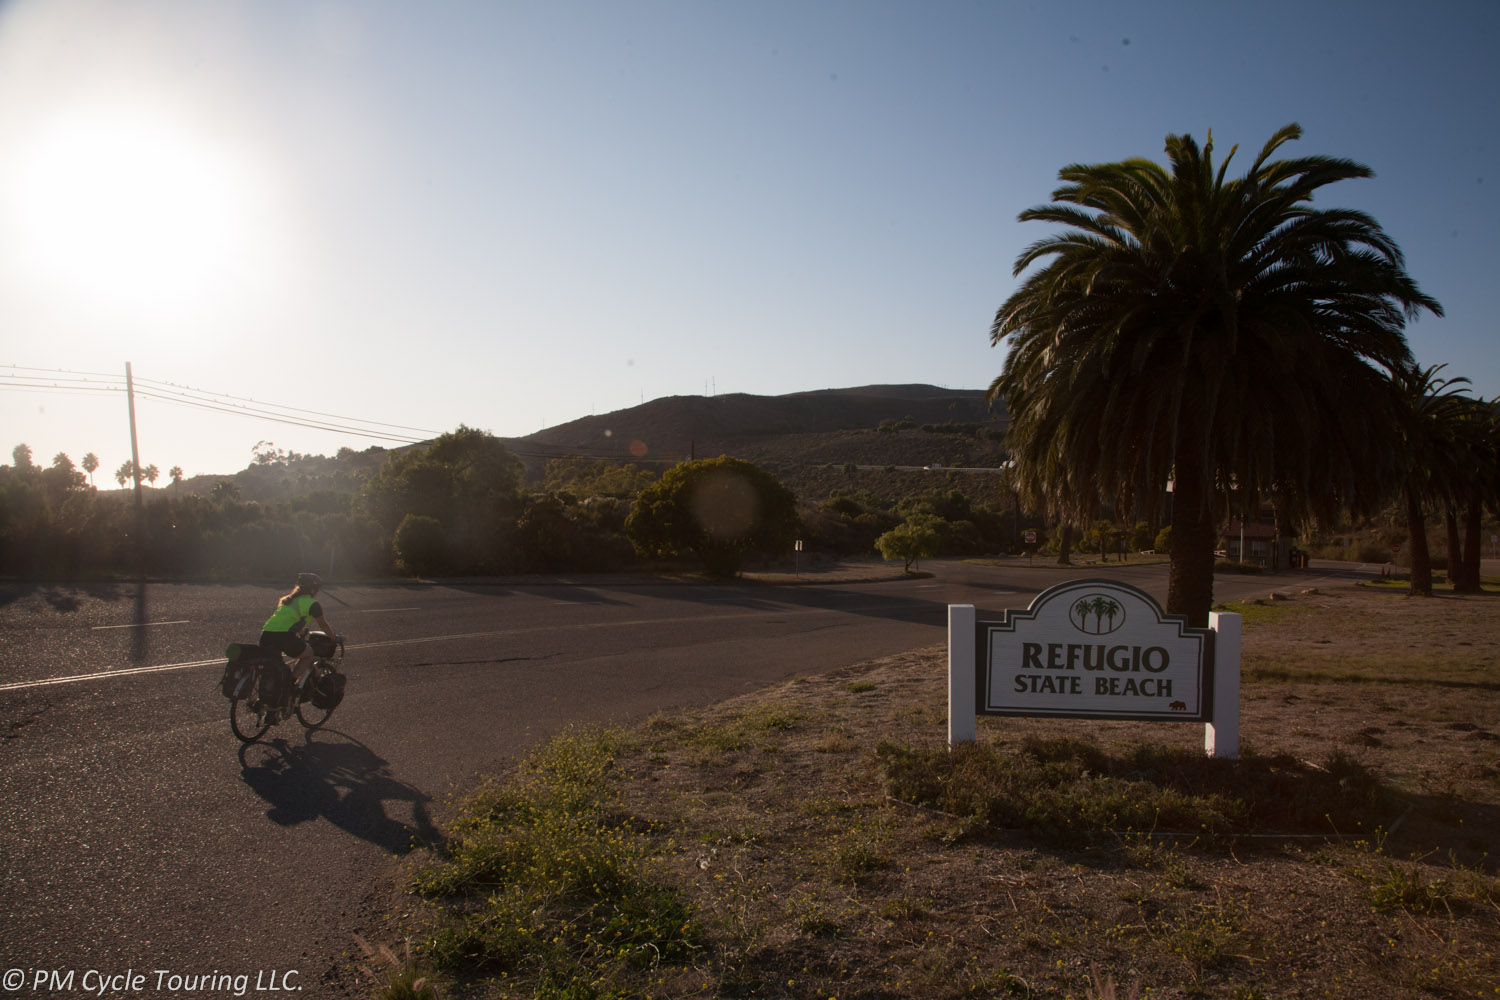
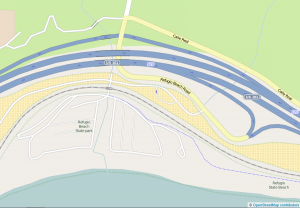
Getting To Refugio: Coming from the North or South on US101 take exit #120 Refugio Rd. Turn towards the ocean and follow the signs to the entrance to Refugio State Beach. If manned the ranger station will take your payment, otherwise immediately past the ranger station is an automated payment station.

HB Site: After entering the park take the first left and first right. Follow the loop around towards the beach and the HB sites will be on the left side of the road near the playground. The site consists of mostly flat grassy areas with some trees with a standard wooden bench.

Amenities: Bathrooms including warm showers (tokens required) are in sight of the HB sites. The beach is across the road, positon your tent right and you will get to see the sunset over the beach. There is a small camp store open on the weekends with extremely limited supplies; no grocery stores are within a 10 mile radius.

Off Bike Activities: Number one on this list is the beach. Be aware that natural tar deposits are present and walking on the sand will likely result in tar spots on the shoes/feet. However you can walk a reasonable distance enjoying the little caves and coves; the coast here is beautiful and worth exploring. Check the tide tables for high tide, and stay away from the crumbling bluffs.

There is a bike path heading east from Refugio toward El Capitan State Beach. The path used to extend all the way to El Capitan, however sections of it have been closed due to storm damage, so it is no longer possible to travel the entire way. Still, the bluff-top path gives amazing views of the ocean, and is worth a little hike or bike.

RefugioThe bottom line is: you’ll have a great stay at Refugio State Beach.

Don’t feed the wildlife

Two weeks into our first bicycle tour, we set up our camp the same way we had the previous 13 nights. We put all of our panniers tied together hanging from a tree limb. Moments after we crawled into our tent for the night, we heard a commotion outside. Matt investigated, only to find raccoons fighting over our panniers and the food inside. They were vicious! He had to fight them off, and with no better option, we brought the panniers into the tent with us for the night, terrified the raccoons would come clawing through our tent. There had to be a better way!

One of the joys of bicycle touring is getting back to nature. Bicycle tours can take you to remote places, where it’s just you and nature in all its glory. Unfortunately, wildlife encounters can turn an enjoyable tour into a nightmare. There’s a few things you can do before you set out that can make all the difference.

Bear can: We found this is the most convenient method of keeping the critters out of your food. Raccoons, rats, skunks, possums, and other nocturnal animals can be very persistent when it comes to going after food, and in some areas bears can be a huge problem. Keep in mind that smells from any food items will linger on your belongings and tempt the animals. Panniers are not animal resistant! A bear canister will prevent any animals from getting your food (and may even be required depending on where you’re going). You should keep everything that smells (toiletries included) in the bear proof container. On our latest tour we used the Bearikade (the Weekender size), and highly recommend it.

At night, place the bear can at least 100 yards from where you’re sleeping (if there’s bears) and make sure it’s in a safe place-that is, it won’t roll off a cliff or into a river or other natural hazard. The bear proof container won’t keep the critters from smelling the food, it will just make it impossible for them to get to it. They will invariably check it out, and maybe even claw at it for a moment; after some time they’ll probably get tired of it, and your breakfast will be safe for the morning.

We found it to be very convenient and easy to use the bear can. It kept our panniers from getting smelly or dirty, and the food was always easy to access. When we came it camp we could just leave our panniers on the bicycles and not have to worry about anything clawing at them. It made camping very simple and less stressful.

Bear box: Some campsites will have bear boxes to put your food in. Again, don’t limit what you put in it to food; put all toiletries into them as well. This means all sunscreen, lip balm, toothpaste, etc. If there is no bear box available, but there have been critter sightings, check to see if it would be ok to leave your panniers in the restroom. A lot of times the door will be enough of a deterrent to the smaller animals. Be careful in some bear areas, though, because they are smart enough to get in. Check with the ranger or camp host to find out the best thing to do with your food.

Smell proof bags: These can be a deterrent, however they should not be your only protection. Smell proof bags are a great place to put your snacks for the day in. This can help you reduce the smell of food in your panniers or handlebar bag. We used these bags on our latest tour and had no issues with animals.

Bring your food in your tent: This is one of the oldest trick in the books and many people swear by this method. Make sure that the food is only in your tent while you are in the tent with it, if you leave food unattended animals may claw through your tent. While we have done this in the past, I hesitate to do this now. It could teach animals that a tent means food and seems risky versus our positive experiences with our Bearikade.

Bottom line: be smart. Think about your food and what you’re going to do with it. Make it as difficult as possible for animals to get it. You’ll be glad you did and sleep better if you aren’t worrying about it.

Cycle Touring Expenses

When you’re thinking of starting a bicycle tour, one of the things to consider is how much money you want to spend. A bicycle tourist can end up spending as much or as little as he or she wants.  You don’t have to be rich to tour; here are some tips to keep your costs down.

Bicycles. Bicycles come in many shapes and sizes, as well as material type. A great touring bicycle doesn’t have to be brand new or expensive. Check the classifieds or Craigslist to find a new-to-you bicycle. Also, your local bike shop might have the perfect second-hand bicycle. Ask your friends: maybe someone has a bike you can borrow. The bottom line is you need a bicycle to get you down the road, you don’t need anything fancy to get started. A simple bike with rack mounts and plenty of gearing will get you from point A to B as well as a custom built Co-Motion.

Lodging. Camping equipment costs, such as for tents and sleeping bags, can add up. You might think it would be cheaper to forgo camping for staying cheap motels, but going that route (also known as credit-card touring) can get quite expensive. Typical campsites (in the US) range from $5 a night to $25 a night for bicyclists. Hotels in popular tourist destinations can be more costly than you might expect, and can be in the $100s/night during peak tourist season. Be ready to spend some money on a quality tent, since it will shelter you from Mother Nature, and can actually help save you money in the long run.

Gear. In addition to camping gear, there’s clothing, bicycle repair equipment, and technology. Stay tuned for more posts on these!

Food. Before you leave, think about how you plan to eat out there on the road. You’ll be eating. A lot. You’ll need to think of meals as well as snacks. When I’m out there, I like to snack at least once an hour, or every 15 miles or so. I also make sure to have a nourishing breakfast, a hearty lunch, and a filling dinner. Cereal grains for breakfast keep me full until that first morning snack. Snacks tend to be much more expensive at convenience stores. Try to buy them at grocery store if you can and always be on the lookout for sales to stretch every tour dollar further.

My go-to lunch is PB&J (peanut butter and jelly sandwiches). It’s difficult to find a more filling, inexpensive meal. Neither jelly nor breads needs to be refrigerated if eaten within a couple days. If you save money on lunch, you may be able to afford to try out that local eatery for dinner without breaking the bank. You should definitely sample the local cuisine, after all, bicycle touring is about experiencing the flavor of an area.

To sum up: The four main things you need to tour are a bicycle, lodging, gear, and food. Touring can be done on any budget. Remember that you don’t have to spend a lot of money to have a great time on your tour. Shop around and find what works for you.